Programming Your Rain Bird Hose End Timer: A Walkthrough Guide
Automating your hose-end sprinklers, drip irrigation system or soaker hose applications can significantly simplify your gardening routine, and Rain Bird's new Premium Hose End Timer is designed to make that process effortless. This timer can be attached to any outdoor water spigot, providing a simple and convenient way to ensure your plants receive just the right amount of water and at the right time.
This timer features a brass female coupler and Garden Hose Threaded (GHT) outlet to prevent accidental cross threading and for added durability. Plus, sophisticated programming flexibility with up to six hours of watering per cycle, four times per day, and a 96-hour rain delay for worry-free outdoor watering all season.
Setting up and programming the Rain Bird Premium Hose End Timer is simple, too. In a previous article, we outlined how to connect a hose end timer to your outdoor hose spigot. This blog will guide you step by step on how to schedule your watering cycles, transforming you into a Rain Bird programming pro in no time. Let's dive in!
What's New with the Premium Hose End Timer?
The Rain Bird Premium Hose End Timer brings some exciting enhancements over previous models, including:
- Brass fittings: Unlike many timers that use plastic fittings, the Premium Hose End Timer features durable brass fittings for enhanced longevity and durability.
- Extended scheduling: You can now schedule up to six hours of watering per cycle, four times per day, providing even greater watering flexibility.
Understanding Your Rain Bird Hose End Timer
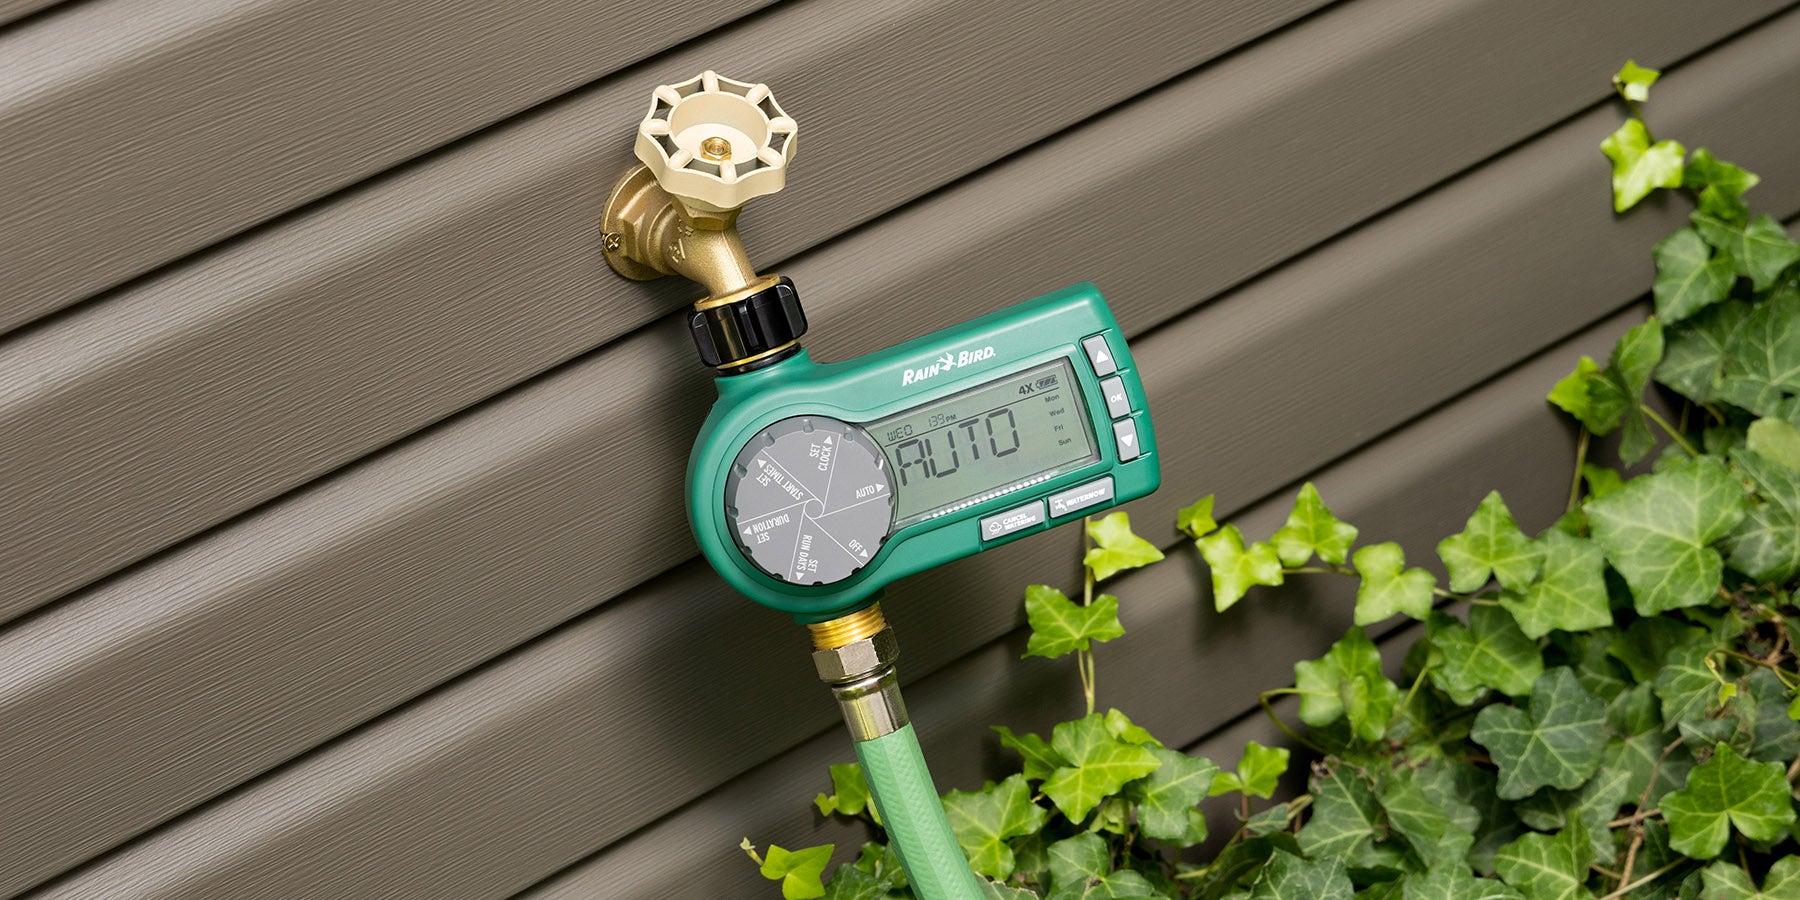
Before programming the device, it's important to get familiar with it. The Rain Bird hose end timer has a simple, intuitive interface. You will see a large LCD screen and programming dial, along with buttons to make set-up as user-friendly as possible. The dial has multiple settings: OFF, AUTO, SET CLOCK, SET START TIME, SET DURATION, and SET RUN DAYS. You will use the UP and DOWN arrow buttons to fine tune your watering schedules, and the OK button to save your settings. You will also see buttons for CANCEL WATERING and WATER NOW to manually override your pre-programmed settings.
Step 1: Install the Batteries
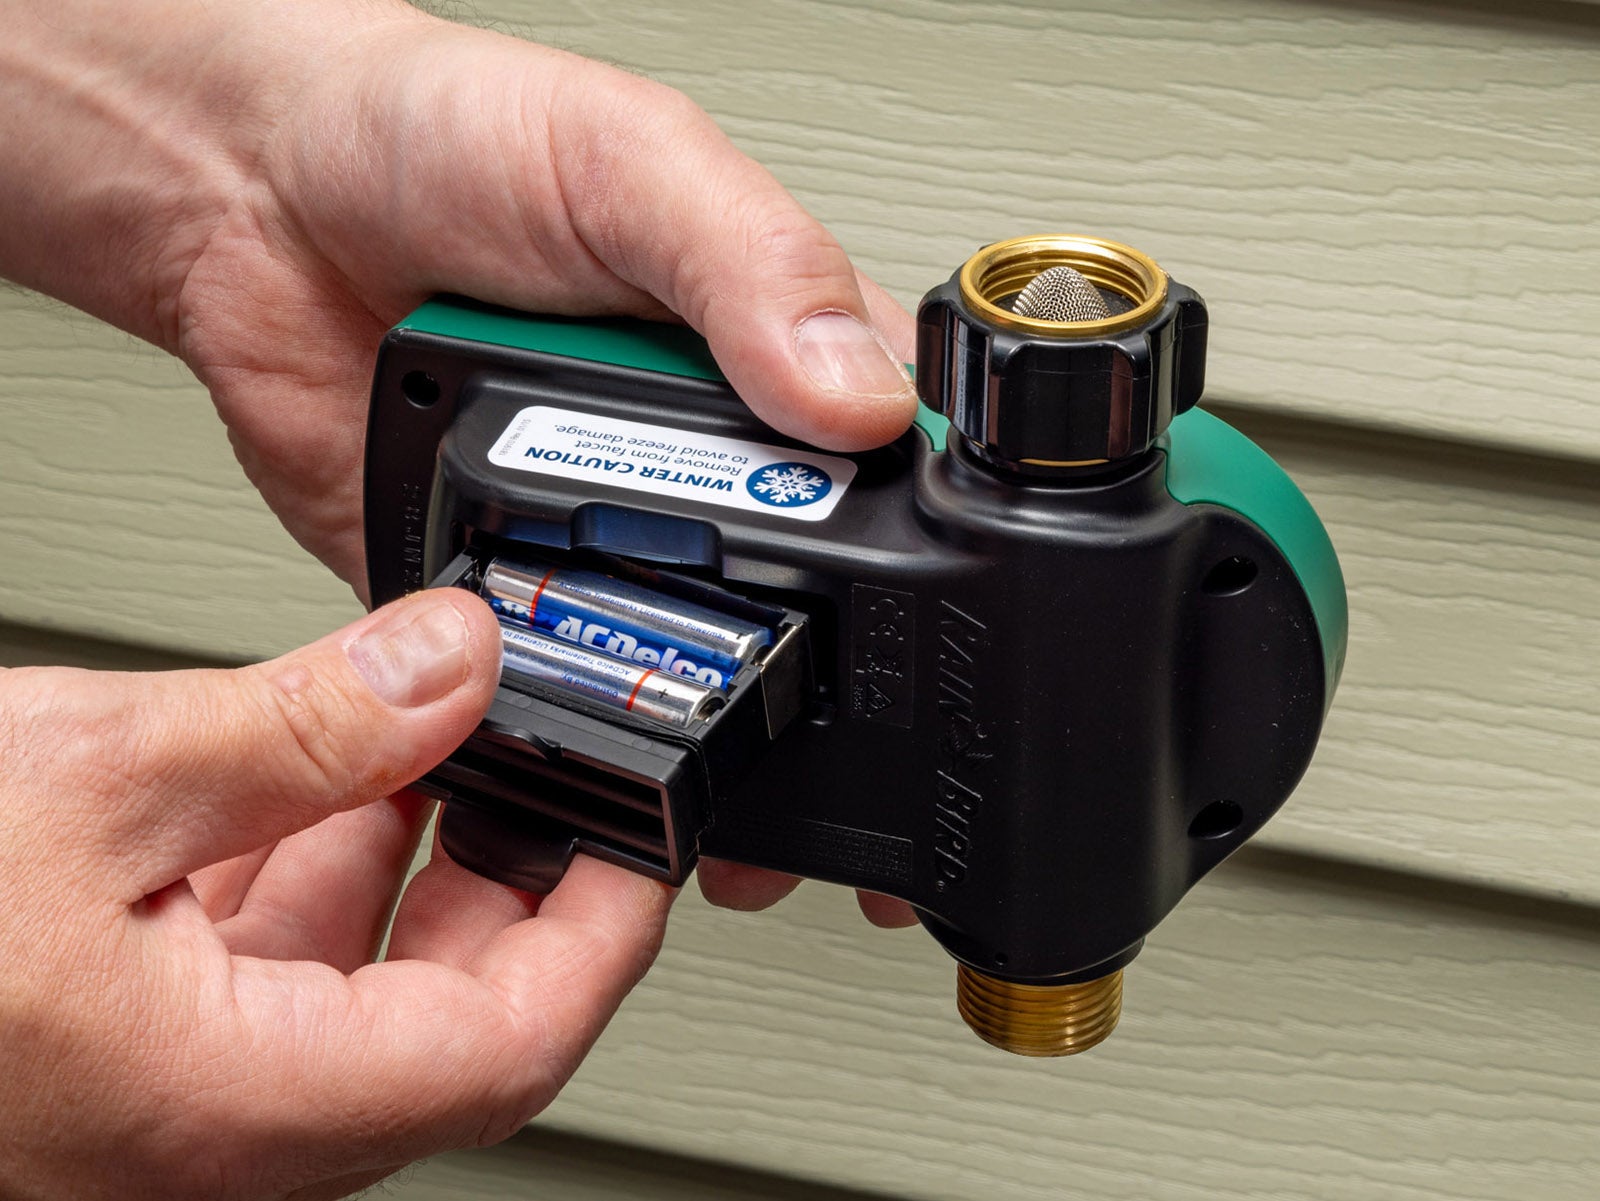
The first step in setting up your timer is to install the batteries. The Rain Bird hose end timer runs on two AA alkaline batteries. To install the batteries:
- Locate the watertight battery compartment on the back of the timer.
- Open the battery compartment and insert the batteries according to the polarity markings inside the compartment.
- Replace the battery compartment cover securely. Your timer display should now illuminate.
Step 2: Set the Clock
The first step is to set the current time on your timer. This is the foundation for all your other settings, as they will be based on this “clock” time. To ensure the timer operates according to your desired schedule, you need to set the current time and day. Here's how:
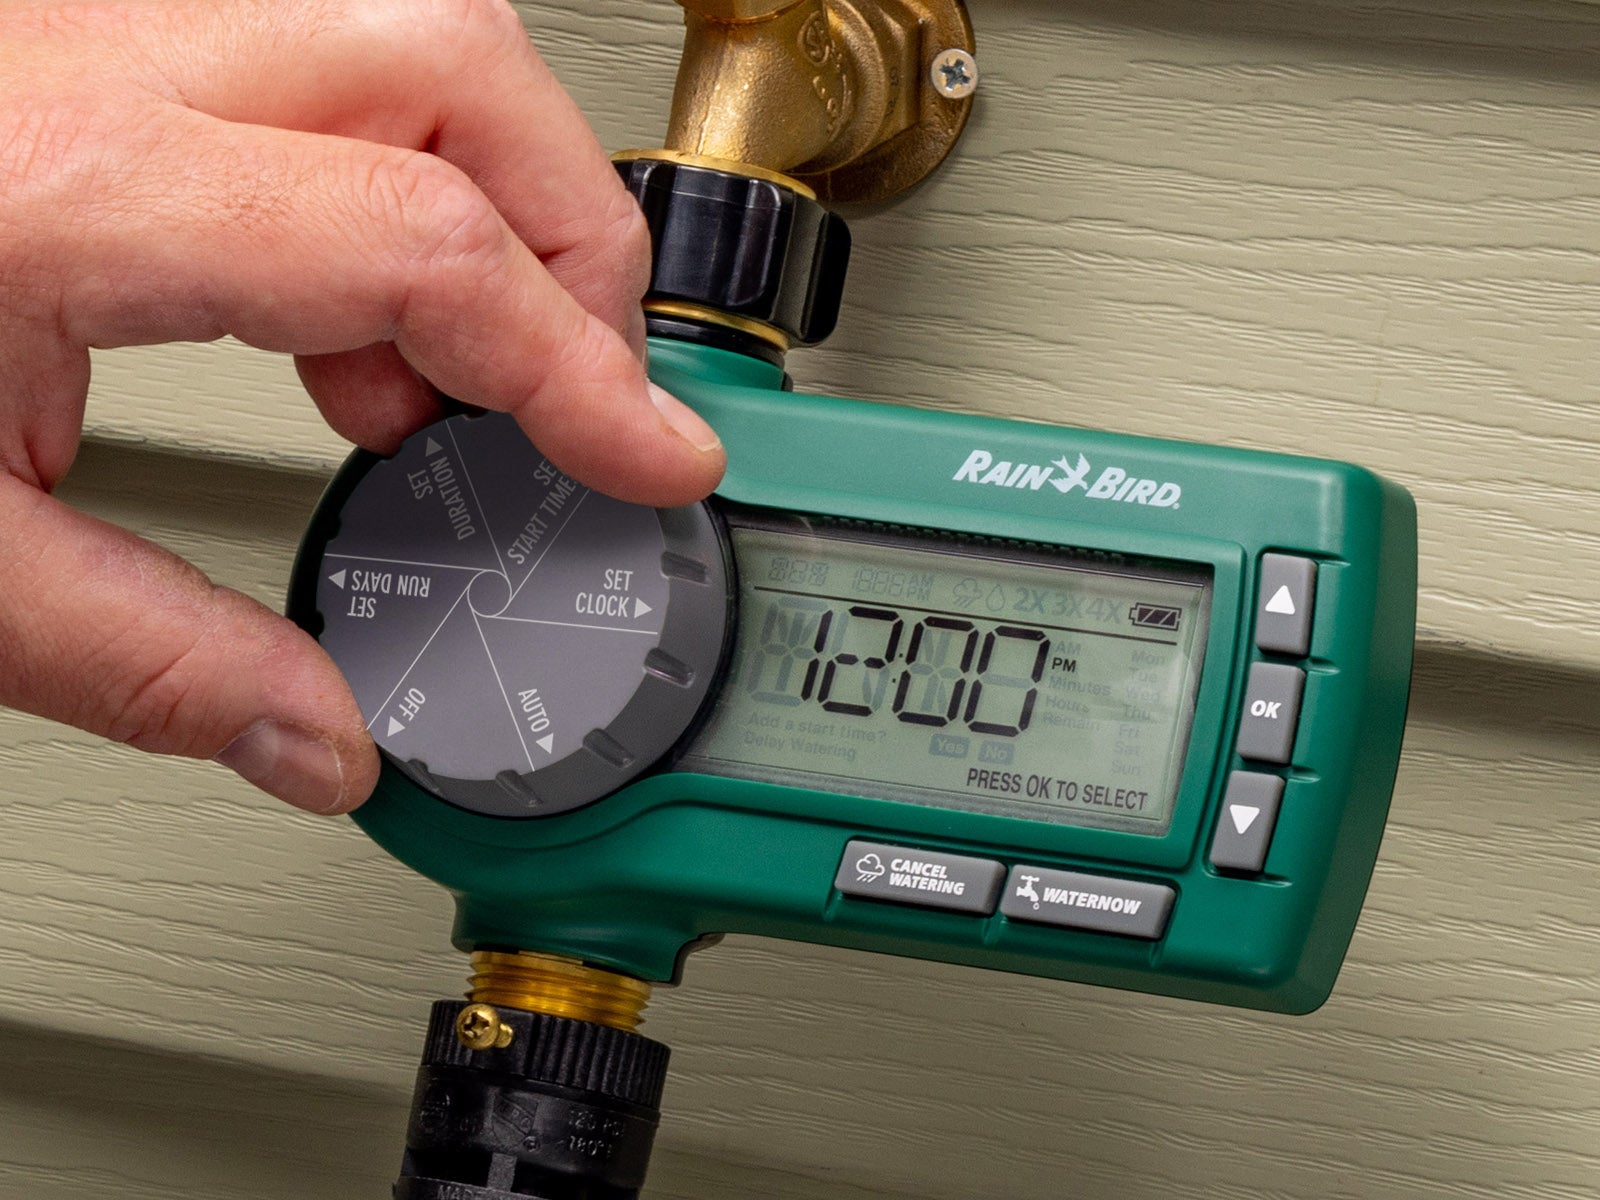
- Turn the dial to the SET CLOCK setting.
- Use the UP and DOWN arrow buttons to adjust the hour and minutes. Make sure to set the correct AM/PM setting.
- Press OK to save your settings.
Step 3: Set the Start Time(s)
After setting the clock, you can specify your watering start time(s). The watering start time determines when your watering cycle begins. Ideally, this should be in the morning, when the wind is calm, and the heat of the day has yet to arrive. The Premium Hose End Timer also allows you to set up to three additional start times, if necessary. Here's how you set it:
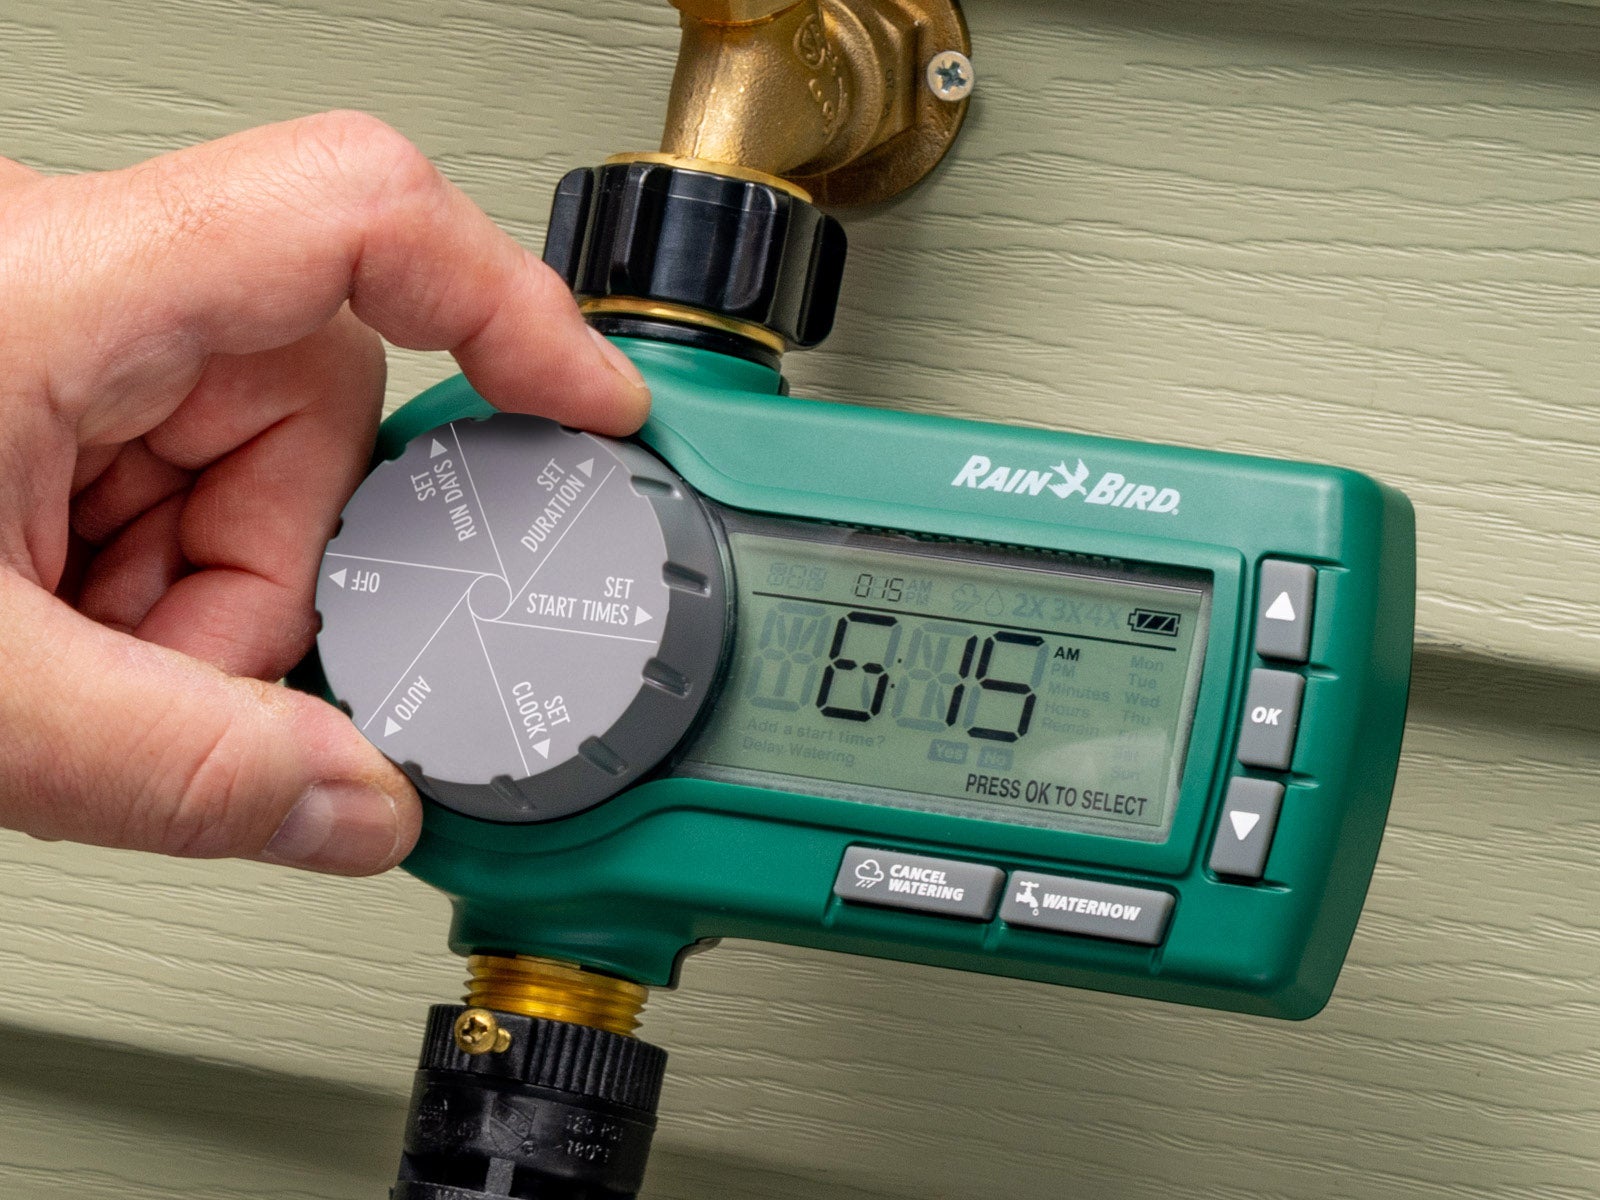
- Turn the dial to the SET START TIME setting.
- Use the UP and DOWN arrow buttons to adjust to your desired start time, again taking note of the AM/PM setting.
- Press OK to save your settings.
Set Additional Start Times
A feature of the new Premium Hose End Timer is the ability to set up to four watering times. This is handy for programming a "cycle and soak" method that allows water to soak in for a brief time before starting another irritation cycle.
After setting your initial start time, the timer will prompt you to add additional start times. The default is NO.
If you decide to set additional start times, press the UP or DOWN arrow buttons to select YES, then set your start time using the UP and DOWN arrow buttons to adjust to your desired start time, again taking note of the AM/PM setting. Remember to press OK to save your settings.
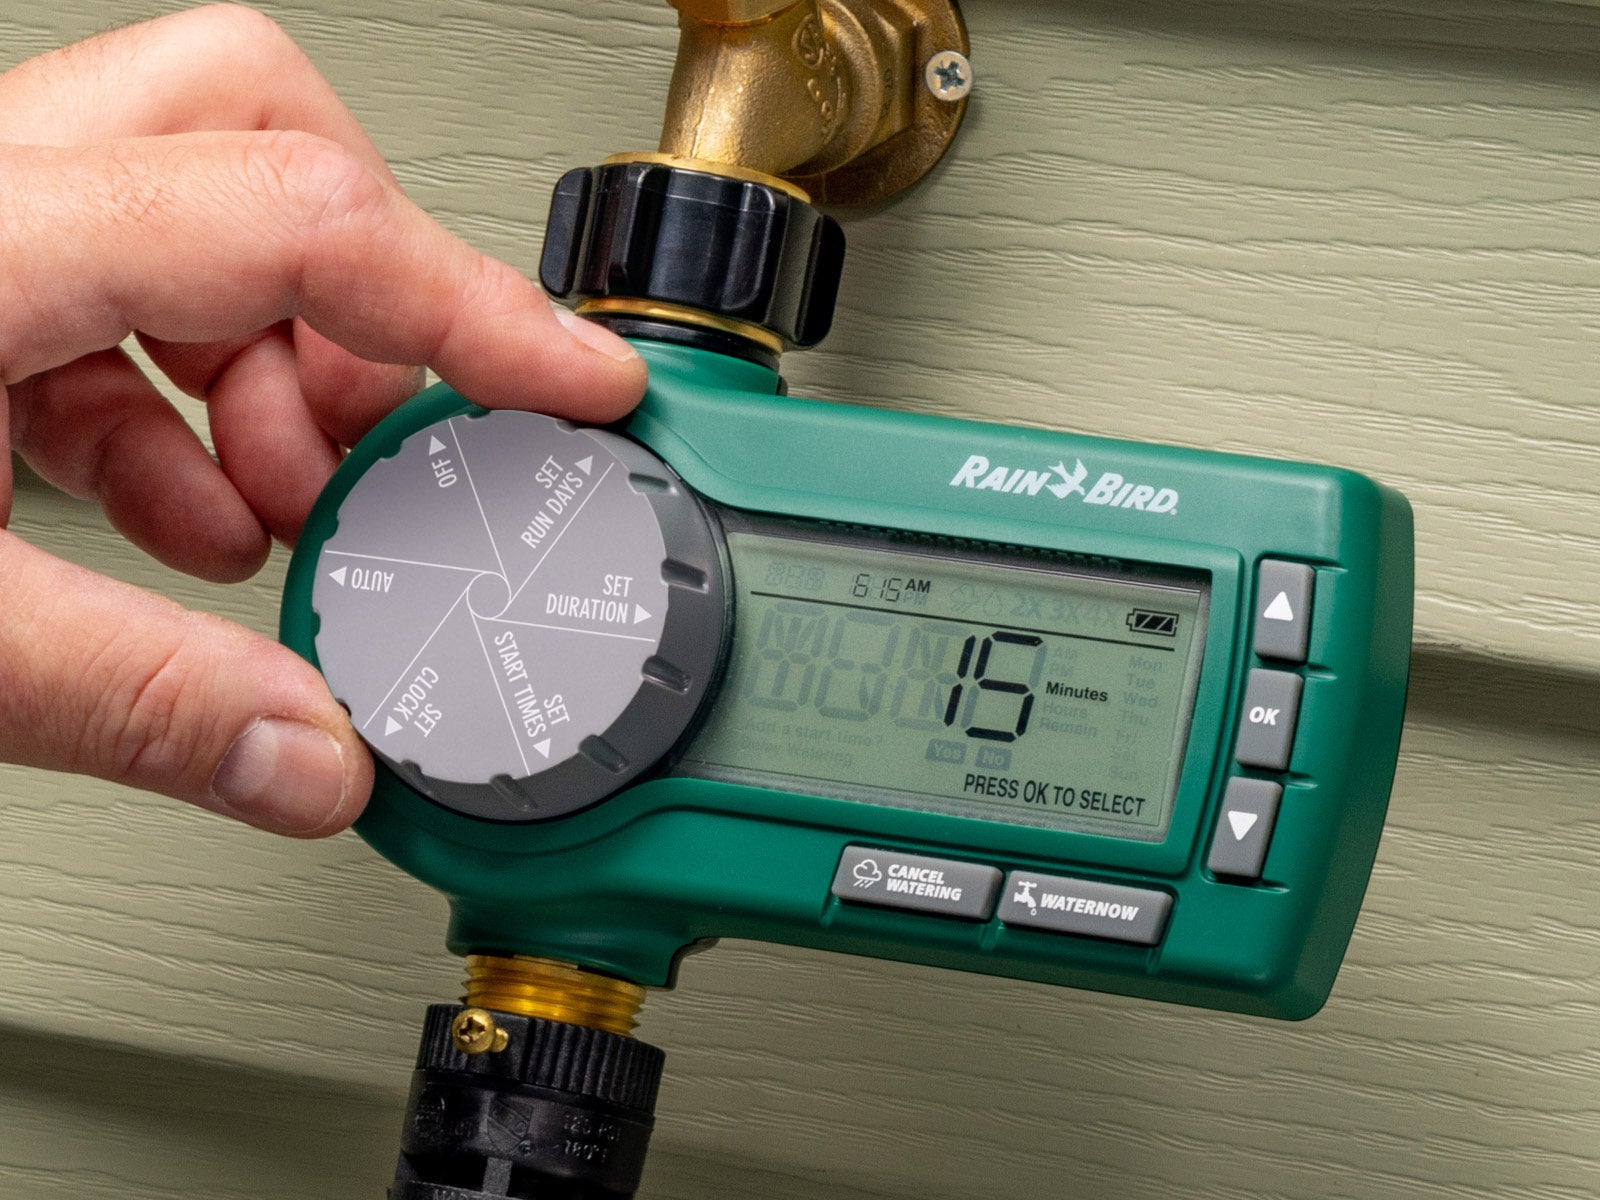
Step 4: Set the Watering Duration
Next, set how long you want each watering cycle to run. The watering duration depends on the specific needs of your landscape and the current weather conditions. Here's how to set it:
- Turn the dial to the SET DURATION setting.
- Use the UP and DOWN arrow buttons to adjust the watering duration. This can range from a few minutes to six hours, depending on your needs.
- Press OK to save your settings.
If you set additional watering times, you will need to confirm the duration for each cycle.
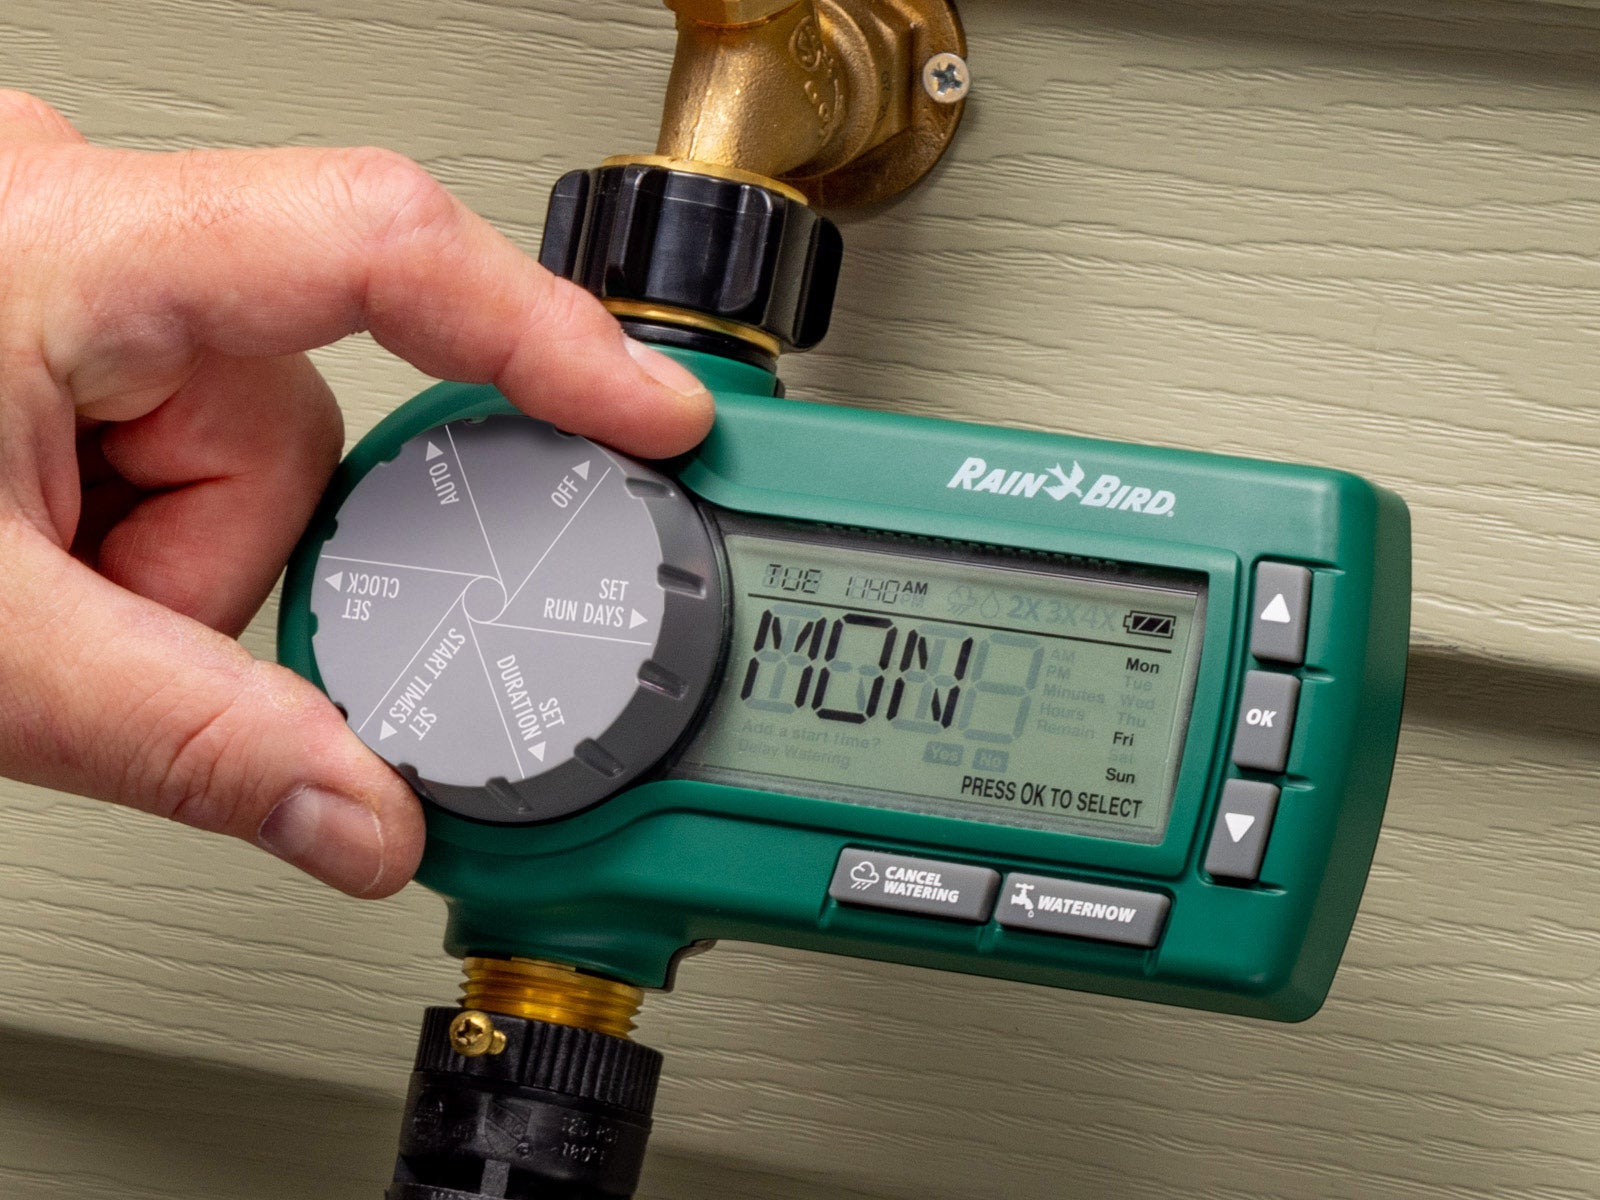
Step 5: Set the Watering Days
The Premium Hose End Timer is programmed to water on specific days of the week, and is easily adjustable to accommodate your schedule and local watering restrictions. For example, lawn irrigation may be prohibited on a certain day in your municipality. If a certain day does not work for you, simply delete it.
- To add or remove a day, use the UP and DOWN arrow buttons to select the day.
- Press OK to save your settings.
Watering days will be listed on the rightmost side of the screen.
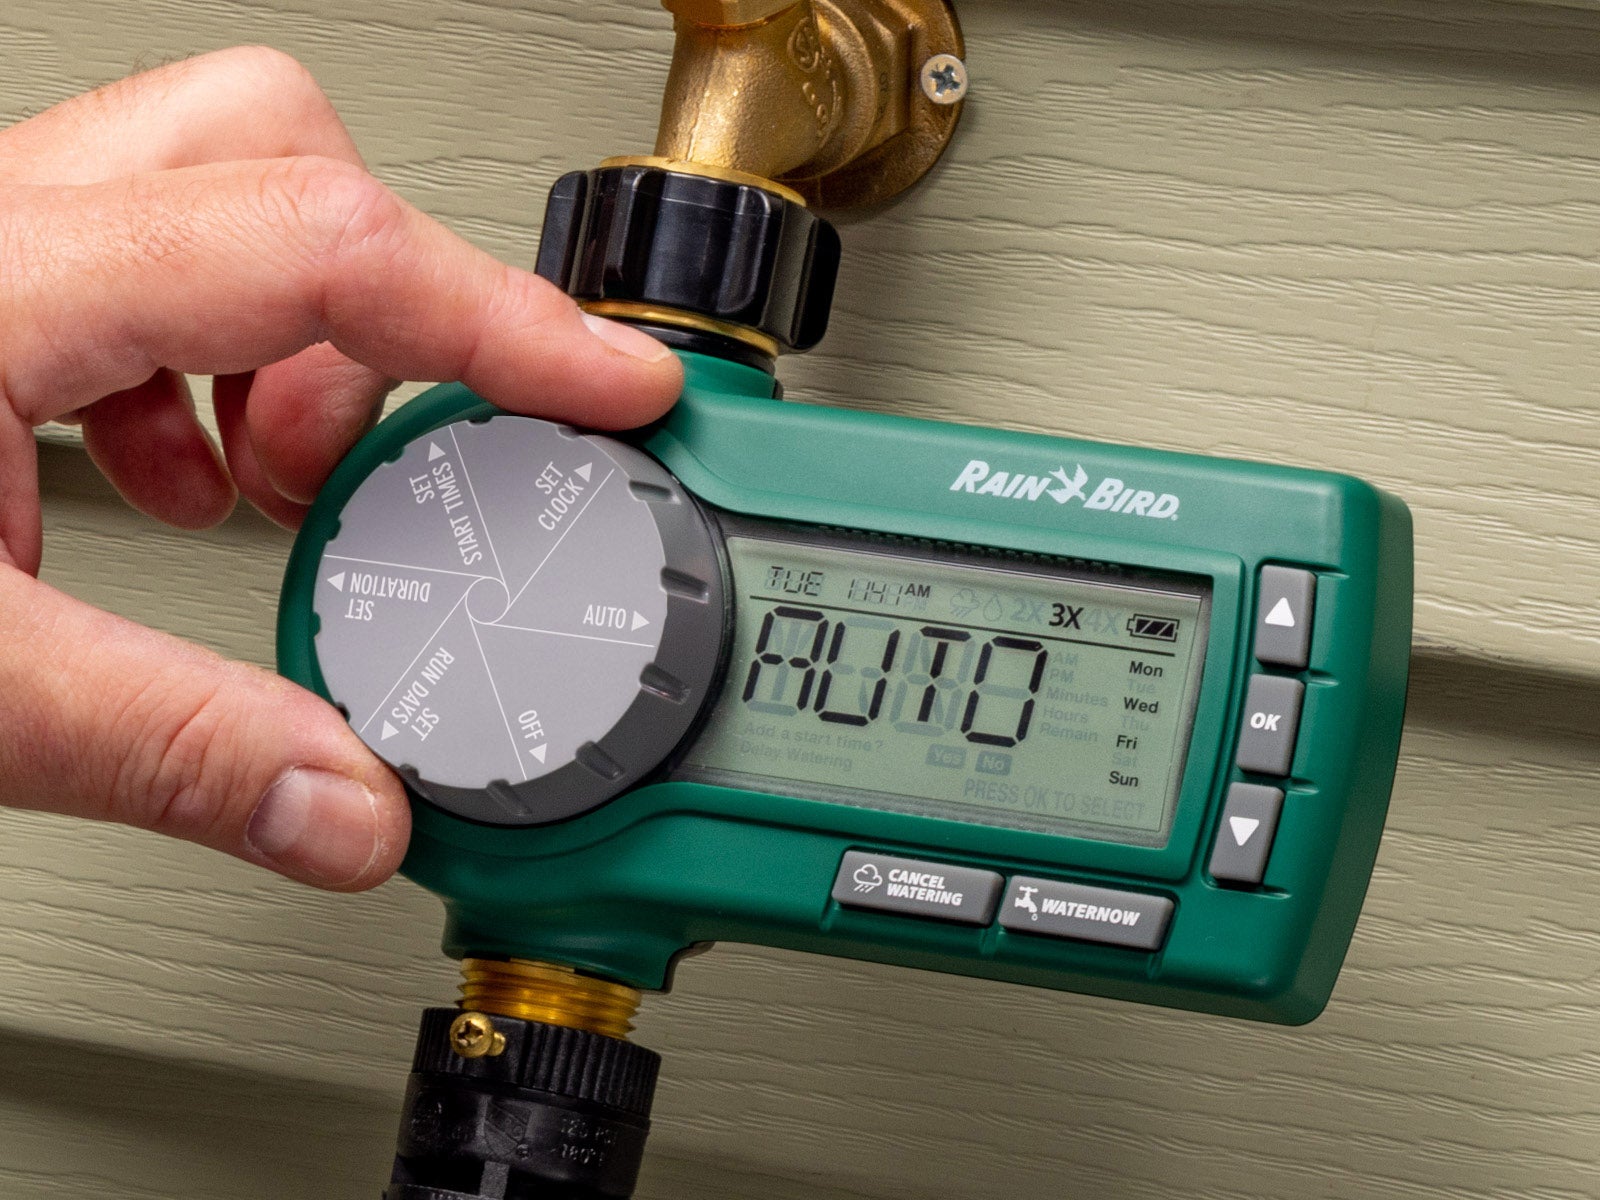
Step 6: Activate the Program
Finally, you will need to activate your settings:
- Turn the dial to the AUTO setting.
The timer is now set to follow the schedule you've programmed. The display will show AUTO and cycle through your scheduled settings.

Manual Override and Rain Delay Features
A fantastic feature of the Premium Hose End Timer is the manual override option. If you need to water outside your scheduled times, just select the WATER NOW button.
Similarly, if rain is in the forecast, press the CANCEL WATERING button to delay the timer. This prevents unnecessary watering and conserves water. You can set the rain delay up to 96 hours in advance. Watering will resume according to your programmed schedule when the delay duration is complete.
Troubleshooting Tips
Remember to check the device occasionally to ensure it is functioning as expected. Despite the user-friendly design of the Rain Bird Premium Hose End Timer, you may encounter issues now and then. Here are some general troubleshooting tips:
- If the timer is not turning on, check the batteries. They might need to be replaced.
- If your watering is not occurring as scheduled, verify that you have correctly set the time, start times, duration, and days.
- Ensure that the dial is set to "Auto" for the timer to water according to your programmed schedule.
Find complete specifications for the Rain Bird Premium Hose End Timer and download the user manual and troubleshooting guide here.
The new Rain Bird Premium Hose End Timer offers a simplified way to automate your irrigation, freeing up your time for other activities while ensuring your garden or patio plants are well hydrated. With its intuitive design, enhanced features, and user-friendly programming, managing your garden's watering schedule has never been easier.