How to Connect a Rain Bird Hose End Timer
Having a well-maintained landscape is the pride of any homeowner. But keeping your garden, flower beds and container plants watered and healthy can be time consuming. With the help of a timer, you can automate your drip irrigation system so that it waters itself at designated times with no need for manual intervention. The Rain Bird Hose End Timer allows you to set it up once and walk away, giving you more time for making summer memories. No more worrying about forgetting to water your plants or wasting too much water due to over-watering. In this article, we discuss how to connect a Rain Bird Hose End Timer to your outdoor faucet.
TIP: The Rain Bird Landscape and Garden Drip Watering Kit has all the hosing, drippers and other parts you’ll need to get started with drip irrigation for your container garden.
Connect the timer to your outdoor faucet
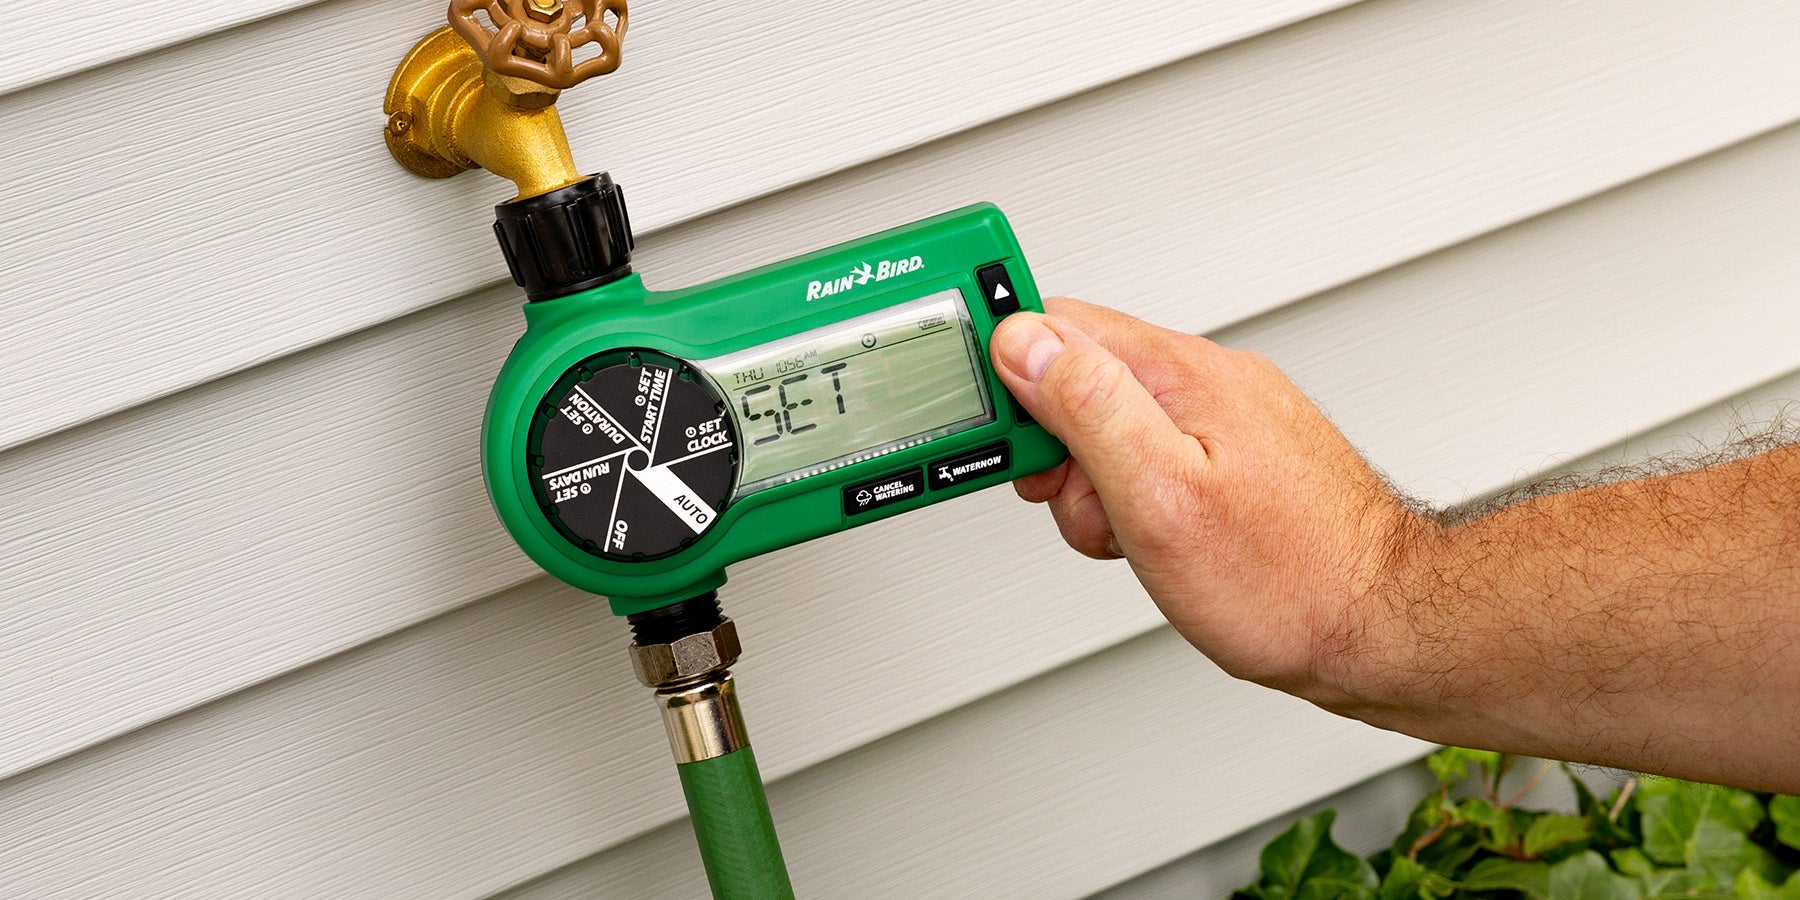
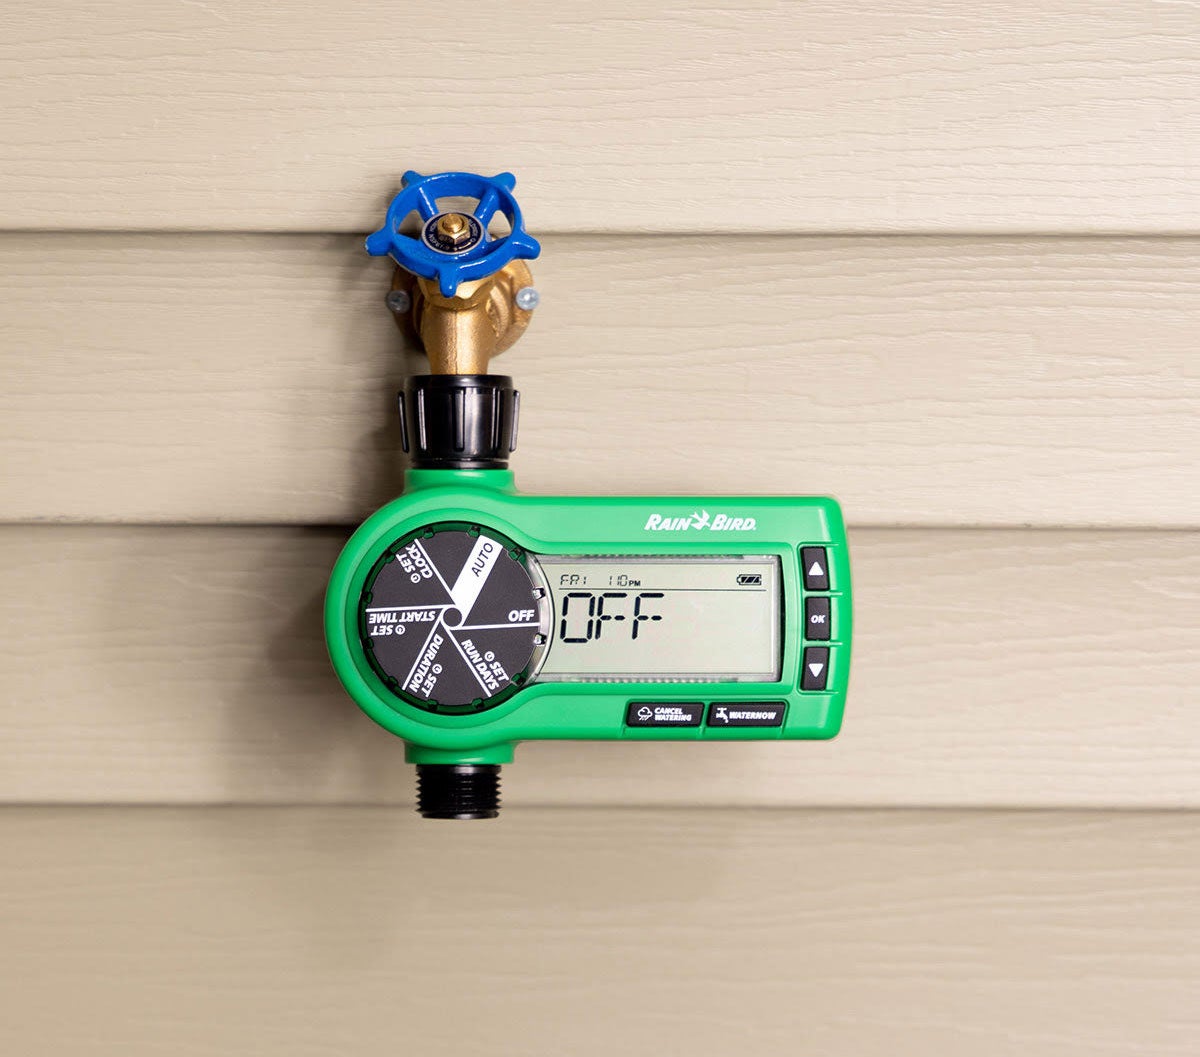
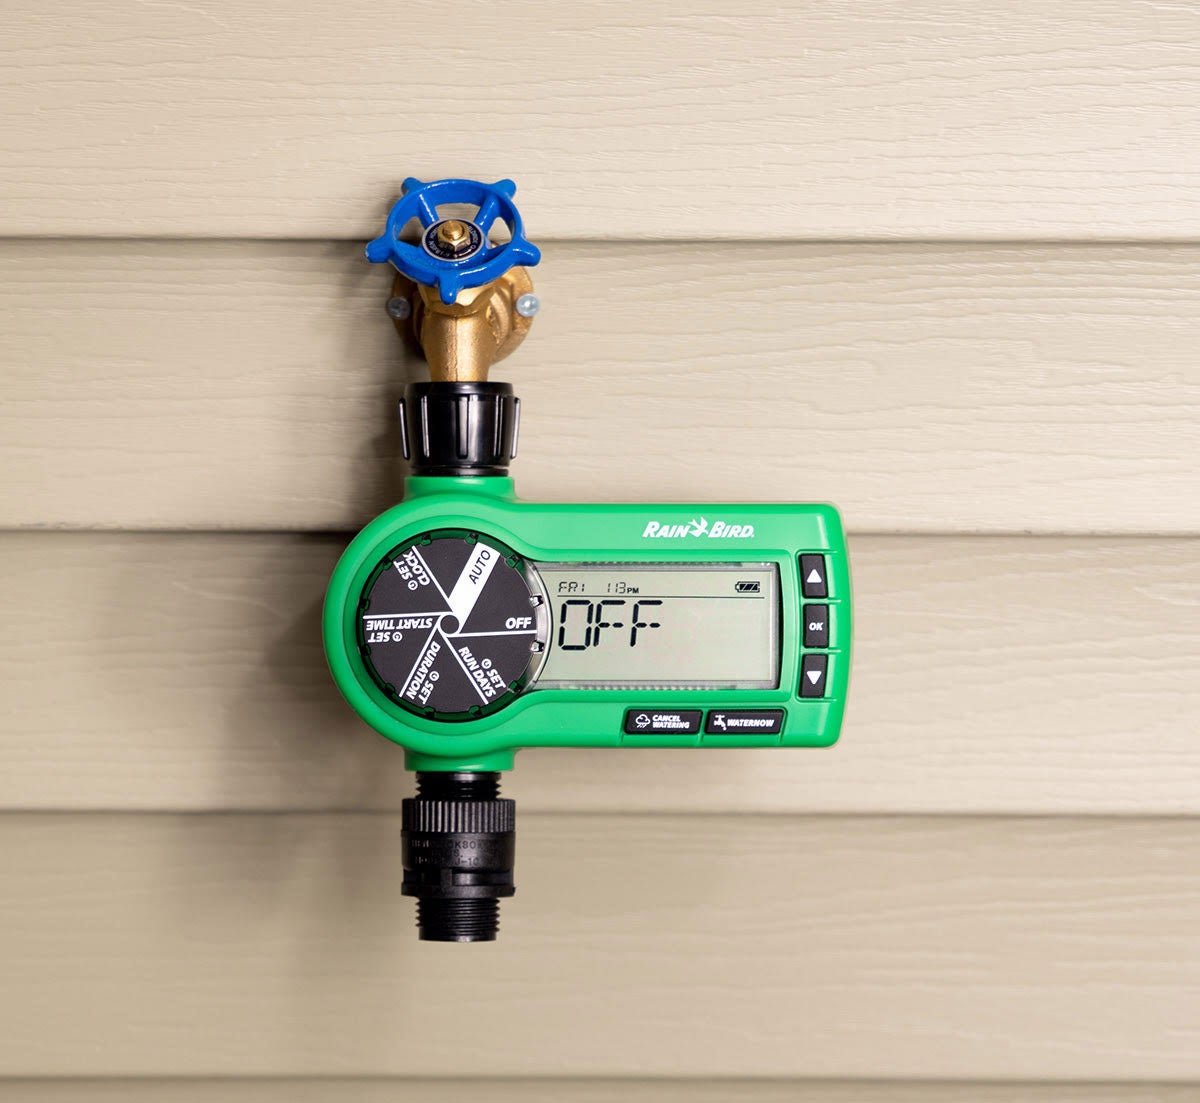
The Rain Bird Hose End Timer threads onto a standard garden hose faucet. To get started, find the outdoor faucet that is closest to the area you want to irrigate. Make sure the faucet is turned off. This will help prevent any accidental leaks or damage to the faucet.
Next, screw the timer onto the inlet, taking care not to overtighten it. Always remember to turn off your water supply before adjusting the timer.
If you plan to use a garden hose in addition to your drip irrigation system, attach a Y splitter to your outdoor tap. Then connect the garden hose to one side and the timer to the other.
Attach a Backflow Preventer
A backflow preventer keeps contaminated water from flowing back into your home water supply. Backflow can occur due to differences in water pressure, which can cause water from your garden to flow back into the clean water supply. This water can be contaminated with garden chemicals, fertilizers, or bacteria, leading to serious health hazards or illness.
To install a backflow preventer, begin by turning off the water supply. Next, attach the vacuum breaker securely to the outlet of the hose end timer.
Some municipalities require a backflow preventer to be installed on any outdoor irrigation system to prevent contamination of the potable water supply. Check with your local water utility to ensure you comply with all relevant regulations.
Attach a Pressure Regulator
After connecting the Rain Bird Hose End Timer to your outdoor faucet, you may need to attach a pressure regulator. The water pressure in your home fluctuates. Pressure regulators are especially important for drip irrigation systems to maintain a consistent water pressure flowing through the irrigation tubing. This prevents damage to the system and ensures that each plant gets the right amount of water.
You can use a pressure gauge to measure the actual water pressure before installing the pressure regulator. Simply attach the gauge to your outdoor faucet and turn on the water supply. The reading on the gauge will tell you the water pressure. Rain Bird recommends a pressure range of 25-30 PSI for drip irrigation systems. If the water pressure is higher than recommended, or if you notice fluctuations in your water pressure, it is necessary to install a pressure regulator to keep the pressure within the recommended range.
Screw the pressure regulator onto the bottom of the timer. Then turn on the water supply and check again for leaks. Remember to inspect your system periodically to ensure that the pressure regulator is working correctly and there are no leaks or clogs in the pipes.
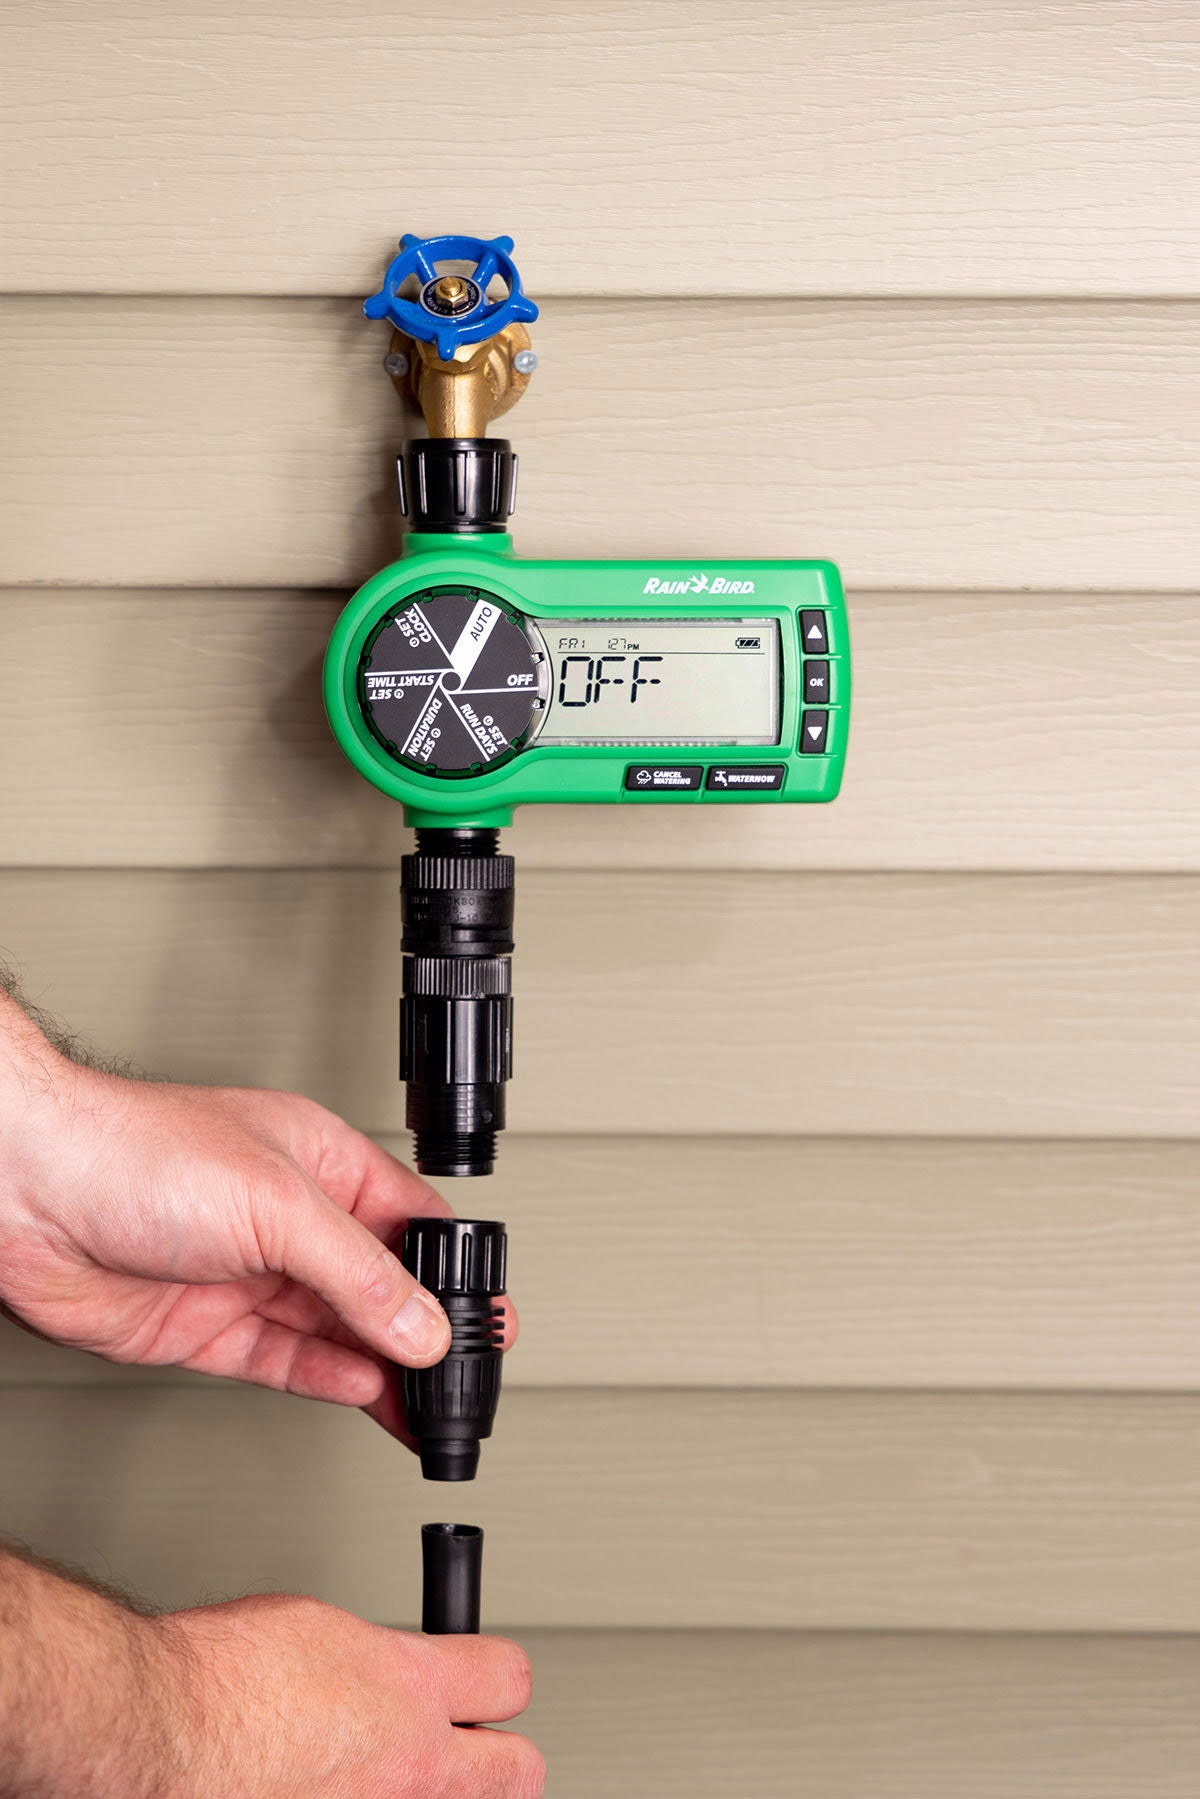
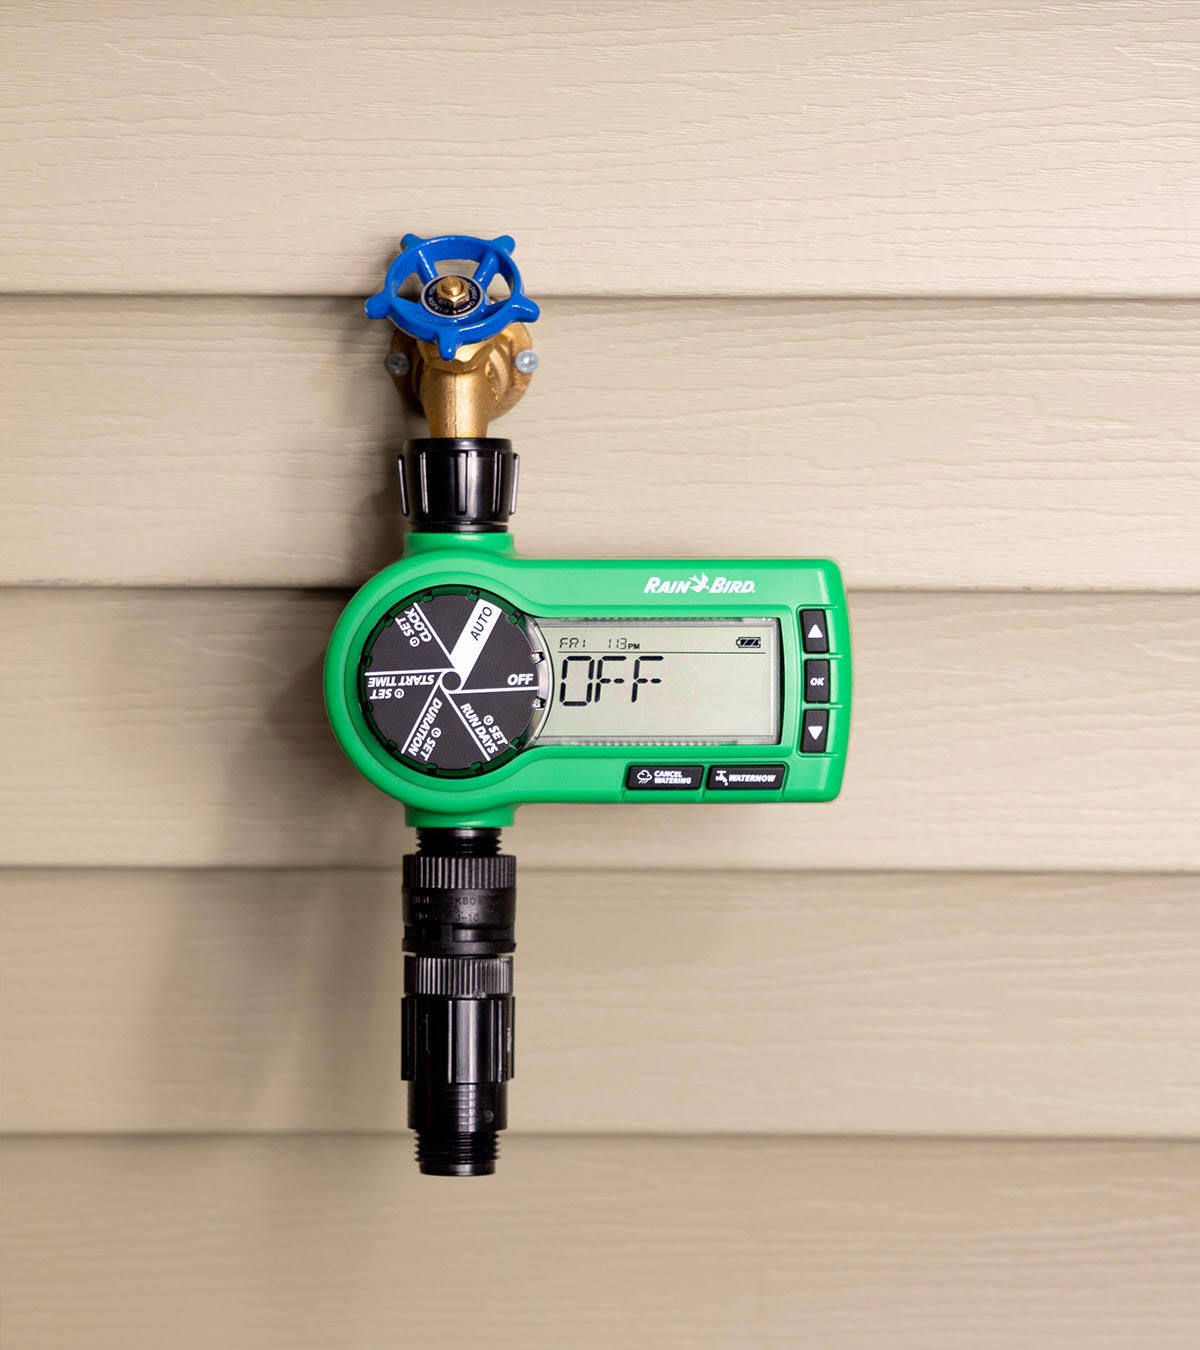
Attach the Tubing Adapter
Now that you've attached the pressure regulator and backflow preventer to your Rain Bird Hose End Timer, it's time to attach the irrigation tubing. First, use ½ inch tubing to create a long main run of irrigation, then splice in a variety of available drip emitters, drippers, sprays or smaller runs of tubing to individual plantings. Use ¼ inch tubing for short runs to specific plantings or container plants. Use an adapter to convert from a garden hose size to the size of the irrigation tubing you will use.
To connect the ½-inch tubing adapter, first make sure the water supply is turned off. Next, insert the tubing into the adapter until it fits snug and does not pull back out. Then screw the tubing adapter to the end of the pressure regulator.
Following the steps outlined in this article, you can easily connect a Rain Bird Hose End Timer to your outdoor faucet to automate a drip irrigation system for your garden, flower beds and container plants. With a properly installed and well-maintained drip system, you can ensure that your plants get the right amount of water and nutrients, leading to a healthier and more bountiful growing season.

