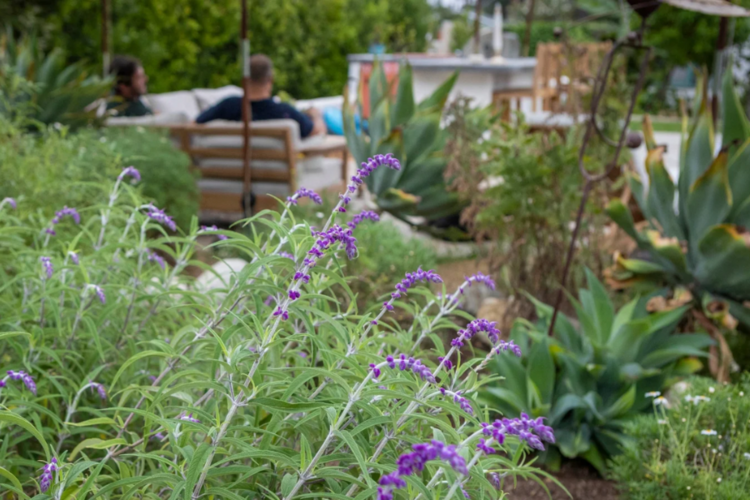
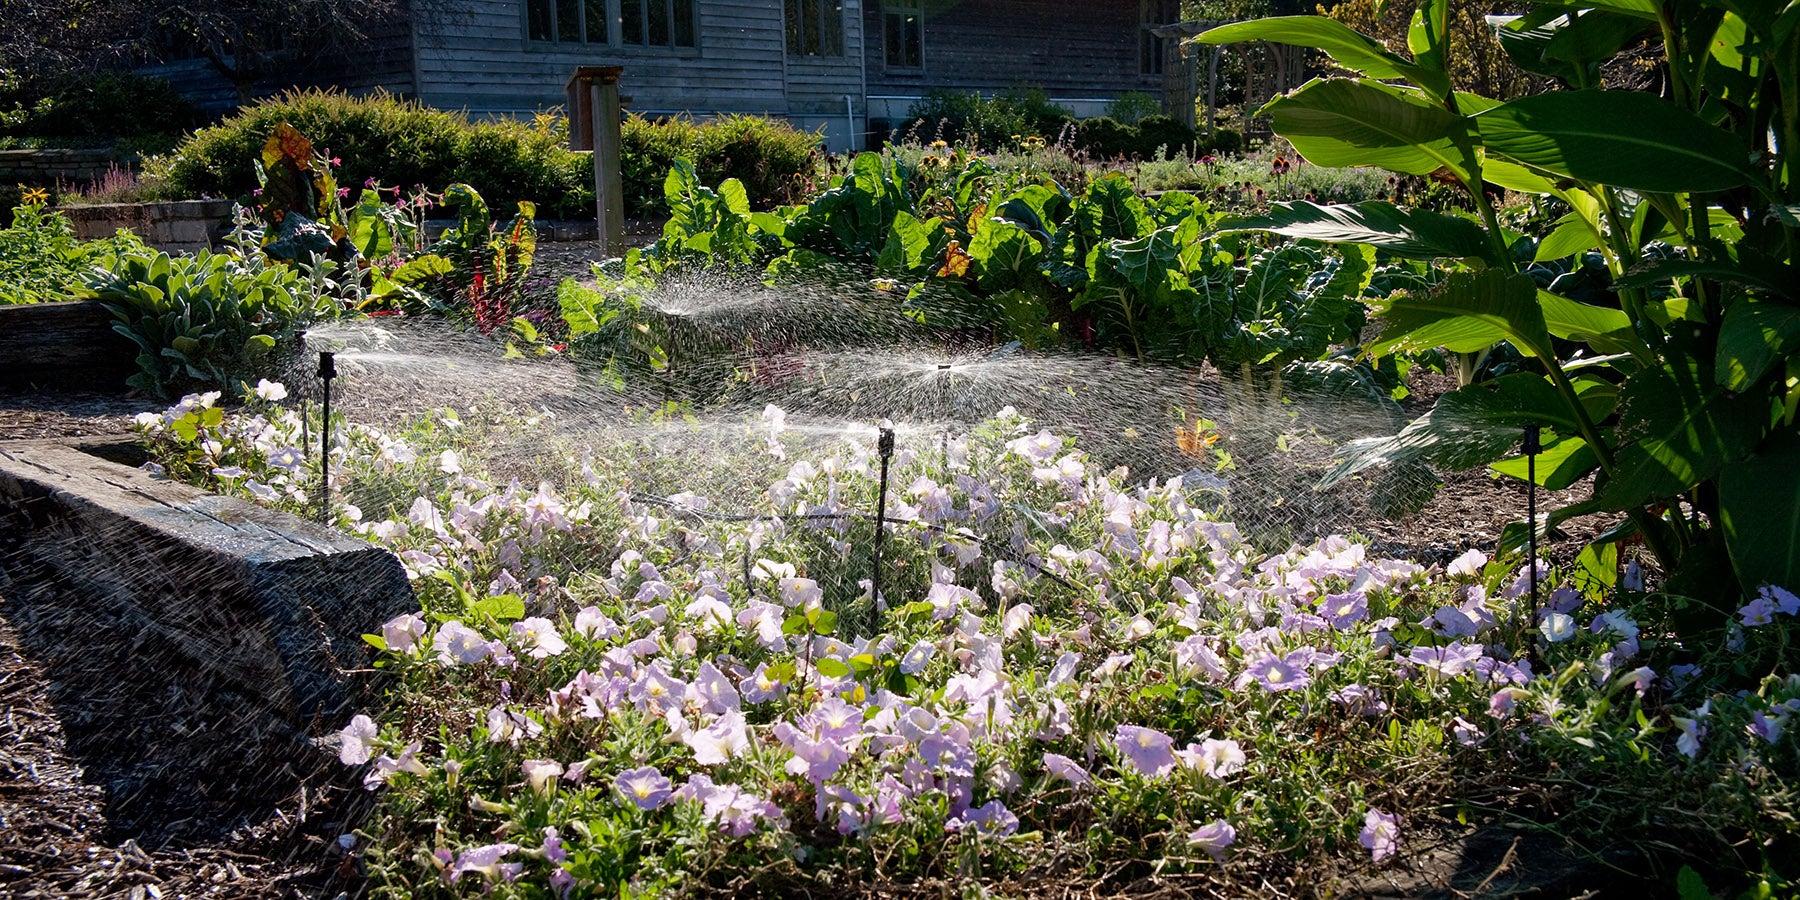
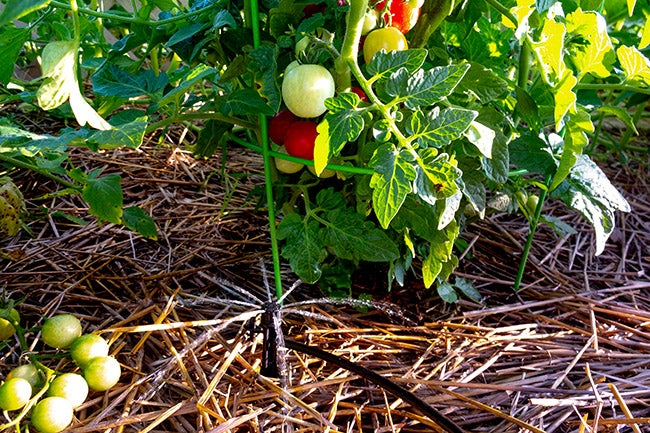
What is Drip Irrigation?
Drip irrigation uses micro watering devices placed near each plant. With its slow and gentle distribution rate, drip irrigation allows water to soak into the soil, irrigating the root zone of each plant. This precise application can reduce water use by 40% or more compared to underground sprinklers while providing greener, healthier plants. Read more about Drip Irrigation advantages.
Why Use Drip Irrigation?
Save Time
To water your garden or landscaping with a Drip system, just turn on the faucet!
Save Water
Eliminate wasteful overspray and runoff that are common with standard lawn sprinklers used in landscaping.
Where to Use Drip Irrigation
| Area | Watering Solution | |
|---|---|---|
|
Vegetable Gardens & Mixed Planting Beds
|
For closely spaced plants 1/2" Emitter Tubing
|
For individual plants Spot Watering Emitters
|
|
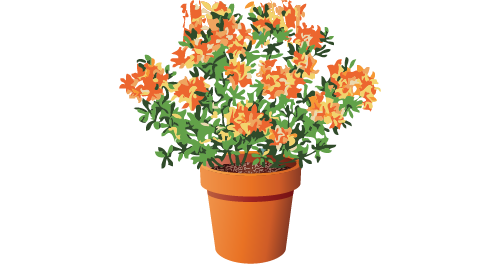
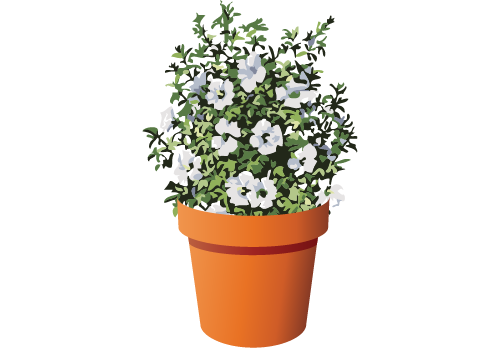
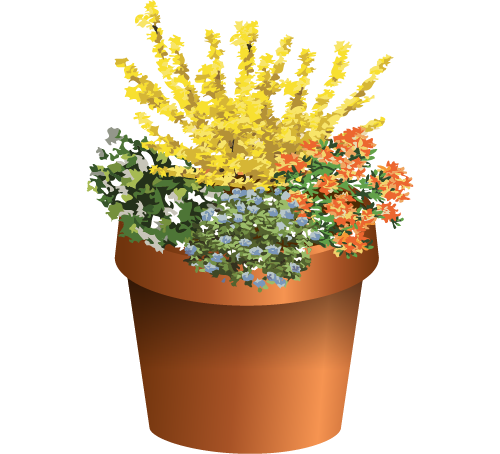
Flower Boxes & Potted Plant Containers
|
Spot Watering Emitters
|
|
|
Shrubs, Trees & Dense Planting Areas
|
Micro Bubblers Multi stream for small areas |
Micro Sprays Riser mounted for taller plants. Use Umbrella Bubblers for delicate plants. |
|
Ground Cover & Narrow Planting Areas
|
1/4" Emitter Tubing
|
|
|
Ferns & Tropical Plants
|
Misters Twist cap to adjust mist up to 1.5 ft. Riser mounted for taller plants. |
|


How to Install Drip Irrigation
Having a healthy and vibrant garden doesn't have to be complicated or time-consuming. With a drip irrigation system, you can ensure that each of your plants gets just the right amount of water. From using drippers and bubblers to adding an automated timer, setting up a drip irrigation system in your garden is easy. Follow these simple steps to create your own efficient and effective drip irrigation system for healthier plants. Read more here.
1. Connect to water source
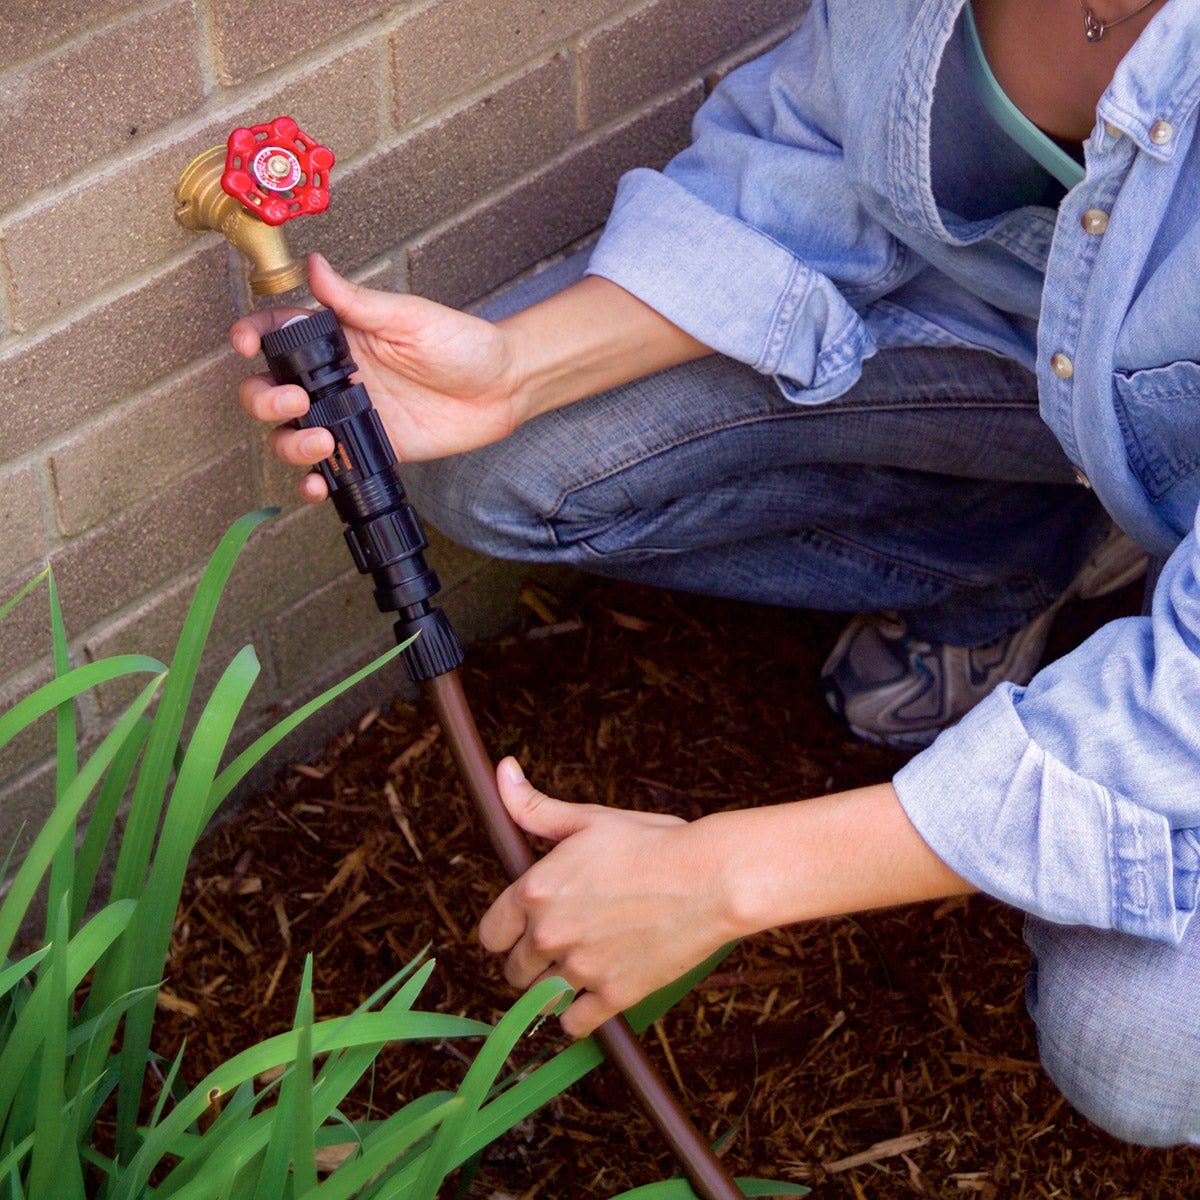
2. Run 1/2" tubing to your planting area
3. Use 1/4" tubing to position devices

4. Attach watering devices
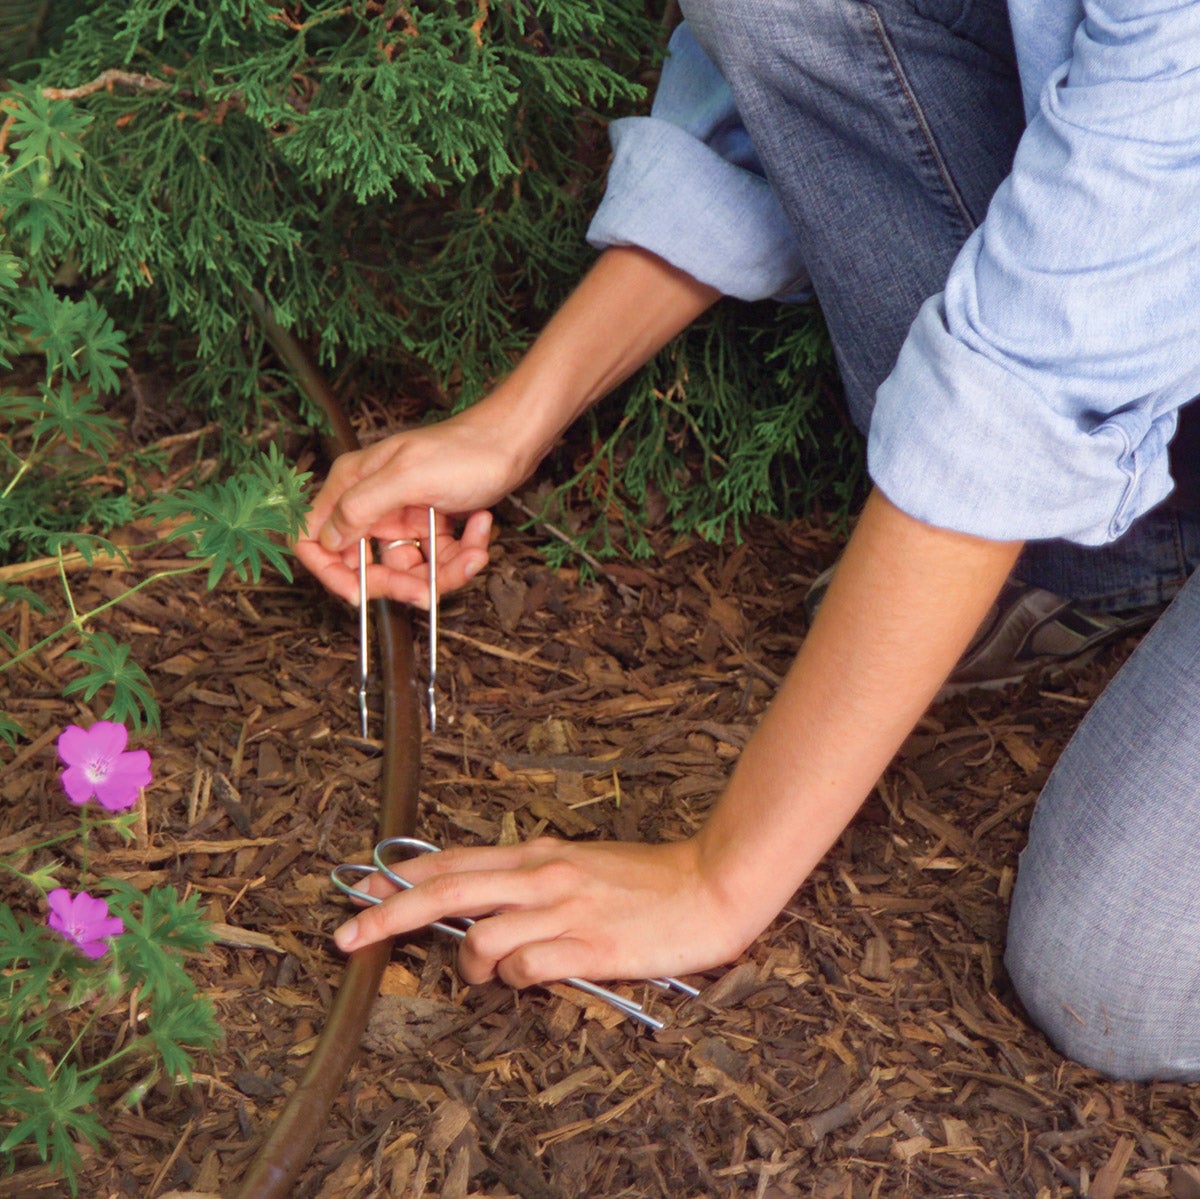
5. Stake the tubing in place
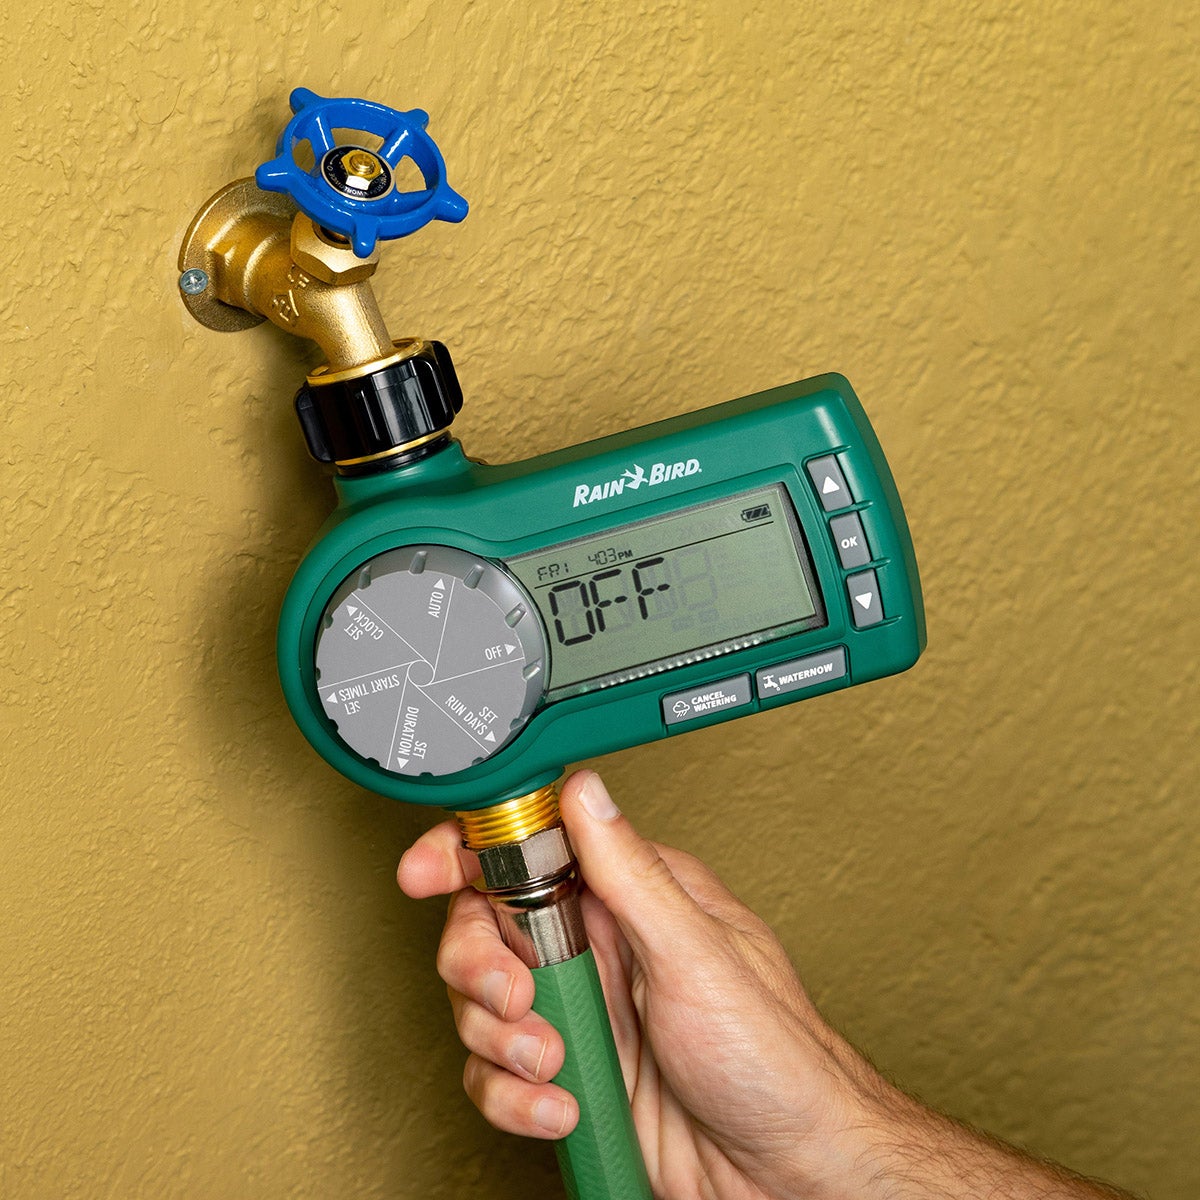
6. Add a timer to automate your system
Ready to get started?
Rain Bird has made it easy to plan your next drip irrigation project, with color-coded packaging.
First, choose your watering connection (yellow), then your tubing and fittings (orange), and lastly your watering devices (green or blue).

Learn more about each technology
Before You Lay Out Your Garden Plants
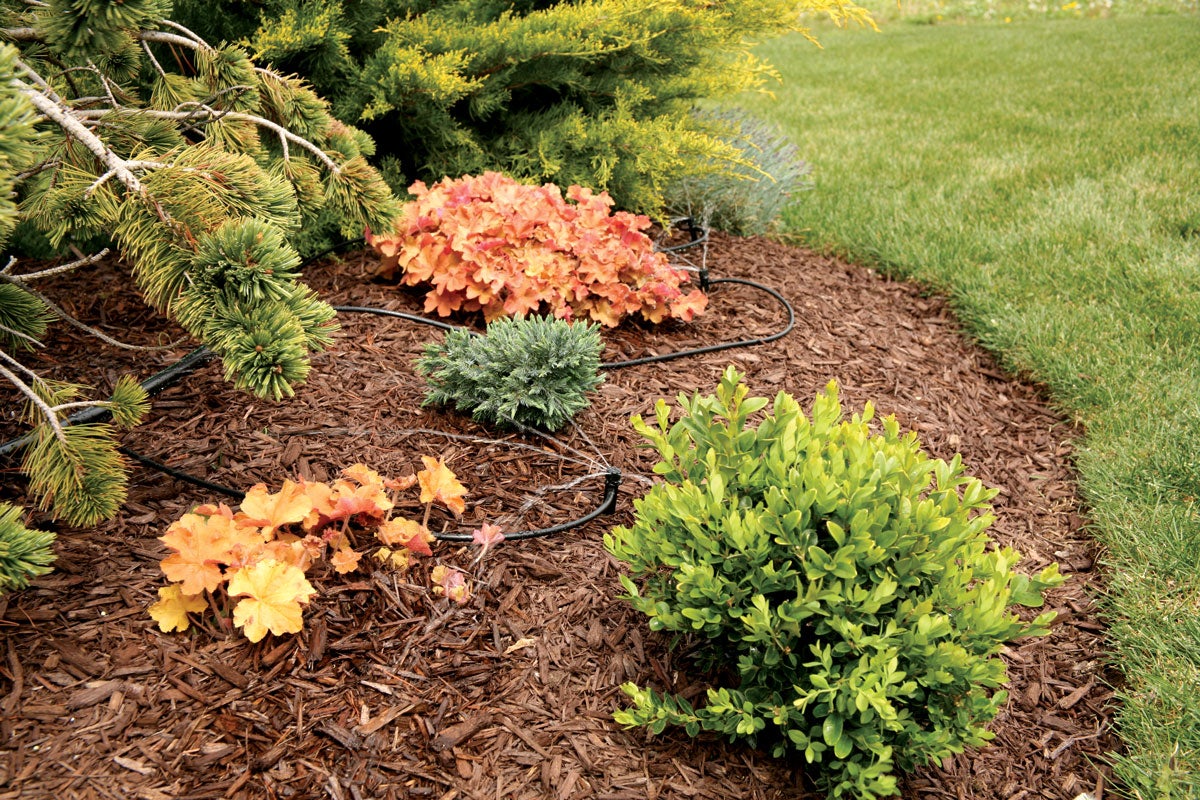
While many gardeners have strong convictions about how they like to locate plants in their garden design, we offer this additional layout tip as an optional consideration. Along with planning your plant spacing and arrangement based on ease of maintaining your garden, also think about where you will be locating the drip tubing and devices throughout the garden.
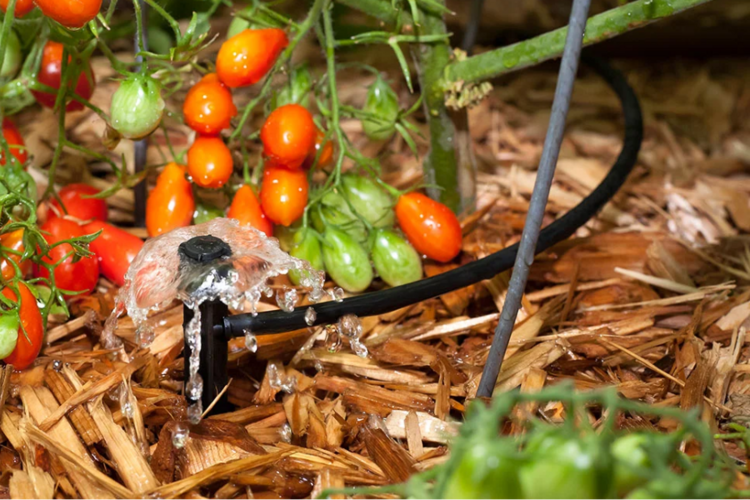
When planning any drip system for a garden, note that emitter tubing is generally best for row plants that have similar watering needs. This rugged tubing is easy to stake down in straight runs or loops. With its built-in emitters spaced every 12" or 18" and watering evenly at every point, emitter tubing is a good choice for plants that need roughly the same amount of water. Examples: carrots and radishes. Placing them in the same row and watering them with emitter tubing makes perfect sense for water scheduling.
For other plants with differing water needs, consider using a combination of staked drippers and micro bubblers. Because they allow fine tuning of flow rates, these handy devices allow the most options for watering customization. They can be routed easily with ¼" tubing to the root zone of individual plants. For drippers, select low flow-rate types (0.5 or 1.0 GPH) for onions and other plants that need less than 1 gallon of water per week after early stages. Use higher flow-rate drippers (2.0 GPH or 5.0 GPH) and micro bubblers for plants that need more water as noted in the table below. You can also substitute higher flow devices for use in sandy soil.
Drip Watering Guide
Notes:
- Watering times listed are based on well composted soil with average consistency and drainage.
- For sandy soil, which drains quickly, increase watering duration and frequency.
- For hard-packed clay soil, reduce watering duration to avoid drowning your plants.
- Some plants such as squash and carrots like soil that stays moist 4-8 inches below the surface. To encourage root growth, it is better to water those plants deeply once a week rather than light watering multiple times.
| Plant Types | Watering Devices | Water Needs per week | Cool Climate | Warm/Humid Climate | Hot/Arid Climate | |
|---|---|---|---|---|---|---|
|
Small Pots & Flowers
|
 |
Dripper 0.5 GPH | 0.5 to 1 gallon | 10 min. (1x/wk) | 15 min. (1x/wk) | 30 min. (1x/wk) |
|
Medium Pots & Garden Plants
|
 |
Dripper 1.0 GPH | 1 gallon | 15 min. (1x/wk) | 30 min. (1x/wk) | 45 min. (1x/wk) |
|
Large Pots
|
 |
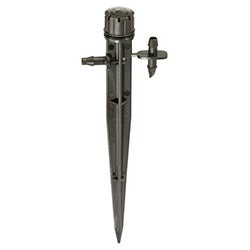
Umbrella Bubbler, 0-35 GPH (Adjustable) | 1.5-3 gallons | 10 min. (1x/wk) | 15 min. (1x/wk) | 30 min. (1x/wk) |
|
Small Shrubs
|
2 or 3 Needed |
Dripper 1.0 GPH | 2-3 gallons | 15 min. (1x/wk) | 30 min. (1x/wk) | 60 min. (1x/wk) |
|
Large Shrubs
|
2 or 3 Needed 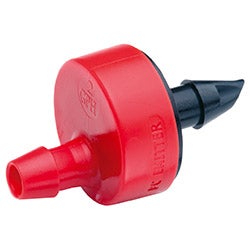 |
Dripper 2.0 GPH | 5-10 gallons | 45 min. (2x/wk) | 60 min. (2x/wk) | 90 min. (2x/wk) |
| 2 or 3 Needed |
Micro Bubblers 0-13 GPH (Adjustable) | 5-10 gallons | 30 min. (2x/wk) | 60 min. (2x/wk) | 90 min. (2x/wk) | |
|
Row Plants: Cauliflower, celery, corn, lettuce, parsnips, peas, potatoes, radishes, spinach
|
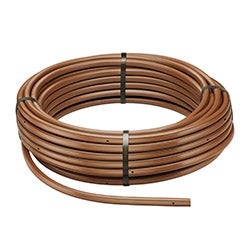 |
½" Emitter Tubing 0.9 GPH 12-inch or 18-inch spacing | 2 gallons | 45 min. (2x/wk) | 60 min. (2x/wk) | 90 min. (2x/wk) |
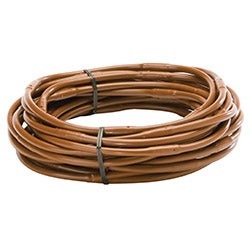 |
¼" Emitter Tubing 1.0 GPH 6-inch or 12-inch spacing Best for shorter tubing runs, less than 30 feet. |
|||||
|
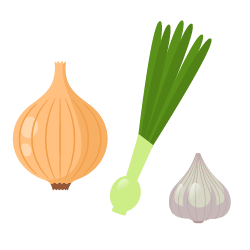
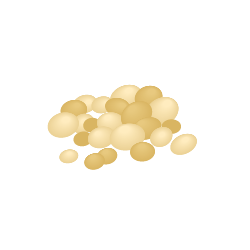
Onions
|
|
Dripper 0.5 GPH | 0.5 to 1 gallon | 45 min. (1x/wk) | 60 min. (1x/wk) | 90 min. (2x/wk) |
|
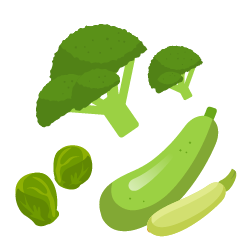
Broccoli, brussel sprouts, squash
|
|
Dripper 1.0 GPH | 1 to 1.5 gallons | 45 min. (1x/wk) | 60 min. (1x/wk) | 75 min. (1x/wk) |
|
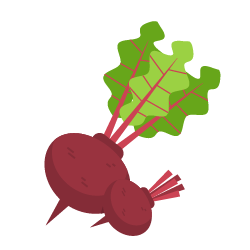
Beets
|
|
Dripper 2.0 GPH | 1 gallon | 45 min. (1x biweekly) | 60 min. (1x biweekly) | 75 min. (1x biweekly) |
|
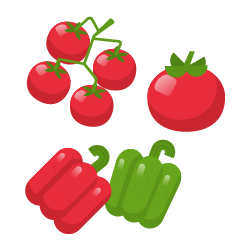
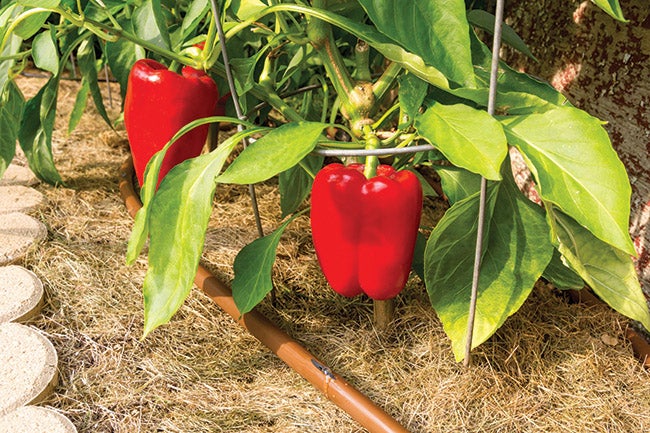
Tomatoes, peppers
|
Dripper 2.0 GPH | 2 gallons | 45 min. (2x/wk) | 60 min. (2x/wk) | 75 min. (2x/wk) | |
|
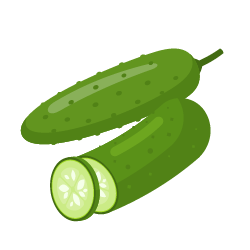
Cucumbers
|
 |
Micro Bubblers 0-13 GPH (Adjustable) | 1 gallon | 45 min. (1x/wk) | 60 min. (1x/wk) | 90 min. (2x/wk) |
|
Beans
|
2 gallons | 45 min. (1x/wk) | 60 min. (1x/wk) | 75 min. (1x/wk) | ||
|
Closely Spaced Plants
|
|
¼" Emitter Tubing 1.0 GPH 6-inch or 12-inch spacing Best for shorter tubing runs, less than 30 feet. |
0.5 to 1 gallon | 15 min. (1x/wk) | 30 min. (1x/wk) | 60 min. (1x/wk) |
|
Mixed Spacing Plants
|
 |
Micro Sprays, 0-31 GPH (0'-10' distance) | 0.5 to 2 gallons | 10 min. (1x/wk) | 20 min. (1x/wk) | 40 min. (1x/wk) |
|
Small Trees
|
2 Needed
|
Dripper 2.0 GPH | 2 gallons | 45 min. (2x/wk) | 60 min. (2x/wk) | 90 min. (2x/wk) |
|
2 Needed
|
Micro Bubblers 0-13 GPH (Adjustable) | 2 gallons | 45 min. (2x/wk) | 60 min. (2x/wk) | 90 min. (2x/wk) | |
|
Large Trees
|
2 Needed
|
Dripper 5.0 GPH | 5-10 gallons | 23 min. (2x/wk) | 45 min. (2x/wk) | 60 min. (2x/wk) |
|
2 Needed
|
Micro Bubblers 0-13 GPH (Adjustable) | 5-10 gallons | 10 min. (2x/wk) | 20 min. (2x/wk) | 30 min. (2x/wk) | |


As plants mature, be sure to check them periodically for signs of dryness. It is likely that hotter, dryer days will indicate a need for increased watering. If you have your garden layout planned in sections by watering rates as noted above, you may be able to increase or decrease watering simply with a single adjustment for the entire garden.
Advanced Control Tips
- Add a manual shutoff valve to stop flow in a section that is getting too wet. Valves are available to fit ¼" as well as ½" tubing.
- Connect your drip system to a hose-end timer to automate your drip irrigation system or soaker hose for better scheduling consistency and worry-free watering convenience.
- Save this watering guide for reference when you are ready to set up and schedule your drip watering system.
To ensure your drip irrigation system continues to operate efficiently, follow these maintenance tips:
- Inspect Regularly: Check the system for clogs or leaks and clean or replace filters and emitters as needed.
- Adjust for Weather: Modify the watering schedule based on weather conditions to prevent over or under-watering.
- Winterize the System: In colder climates, drain the system before winter to prevent damage from freezing. Remember to disconnect any timers from outside hose faucets and bring them indoors.
The Advantages of Owning an Automatic Drip Irrigation System
If you are considering installing an automatic drip irrigation system on your own or hiring a professional to do the job, the following answers to frequently asked questions can help get you started towards owning the most convenient and efficient way to water your plants.
Will a drip irrigation system use more water than I am currently using?
No. -- In fact, a drip irrigation system may actually save you water. A well designed, efficient irrigation system applies exactly the amount of water needed by your landscape. You will never again have to worry about wasting water if you forget to turn off the hose.
Does having a drip irrigation system really save me time?
Yes. -- You won't have to spend another minute of your valuable leisure time watering your plants. Your new system will do all the watering for you - even when you are away from home!
Will an automatic drip irrigation system water as well as I do when I water by hand?
An automatic system will do a more efficient job because it will be designed based on your landscape's diverse watering needs, using specific products designed to water trees, shrubs or garden plants.
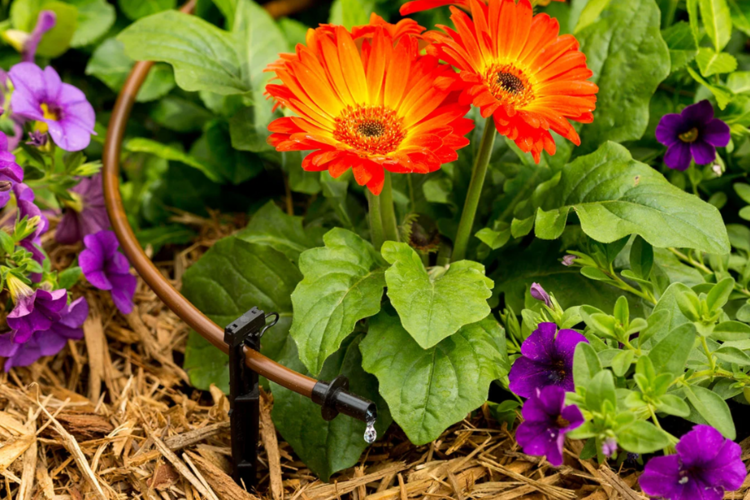
What are the best drip devices for a garden?
Drip devices are designed with different water flow rates (expressed as GPH – Gallons Per Hour). From the watering guide below, for example, you might choose a staked 1 GPH dripper to water a summer squash plant which needs about 1 gallon of water per week in warm, humid climates.
From that same watering guide, we also see that squash likes the soil to be kept somewhat moist. So rather than flood the soil, a good rule of thumb would be to water squash twice per week as a general schedule, 30 minutes each time or longer in hot, dry periods.
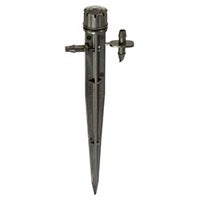
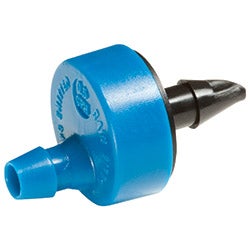
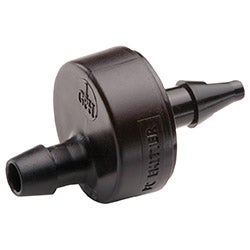
While there are many specialty drip watering devices, the three main types used in vegetable gardens are:
 |
Staked Drippers
|
 |
Emitter Tubing with Built-In Drippers
|
 |
Micro Bubblers
|
Micro Sprays and Misters are a fourth type. But for gardening uses, they should be adjusted down to lowest flow rate to direct the watering to smaller areas. Otherwise, they tend to apply water to the surrounding soil, encouraging weed growth. Commonly mounted on risers for wide area coverage of taller plants, another disadvantage of micro sprays is that the water goes onto the whole plant including the leaves. If you use micro sprays in your garden, a good rule of thumb is to schedule watering in early morning or late afternoon so that the water can evaporate from the leaves, avoiding fungal growth.
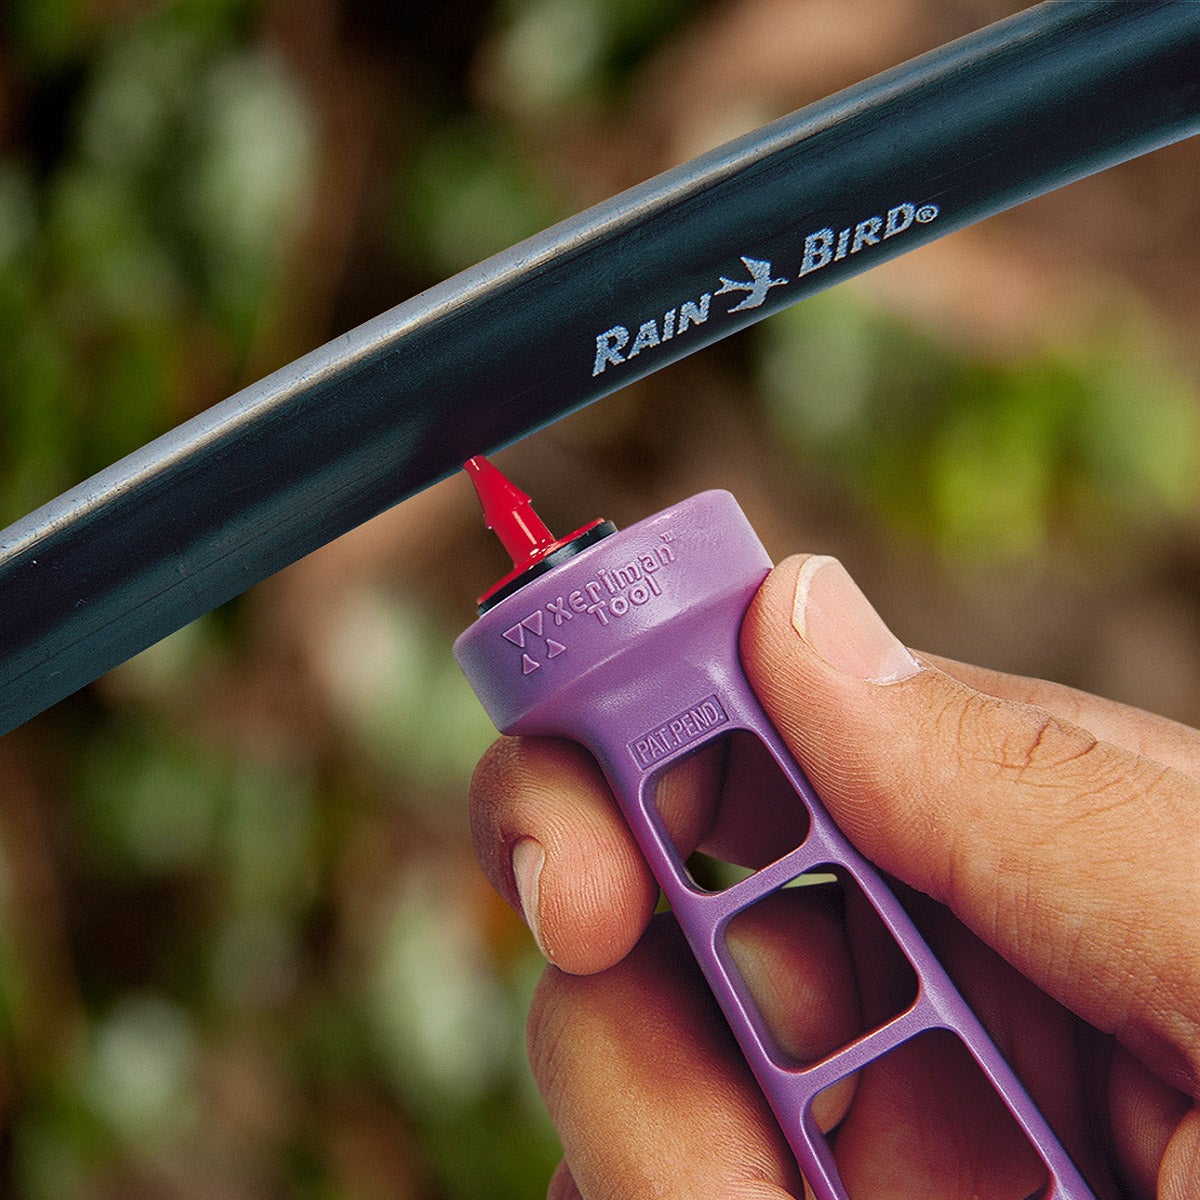
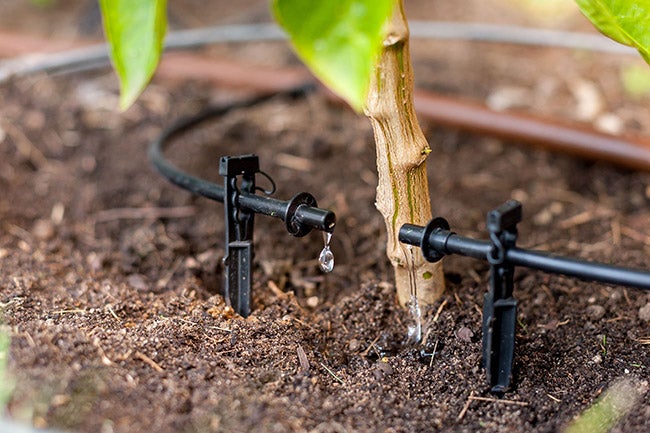
How do I fix clogged tubing and emitters?
Drip irrigation uses a system of hoses, tubes and emitter devices, sometimes called drippers, with small openings that allow water to drip out slowly. Emitters have very small openings ranging from 0.2 to 2.0 mm in diameter and can become blocked with sediments naturally found in water. To fix this:
- Use the Emitter Installation Tool to pry the old or clogged dripper from the tubing.
- Plug the hole with a 1/4" Tubing Plug.
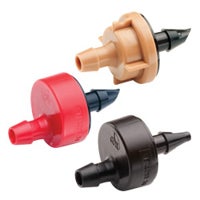
- Choose an appropriate new pressure compensating spot watering dripper flow rate. Rain Bird pressure-compensating drippers are color coded for easy reference: blue for 0.5 gallons per hour (GPH); black for 1.0 GPH; or red for 2.0 GPH.
- Insert a new dripper and reconnect 1/4" tubing.
- Replace 1/4" tubing and stake.
Consider installing a filtration system and periodically flush the system to remove sediments that may have accumulated.
How do I address uneven water distribution?
Blocked, clogged, or leaky drippers or tubing can result in some plants receiving too much water while others don't receive enough. Here's how to address it:
- Check the water flow at the emitters and adjust the system to ensure even distribution. This may involve removing some drippers or replacing one or more drippers with ones with a lower flow rate. For example, swapping a 2.0 GPH (red) dripper to 1.0 GPH (black).
- Consider using pressure-compensating emitters to maintain consistent flow regardless of pressure variations.
- Add a pressure regulator or shut-off valve to different sections of your system.
How do I establish adequate watering coverage?
If the placement and spacing of emitters don't cover the plant's root zone adequately, it can lead to inefficient water delivery. To address this problem:
- Check the spacing and placement of emitters and move them as needed to ensure proper coverage of the plant's root zone.
- Consider using adjustable or multi-stream emitters, such as bubblers or sprays to customize water distribution based on plant needs.
How should I handle root and bug intrusion into my drip line?
Plant roots and insects can find their way into drip irrigation tubing and disrupt water flow. Follow these steps to prevent root intrusion:
- Trim or redirect roots away from drip tubing.
- Rain Bird Sub-Surface Emitter Tubing contains copper shielding to protect from root intrusion. With no harsh chemicals needed to protect emitters from root intrusion, it’s ideal for organic gardening.
- Attach a bug guard, included with 1/4" tubing stakes, to prevent insects from entering the end of the tubing.
How should I treat broken or leaky tubing?
Drip irrigation systems contain small parts designed to be inconspicuous among your garden plantings. As such, their parts can be vulnerable to accidental damage from common garden tools like shovels, rakes, lawnmowers and string trimmers. Tubing can even be susceptible to animal bites. Here's how to prevent and fix system damage:
Inspect the system regularly for any physical damage, such as leaks, breaks, bites or disconnections.
To repair broken or leaky tubing, cut out the damaged section and use Barbed Couplings or Barbed Tees to join a new section of tubing.
Regular maintenance is crucial for the proper functioning of your drip irrigation system.
How do I get started with a raised bed garden?
If you have noticed the increasing popularity of raised garden beds over the last several years, you are not alone!
You can find raised beds in rural backyards, integrated into larger garden areas, and on patio decks and urban gardens. Ranging from simple cedar-plank squares to elevated beds on legs, they can be as small as a container or large enough to grow large plants and flowers.
Raised beds are popular because they offer countless benefits and almost no drawbacks. Before we talk about raised beds and how to build one, let’s take a look at the benefits of this kind of gardening.
A Step-by-Step Guide to Building a Raised Bed
1. Choose the Best Style for You
2. Think About Materials
3. Build Your Structure
4. Prepare the Raised Bed for Soil
5. Add Soil
6. Add an Irrigation System
See our blog for the full writeup.
How long should I water my fruit tree?
Calculating Water Needs
Here’s a formula to help determine the precise amount of water your plants or trees need each week to stay healthy and thrive in their specific environment. Keep reading and, we'll walk you through the calculation methods step by step so you can confidently determine the exact water needs for your plants or trees.
Total Water to Apply (in) = (Evapotranspiration (ET) × Water Need × Density Factor × Microclimate Adjustment) ÷ Irrigation Efficiency
Each variable in this formula accounts for critical factors that influence water requirements.
- Evapotranspiration (ET) measures the water lost from soil and plants due to evaporation and transpiration.
- Water Need factor adjusts this value based on the specific type of plant or tree.
- Density Factor accounts for how densely plants are spaced.
- Microclimate Adjustment considers environmental factors, like shade or exposure to wind or nearby heat-absorbing surfaces.
- Irrigation Efficiency reflects how much water reaches the roots versus being lost in the process.
Let’s imagine you have a mature apple tree with a canopy diameter of 10 feet. It's located in an area with a moderate climate, and you're using a drip irrigation system. We want to calculate how many gallons of water the tree needs.
Values:
- Evapotranspiration (ET): Let's assume the average daily ET for your area during the peak growing season is 0.2 inches. (You'd typically get this from local weather data or agricultural extension services.)
- Water Need: Apple trees have a water need factor of around 0.8.
- Density Factor: Since it's a single tree, the density factor is 1.
- Microclimate Adjustment: Your tree is near a south-facing wall, slightly increasing heat, so we'll use a microclimate adjustment of 1.1.
- Irrigation Efficiency: Drip irrigation is efficient, so we'll use 0.9 (90%).
Calculations:
1. Total Water to Apply (inches):
Total Water = (Evapotranspiration x Water Need x Density Factor x Microclimate Adjustment) ÷ Irrigation Efficiency.
- Total Water = (0.2 inches x 0.8 x 1 x 1.1) ÷ 0.9.
- Total Water = 0.176 ÷ 0.9, which is approximately 0.196 inches.
2. Ground Area (square feet):
- Ground Area = (Tree Diameter2) x 3.14.
- Ground Area = (10 feet2) x 3.14.
- Ground Area = 100 square feet x 3.14.
- Ground Area = 314 square feet.
3. Convert Inches to Gallons:
- 1 inch of water over 1 square foot is equal to 0.623 gallons.
- So, 0.196 inches over 314 square feet is:
- Total Gallons = 0.196 inches x 314 square feet x 0.623 gallons per inch per square foot.
- Total Gallons is approximately 38.3 gallons.
Conclusion:
In this example, your apple tree needs approximately 38.3 gallons of water each week during the growing season. Use the “cycle and soak” method to break up your irrigation times into shorter periods to allow water to be absorbed deeply into the soil. Also be mindful of rainfall—if there is significant rain, you can adjust the amount of supplemental watering accordingly.
By using this formula, you can calculate how much to irrigate your fruit trees and avoid overwatering or underwatering, promoting both plant health and water conservation.
Read more about fruit tree irrigation on our blog.
Should I use a soaker hose or emitter tubing?
Drip Irrigation is a precise watering method that delivers water directly to the plant's base through a network of tubing, connectors, and emitters. It precisely targets the root zone, minimizing evaporation and runoff.
A soaker hose is simply a porous tube that releases water along its length. This presents limitations for landscape design and leads to inefficient irrigation. Since soaker hoses are just tubes with holes, water distribution is uneven due to pressure loss, often resulting in overwatering at the start and underwatering at the end, which can harm plant health and waste water.
Drip emitter tubing is an advanced irrigation technology that delivers water directly to the roots of plants through small emitters embedded along the tubing. These pressure compensating emitters ensure that water is delivered consistently from the beginning of the line to the end, even on slight slopes. This precision is essential for maintaining uniform soil moisture levels. It conserves water and promotes robust plant growth by ensuring each plant receives the exact amount of water it needs.
Learn why drip irrigation beats soaker hoses for home landscapes on our blog.
Additional Tips for Using Drip Irrigation
To fully harness the power of drip irrigation against garden pests and diseases, here are a few additional tips:
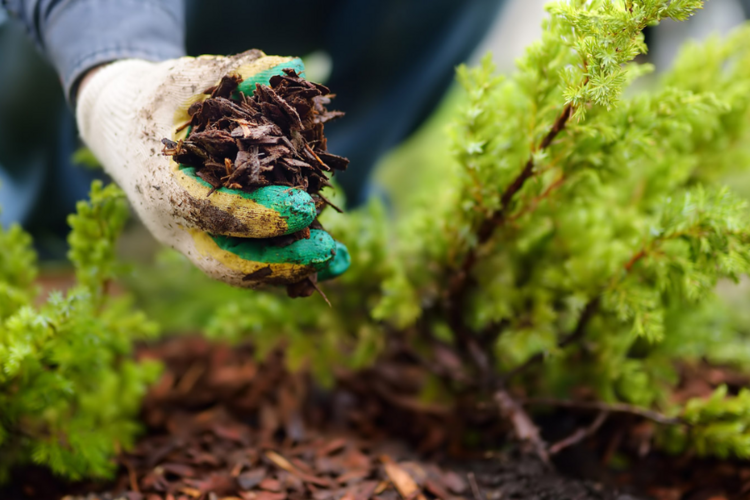
- Use mulch: A layer of organic mulch can further reduce moisture levels in your garden and discourage pests from taking up residence.
- Monitor soil moisture: Regularly check the moisture levels in your garden to ensure that you are not over or under-watering. Adjust your drip irrigation system accordingly.
- Start with a kit: The wide variety of drip components can be daunting. Fortunately, Rain Bird offers several drip irrigation kits that bundle all the components you might need for common drip irrigation applications, making it easy to get started.

Raised Bed Garden Kit
$49.98

Landscape & Garden Drip Watering Kit
$66.99

Patio Plant Drip Watering Kit
$19.99

Drip Irrigation Repair & Expansion Kit
$34.99
Implementing drip irrigation can deter pests and diseases while conserving water. Explore Rain Bird’s range of drip irrigation products to find the perfect system for your garden, and visit our blog for more tips on sustainable gardening practices.
Let's Stay Connected
Interested in Rain Bird products, water-efficiency, and promotions? Fill out the form below to get the latest updates.
Rain Bird Corporation is the controller of your personal data and treats it in accordance with its Privacy Policy.