Get Started with Drip Irrigation in Your Garden
Having a healthy and vibrant garden doesn't have to be complicated or time-consuming. With a drip irrigation system, you can ensure that each of your plants gets just the right amount of water. From using drippers and bubblers to adding an automated timer, setting up a drip irrigation system in your garden is easy. Follow these simple steps to create your own efficient and effective drip irrigation system for healthier plants.
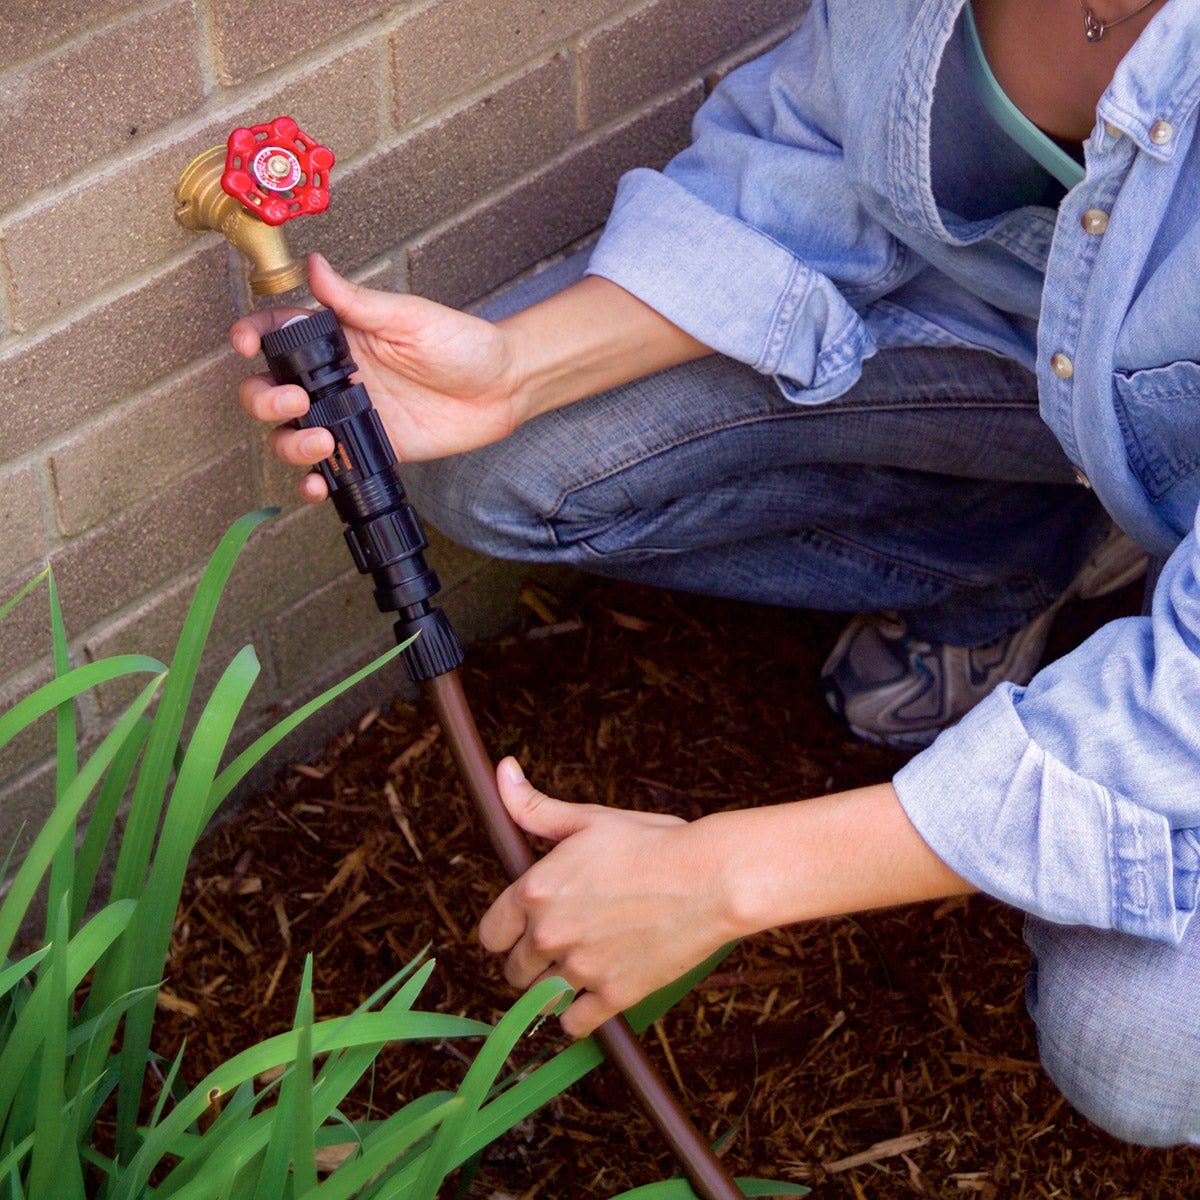
Connect to a water source
The first step in installing a drip irrigation system is to connect it to a water source. This is most commonly, your garden hose, but you can connect to a rain barrel if you have one.
Check that your water source has adequate water pressure. You can use a pressure gauge to tell you the water pressure in pounds per square inch (PSI). Most drip irrigation systems require a minimum of 20 PSI to work effectively. If the water pressure is too low, you may need to install a booster pump to increase the pressure.
Another important consideration is to be sure your water is clear of dirt and debris that can clog the tubing and emitters, reducing the efficiency of your irrigation system. To prevent this, it is recommended to use a filter to capture excess sediment and other debris before it enters the tubing.
Once you have checked the water pressure and installed a filter, you can connect the drip irrigation system to the water source. For “set it and forget it” operation, you can attach a timer to automatically turn on and off your system at specific times that you program. See our article about how to install a Rain Bird Hose End Timer
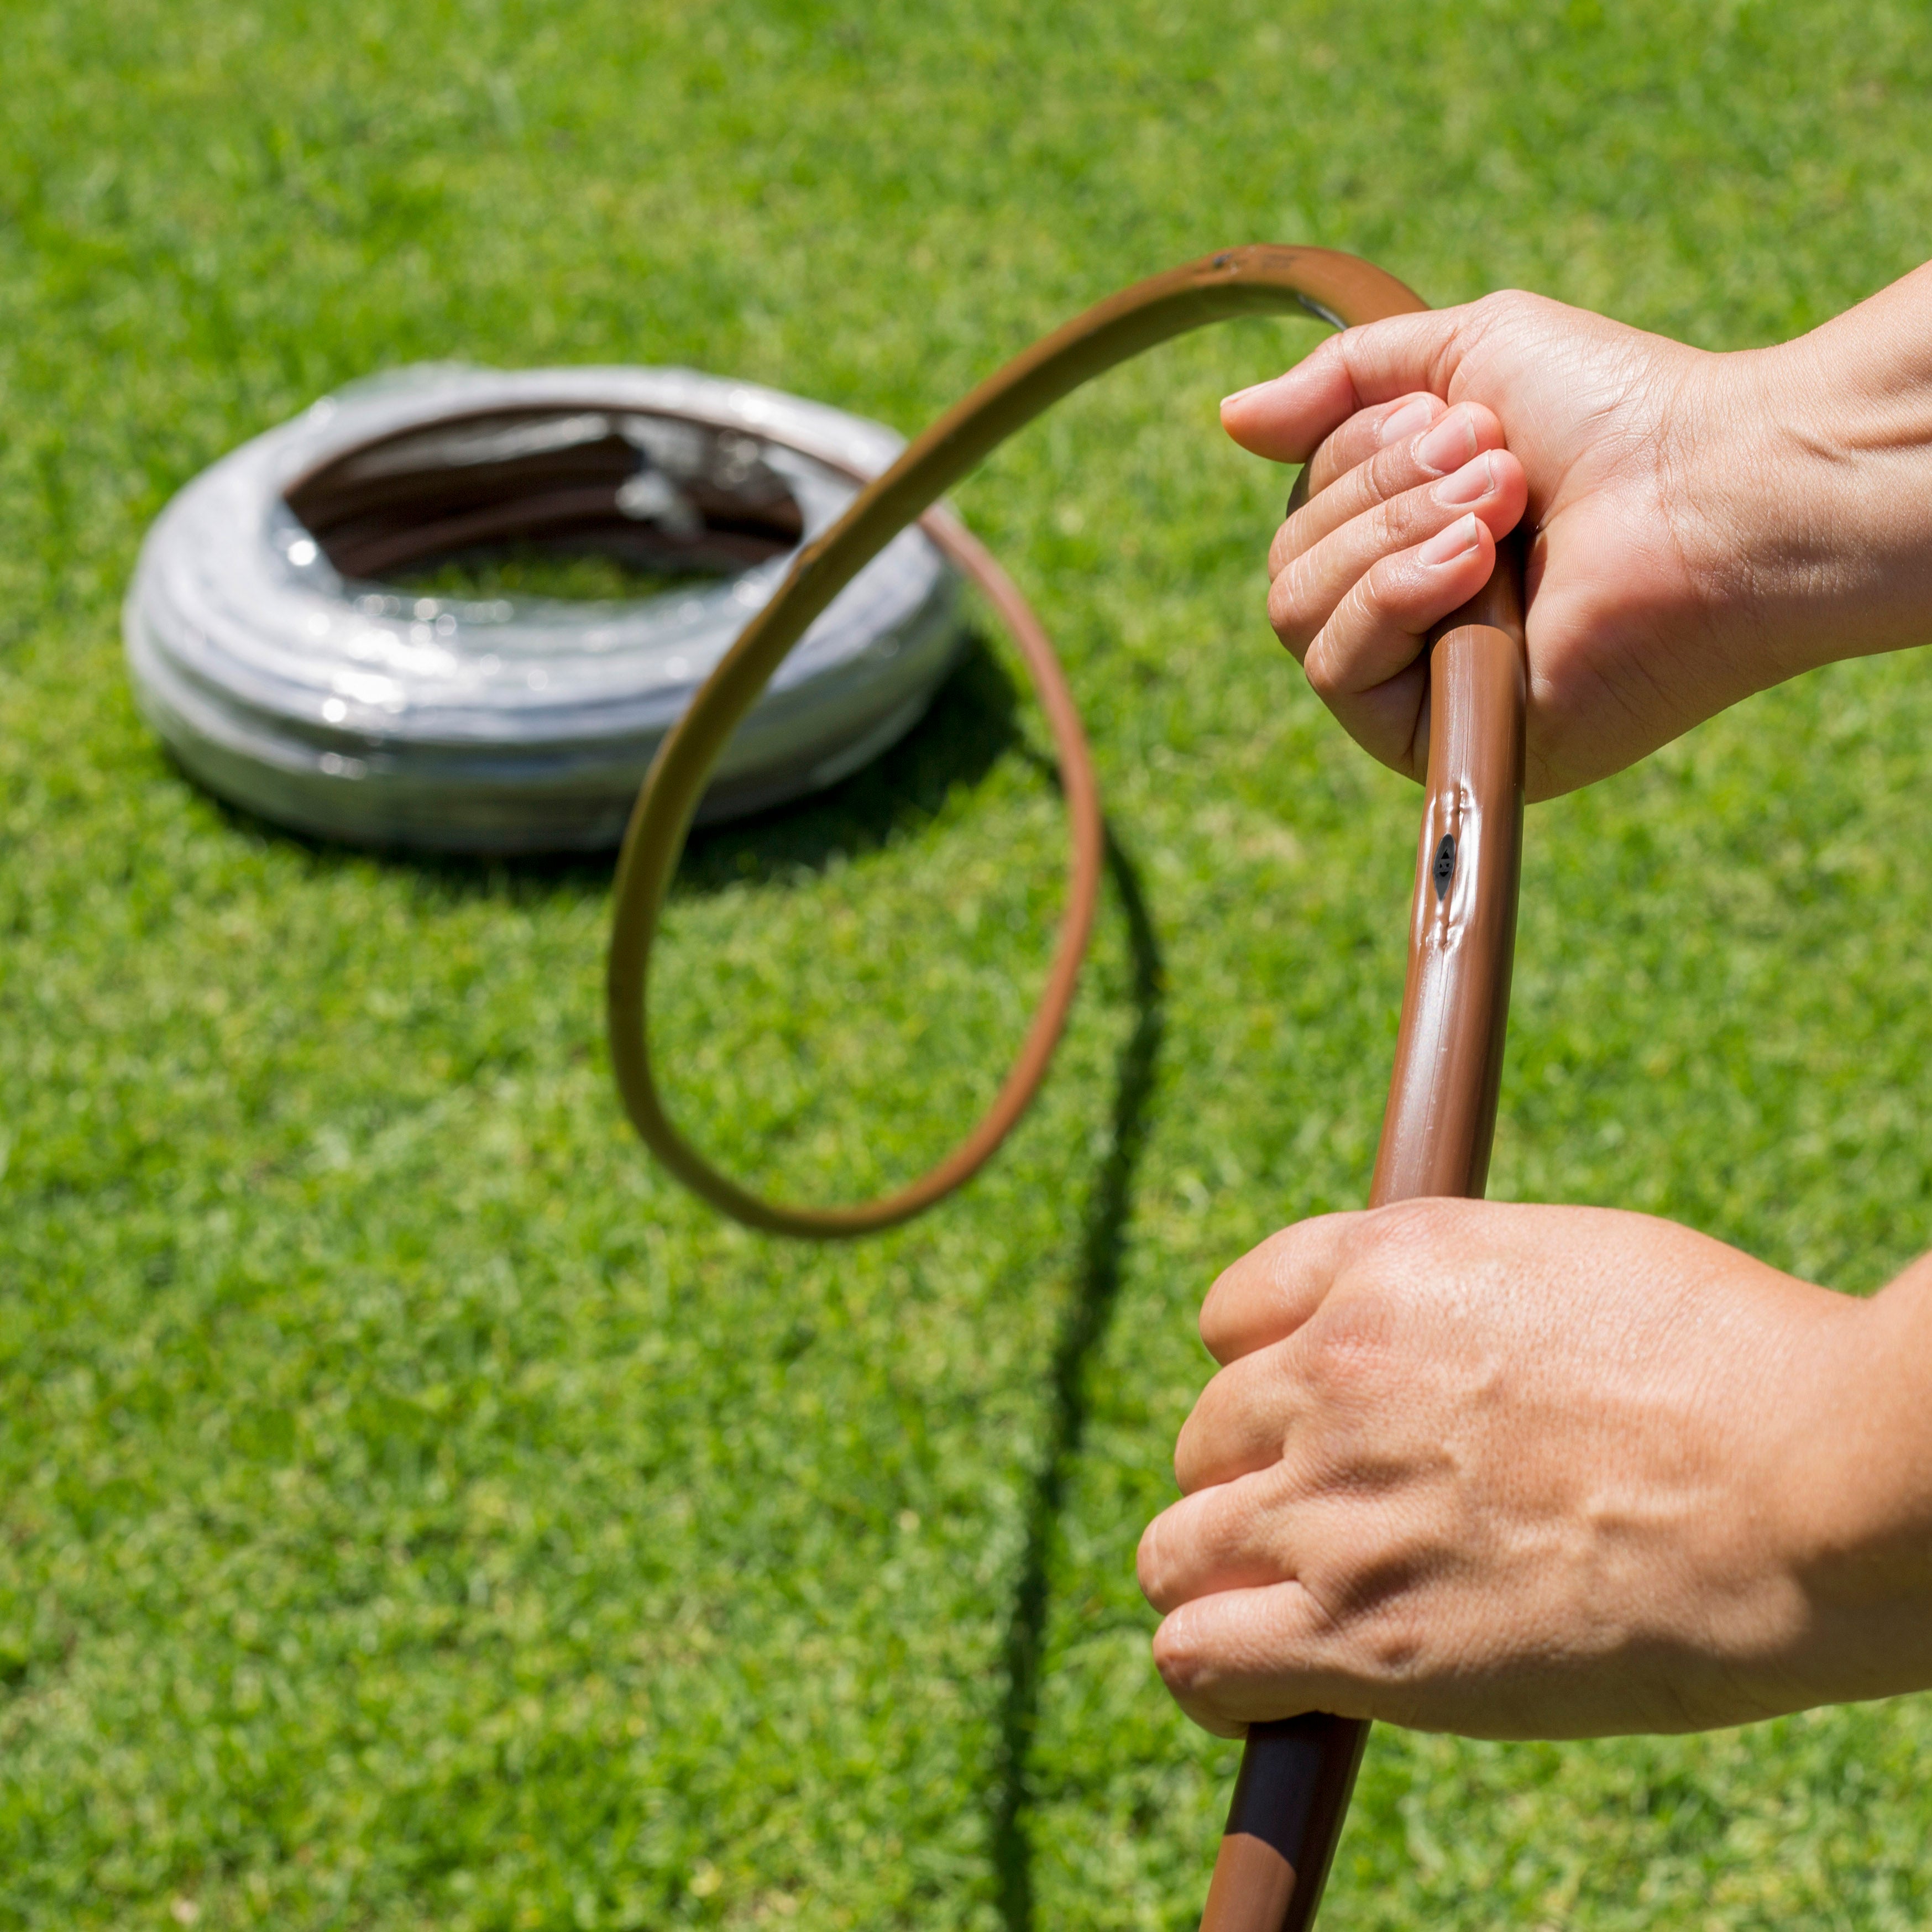
Run 1/2-inch tubing to your planting area
When setting up a garden irrigation system, it is important to choose the right size tubing for your needs. For most gardens, 1/2-inch tubing is a great choice as it balances water flow and pressure well.
Before you begin running the tubing, take some time to plan out your garden layout and decide where you want to place your watering devices. This will help you determine the best path for the tubing and ensure that you have enough of it to cover the entire area.
Once you have your plan in place, it's time to start running the tubing. Begin by attaching the tubing to your water source and laying it along the length of your garden. Be sure to secure it in place with stakes or clips to prevent it from shifting or moving around.
As you run the tubing, be mindful of any obstacles or potential hazards in your garden, such as rocks or tree roots. You may need to adjust the tubing path to avoid these obstacles and ensure it runs smoothly.
When you reach the end of your garden, cap off the tubing to prevent water from leaking. You can then connect your watering devices, such as drip emitters or sprinkler heads, to the tubing and adjust the flow as needed.

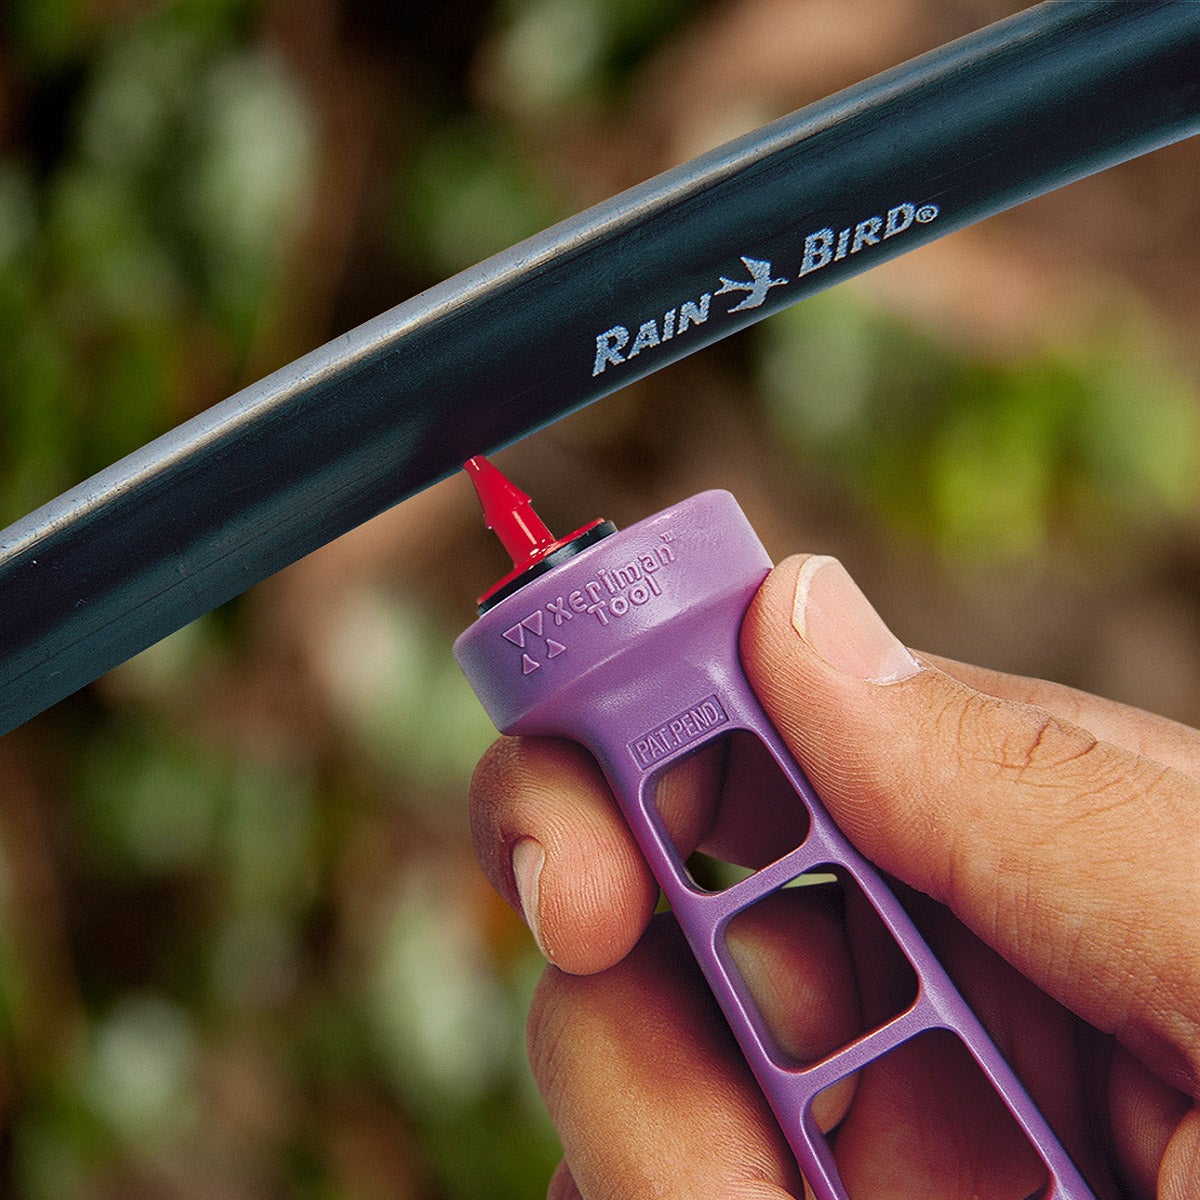
Use 1/4-inch tubing to position watering devices
It’s important for each plant in your garden to get the right amount of water. This can be difficult, particularly if you have a large garden or many varieties of plants with different water needs. However, by using 1/4-inch tubing to position watering devices, you can make the process much easier and more efficient.
Smaller, more flexible ¼ inch tubing is designed to connect the main ½ inch water line and the individual watering devices. Simply attach the watering devices, such as emitters or drippers, to the tubing and position them at the base of each plant.
One benefit of using 1/4-inch tubing is that it allows you to adjust the position of the watering devices easily as needed. This is especially useful as your plants grow and change in size through the season. Simply move the tubing and watering devices to accommodate the changing needs of your plants. Using 1/4-inch tubing to position watering devices is an efficient and effective method that can save you time and effort in the long run, helping promote healthy plant growth.
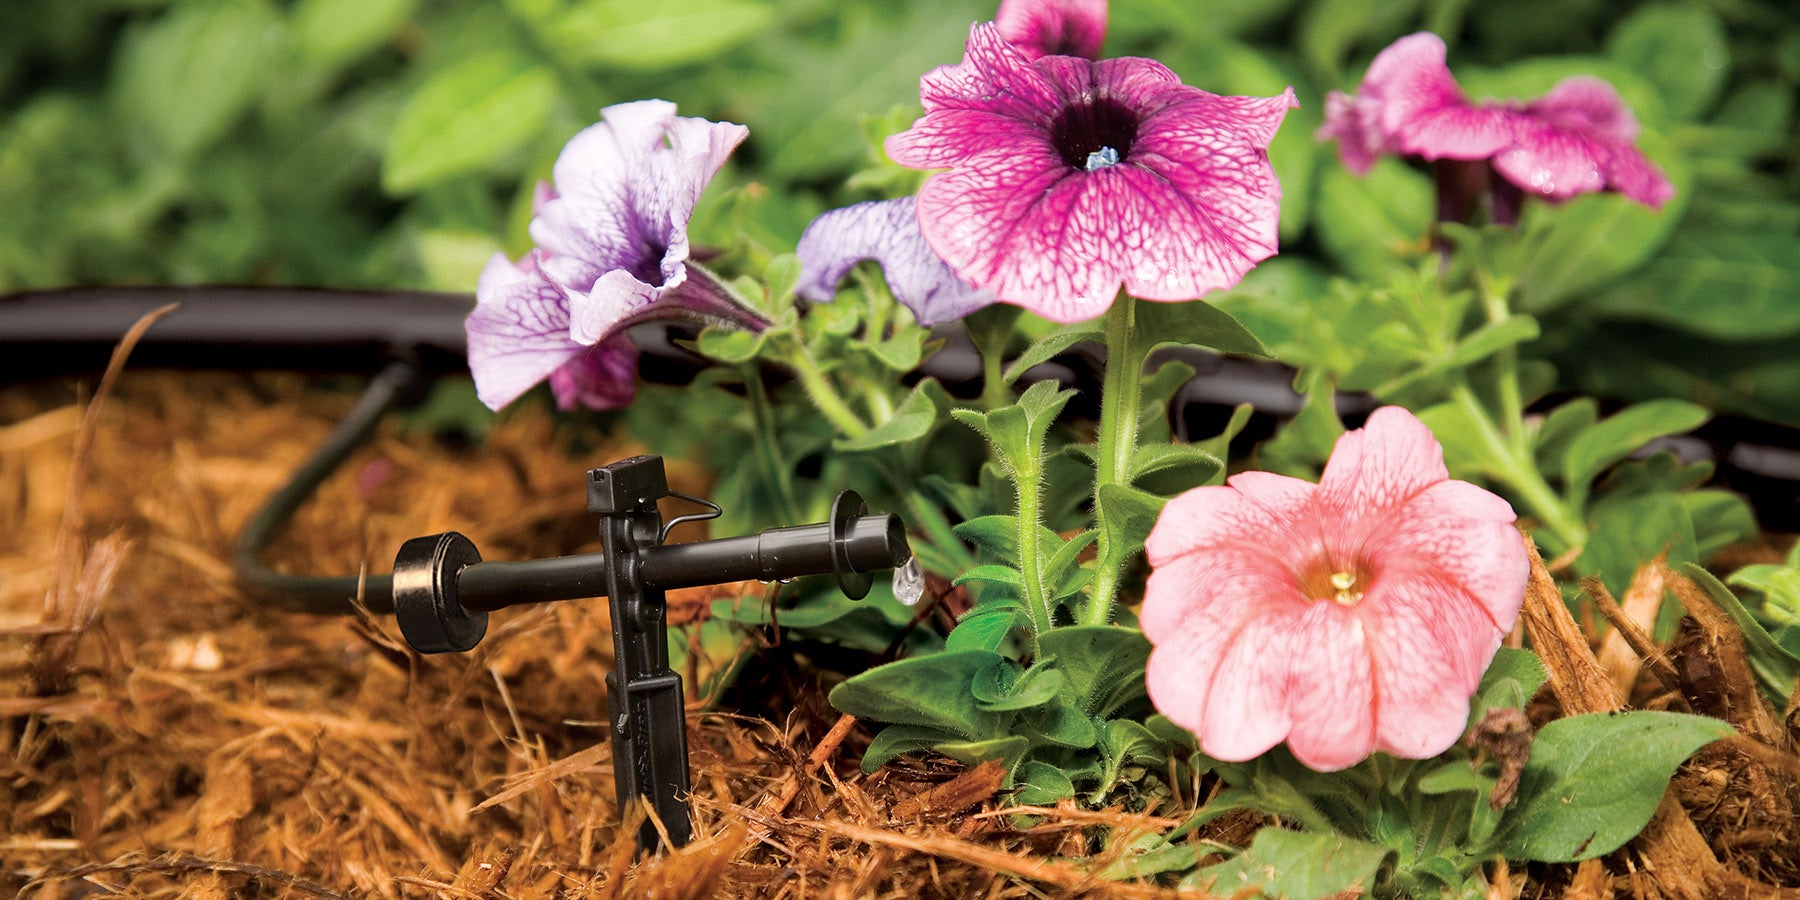
Attach watering devices
You can choose from various of watering devices to attach to your drip system.
Drippers, sometimes called spot watering emitters, provide a slow drip of water to the base of each plant or cluster of plants.
Staked bubblers provide extra versatility for larger areas or pots, allowing you to adjust the water flow from a slow drip to a stream.
For long rows of plants, planters or window boxes, you might consider using ¼ inch emitter tubing. With its build-in emission devices spaced every six inches, it can be placed end-to-end of the planter for even watering of all plants.
TIP: For a small garden, you might wish to start with a kit. For example, Rain Bird's Landscape & Garden Drip Watering Kit includes everything needed except a timer which can be purchased separately.
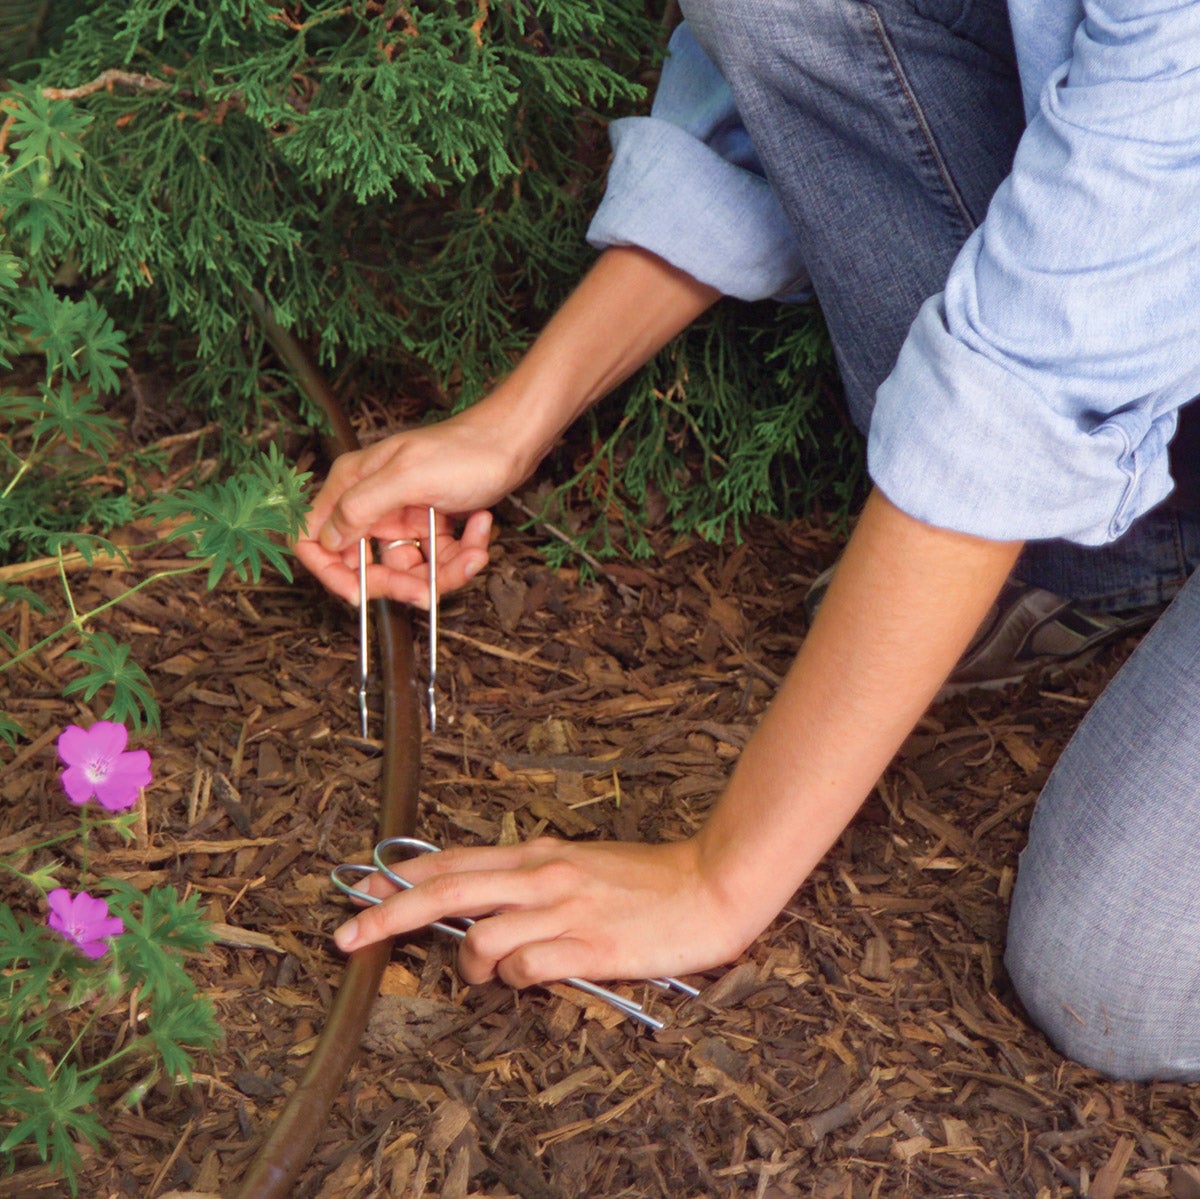
Stake the tubing in place
With the tubing and watering devices in place, use stakes to hold the tubing in place so it doesn't move or become dislodged. This will also help to keep the watering devices in place and pointing in the right direction.
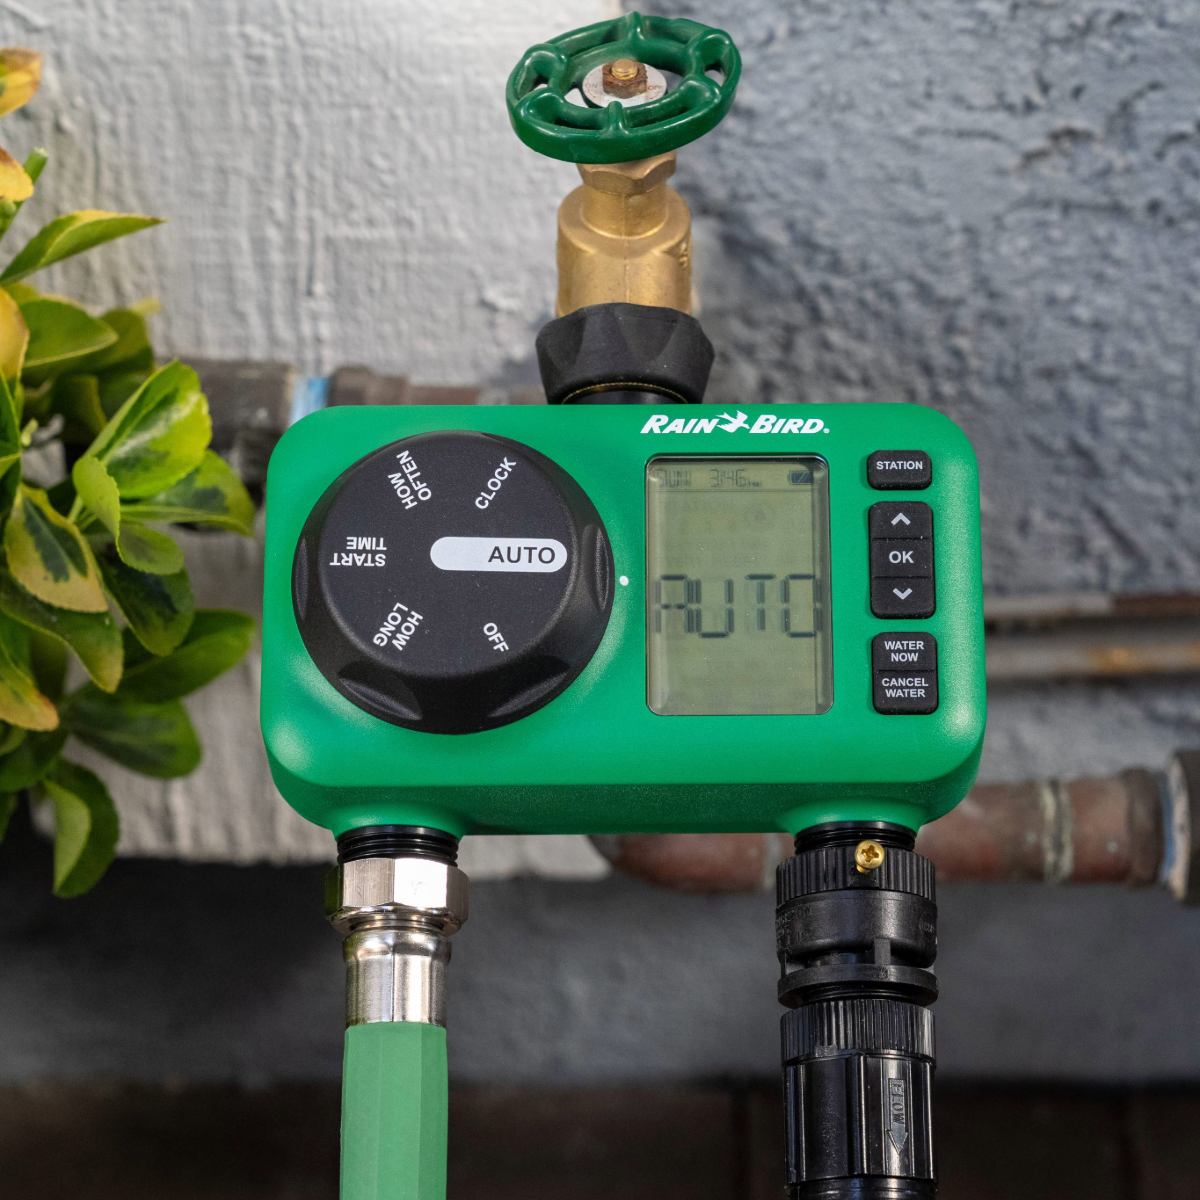
Add a timer to automate your drip irrigation system
If you want to take your drip irrigation system to the next level, you can add a timer, such as the Rain Bird Easy to Program Hose End Timer, Electronic Hose End Timer, or Premium Hose End Timer to automate the system. A timer will turn the water on and off at specific times, saving you time and reducing water waste. Simply set the timer to run when you want the plants to be watered, and let the system take care of the rest.
With just a few easy steps, you can install a drip irrigation system to help keep your plants healthy and save you time and money in the long run. Give it a try and see the difference it can make in your garden.

