Effortless Drip Irrigation: Backyard Freedom with New Rain Bird Timers
Summer weekends are meant for relaxing, not dragging a heavy hose across the yard.
Your garden should be a source of enjoyment, not a daily chore. The easiest way to reclaim your time is to automate your watering routine.
By pairing a water-efficient drip irrigation system with Rain Bird’s HET100 (1-station) or HET200 (2-station) hose end timers, you can completely transform how you care for your landscape. Set your schedule once and let the timer take care of the rest.
These are more than timers, they're backyard freedom.
Automated watering does not just save time. It helps reduce water waste, lower your monthly water bill, and support a healthier planet. In this guide, we will walk you through how to set up a simple, automated drip irrigation system using the Rain Bird HET100 and HET200 hose end timers.
Why Choose Drip Irrigation?
Switching from manual watering or traditional sprinklers to a drip system delivers real benefits, for your plants, your wallet, and your time.
High Water Efficiency
Drip irrigation delivers water slowly and directly to the root zone, right where plants need it most. This minimizes evaporation and prevents water from being lost to wind drift. In many cases, drip systems can use up to 50 percent less water than traditional sprinklers, helping you conserve water and reduce your monthly bill.
Effortless Time Savings
Your time is valuable. With an automated drip system, there is no more standing in the yard with a hose. Whether you are at work, running errands, or away on vacation, your plants stay properly watered without any effort.
Improved Plant Health
Unlike overhead watering with a bucket or a sprinkler, drip irrigation keeps foliage dry, reducing the risk of fungal diseases and leaf spot. The slow, steady application also prevents soil erosion and limits water exposure to surrounding areas, helping reduce weed growth.
Build Your Drip System in a Weekend
Setting up a drip irrigation system is easier than you might think. No special tools or plumbing experience required. In just a few hours, you can create a reliable, efficient watering system for your yard.
Step 1: Gather Your Components
Before you begin, make sure you have everything you need:
- Rain Bird HET100 or HET200 hose end timer
- Backflow preventer (protects your water supply)
- Pressure regulator (ensures proper pressure for drip systems)
- Tubing adapter (to connect your drip irrigation tubing to a water source, most commonly from a hose end timer)
- Distribution tubing and fittings (to carry water from your source to each plant)
- Watering emitters (drippers, bubblers, etc.)
For smaller setups, Rain Bird's Patio Plant Watering Kit offers a convenient way to get started, with most of the necessary components included (timer sold separately).
TIP: Download this handy Drip System Checklist to plan your layout and keep track of parts and measurements before you begin.
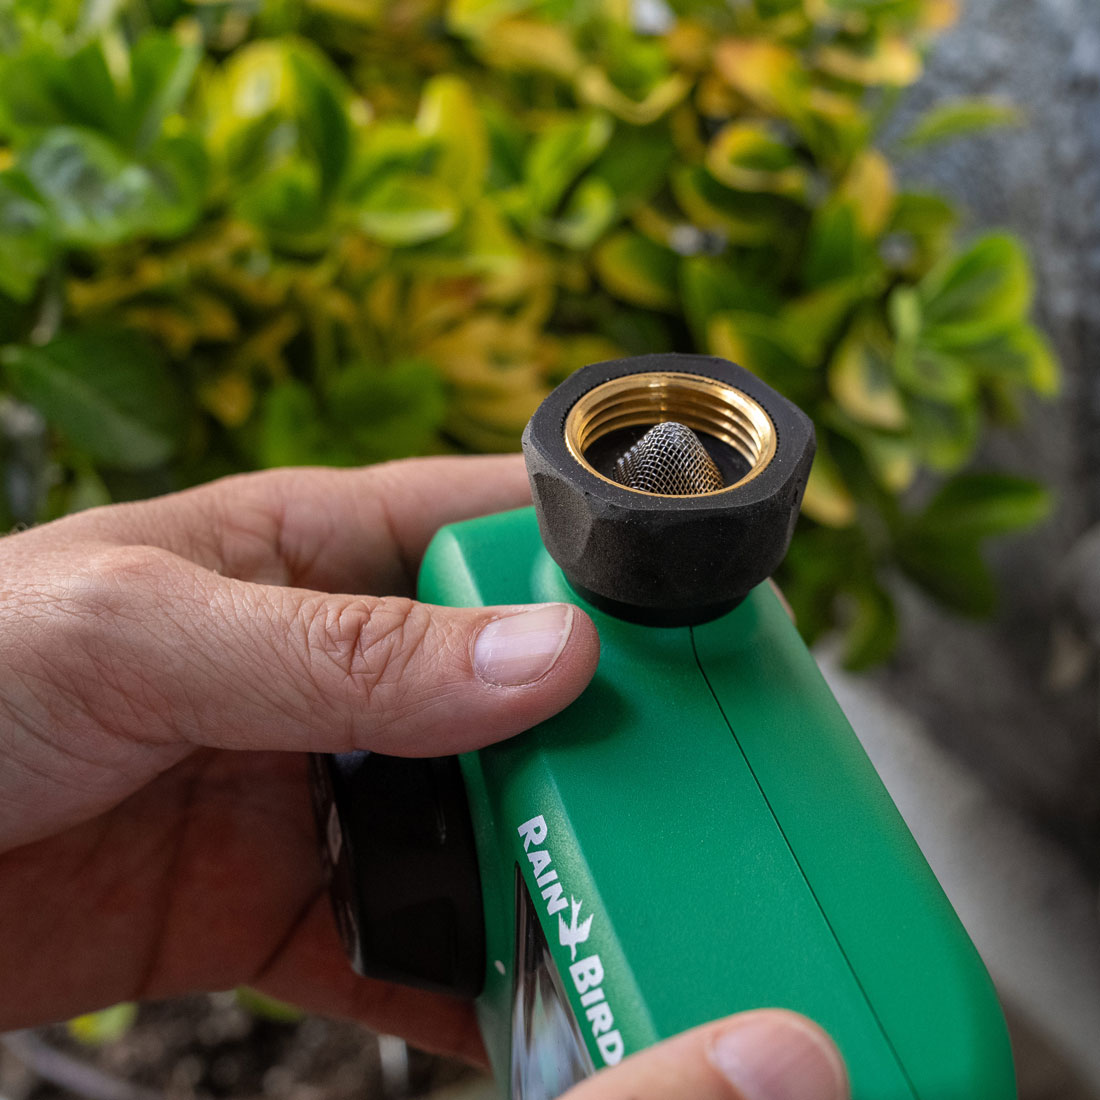
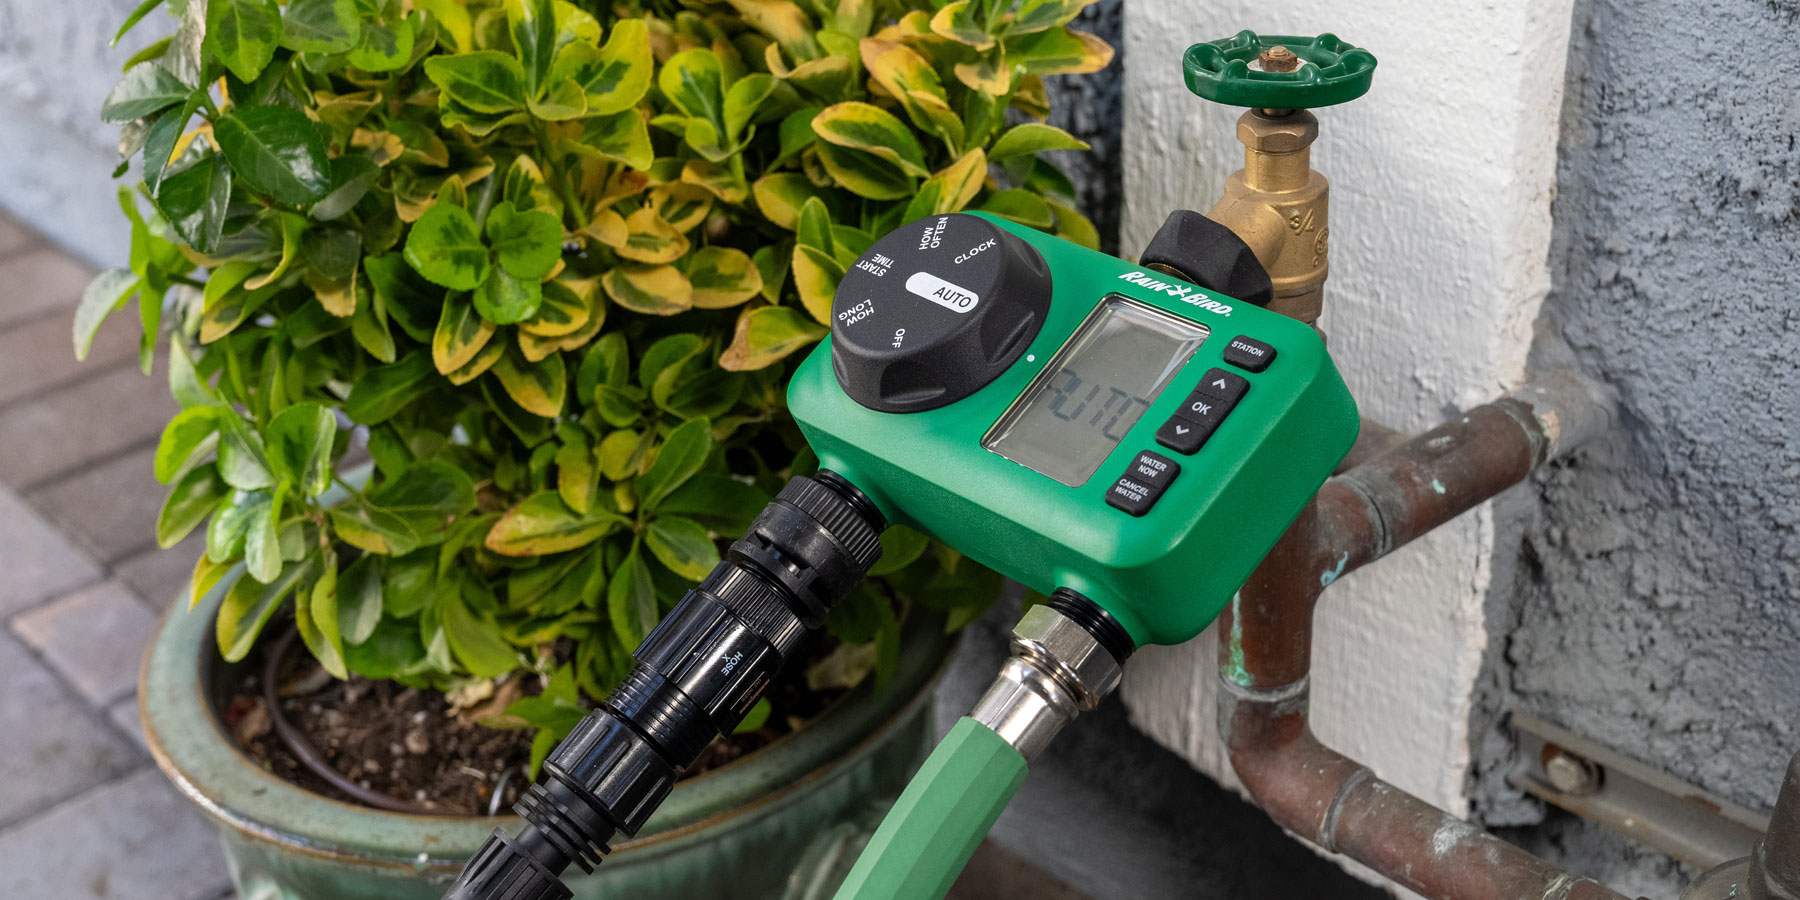
Step 2: Install the Timer
Insert two fresh AAA alkaline batteries, then attach the timer to your outdoor water spigot. Before connecting, check that the flat rubber washer with integrated debris screen inside the top threaded collar is properly seated. Hand-tighten the connection until snug.
Avoid using wrenches or PTFE tape, as these can damage the threads or internal washer and lead to leaks.
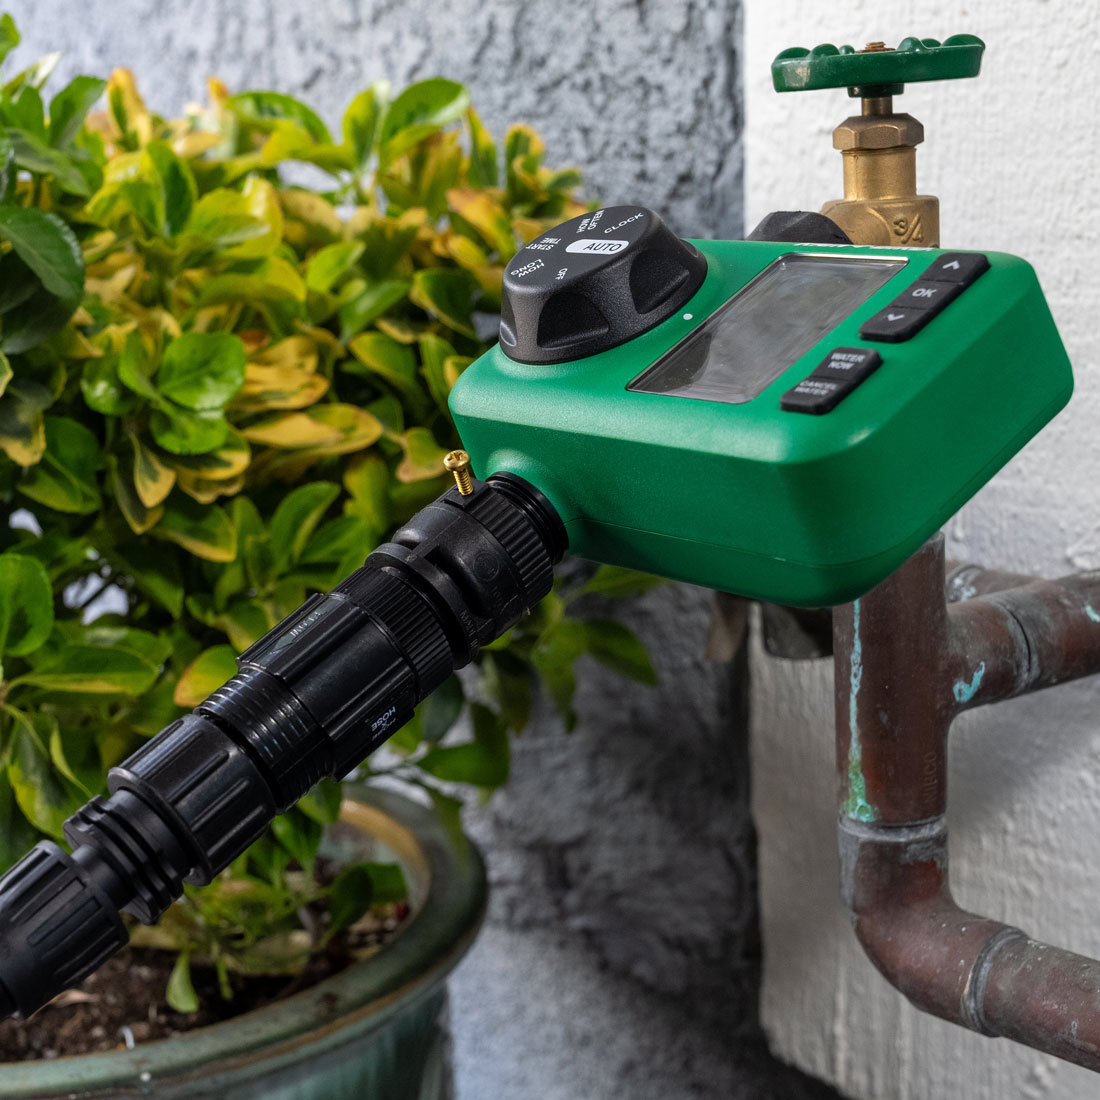
Step 3: Build the Drip Connection
A drip system requires a specific sequence of components connected to the outlet of your timer.
- First, attach the backflow preventer to the timer outlet. This critical component protects your drinking water by preventing irrigation water from flowing back into your home supply.
- Next, connect the pressure regulator to the backflow preventer. Drip systems operate at a lower pressure, and the regulator reduces the incoming water flow to a safe level for your tubing and emitters.
- Then, attach the tubing adapter to your drip tubing and screw it onto the pressure regulator.
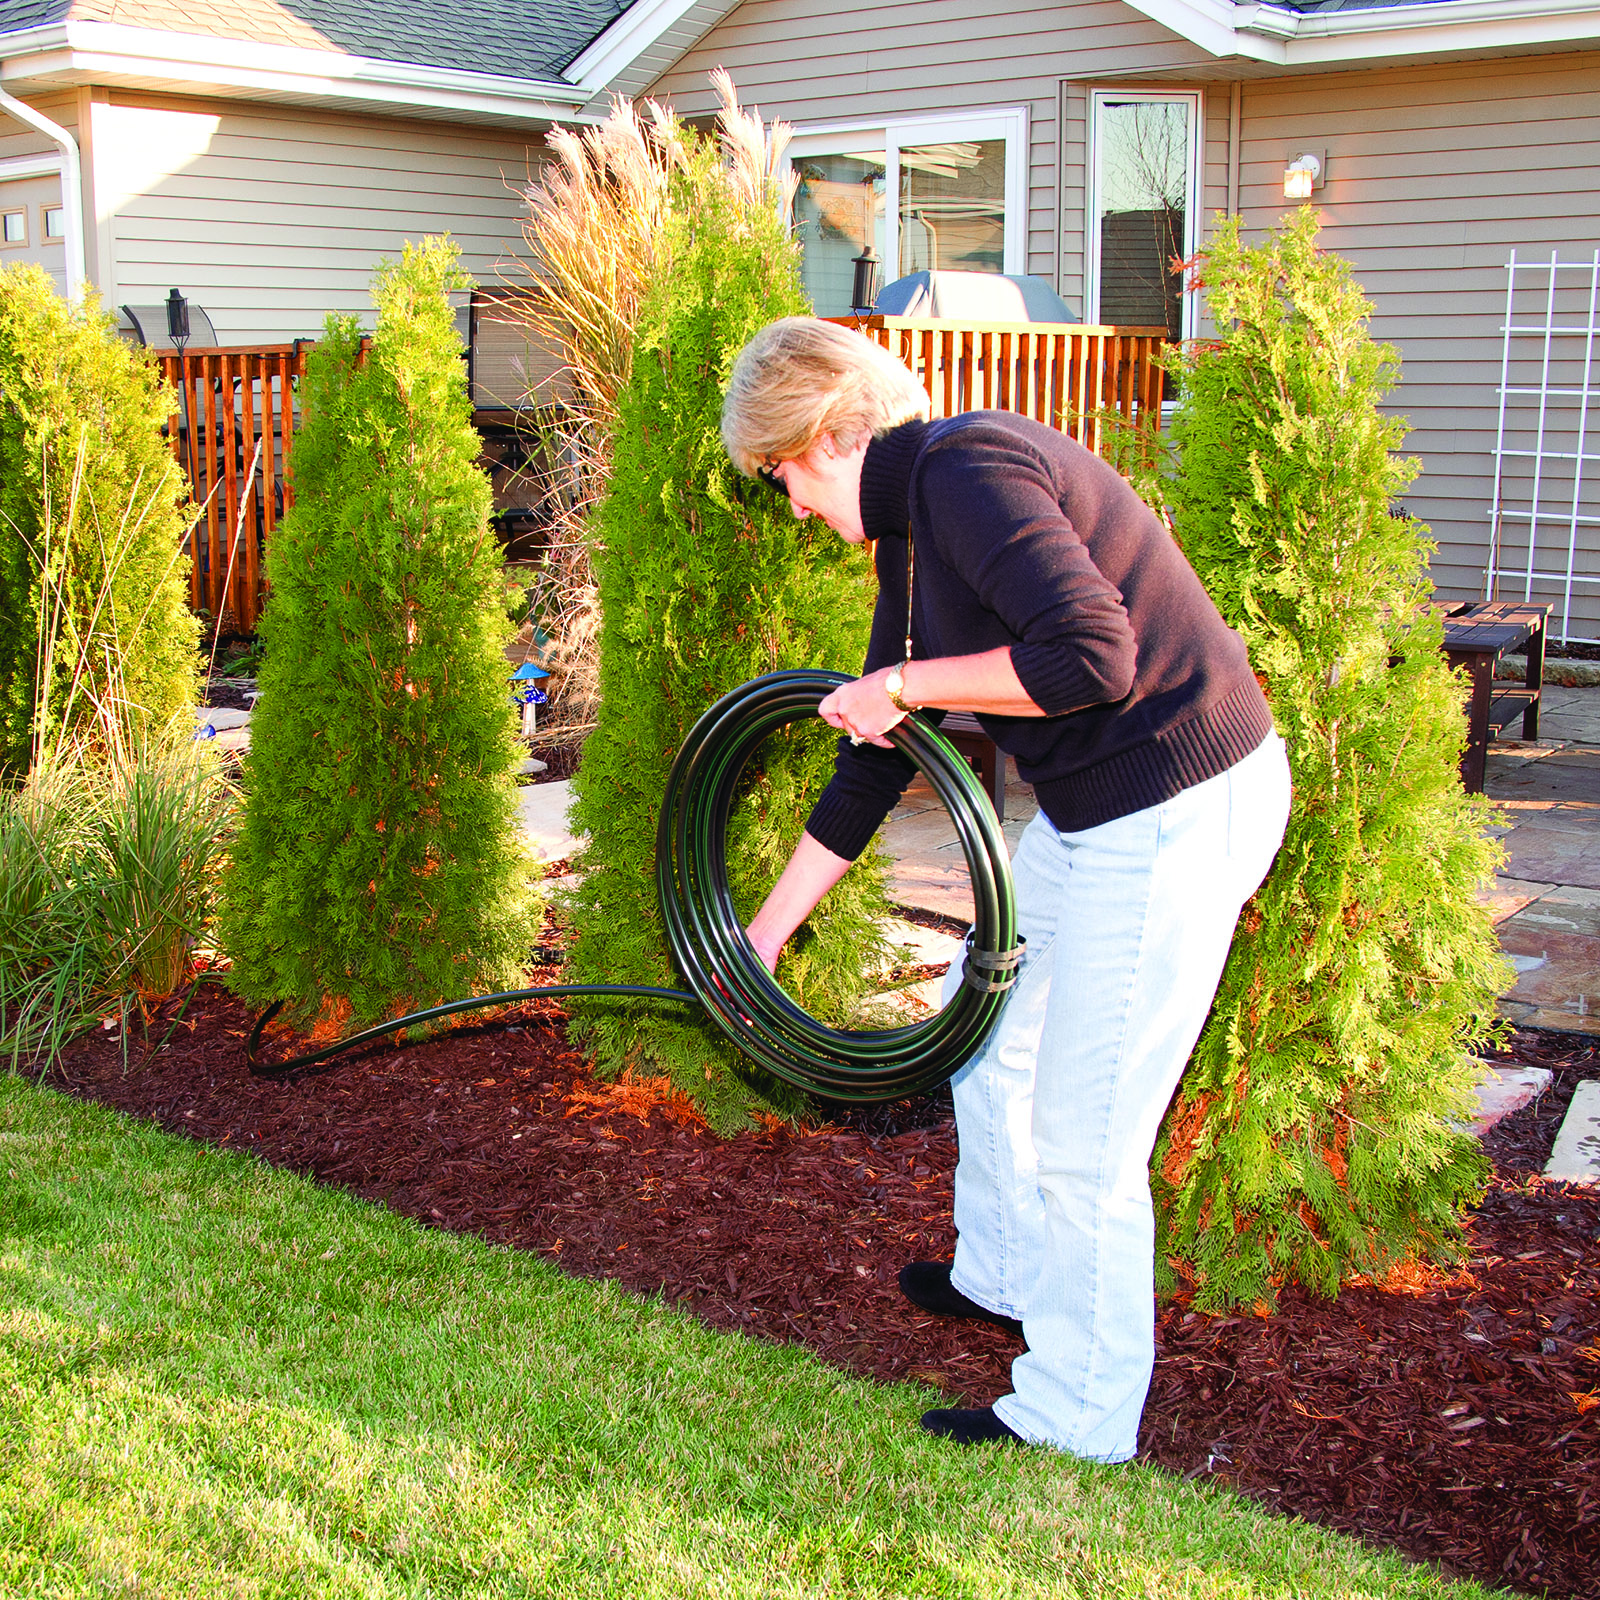
Step 4: Run the Distribution Tubing
Now you are ready to build your water delivery network.
Connect your main half-inch distribution tubing to the adapter at the faucet, then roll it out across your garden beds. Use fittings to join sections and guide the tubing, keeping it laid flat along the soil.
To deliver water to individual plants or containers, use an emitter tool to punch a small hole in the main line. Insert a barbed fitting, then attach a length of quarter-inch tubing. Run this smaller line directly to the base of each plant.
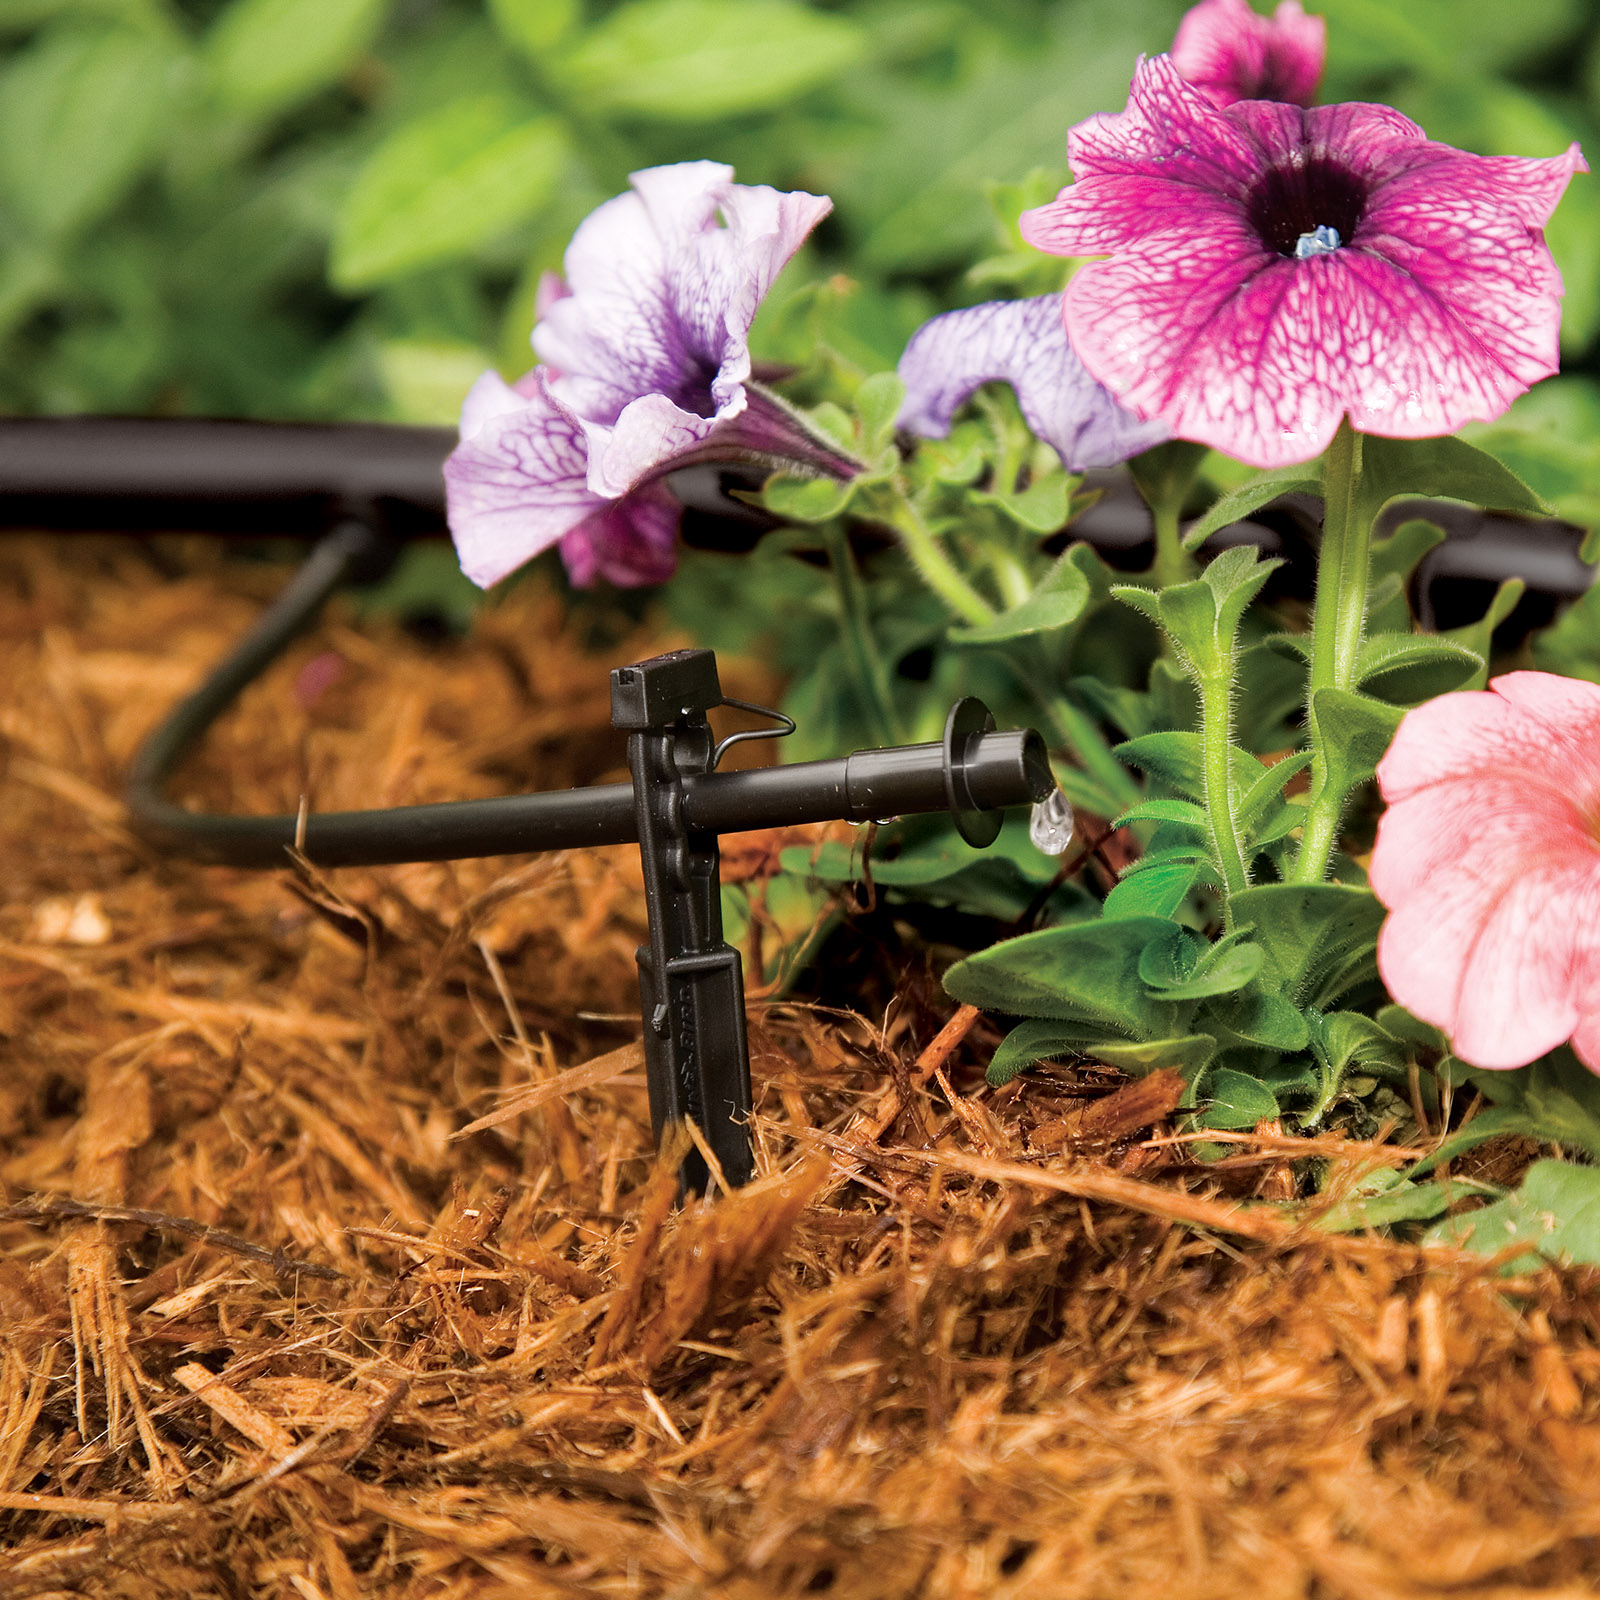
Step 5: Place the Drippers
Drippers (or emitters) release water slowly into the soil, right where your plants need it.
Attach a dripper or a micro-bubbler to the end of each quarter-inch tubing line, then secure it near the plant’s root zone using a small plastic stake. This ensures precise, efficient watering with minimal waste.
Step 6: Program Your Watering Schedule
Now it is time to bring your system to life.
Turn the oversized dial on your timer to “Set Clock” and enter the current time and day of week. Then rotate the dial to choose your watering days.
Next, turn the dial to “Start Time” to select when watering begins. Early morning is ideal for healthier plants and reduced evaporation. Move to “How Long” to set your watering duration. When you are finished, turn the dial to “Auto” to activate your schedule.
If you are using the HET200 (2-station timer), you can manage two separate watering zones. Simply press the “Station” button to toggle between outlet one and outlet two, allowing you to set independent start times and durations for different parts of your yard.
Watch how it is done:
Enjoy the Results
Intelligent water use helps create a healthier landscape while conserving resources for your community. With an automated drip system in place, you will enjoy greater peace of mind and true backyard freedom.
Visit the Rain Bird Store today to find the perfect hose end timer and drip irrigation components for your lawn or garden.

