How to Plan an Automatic Drip Watering System for Container Plants
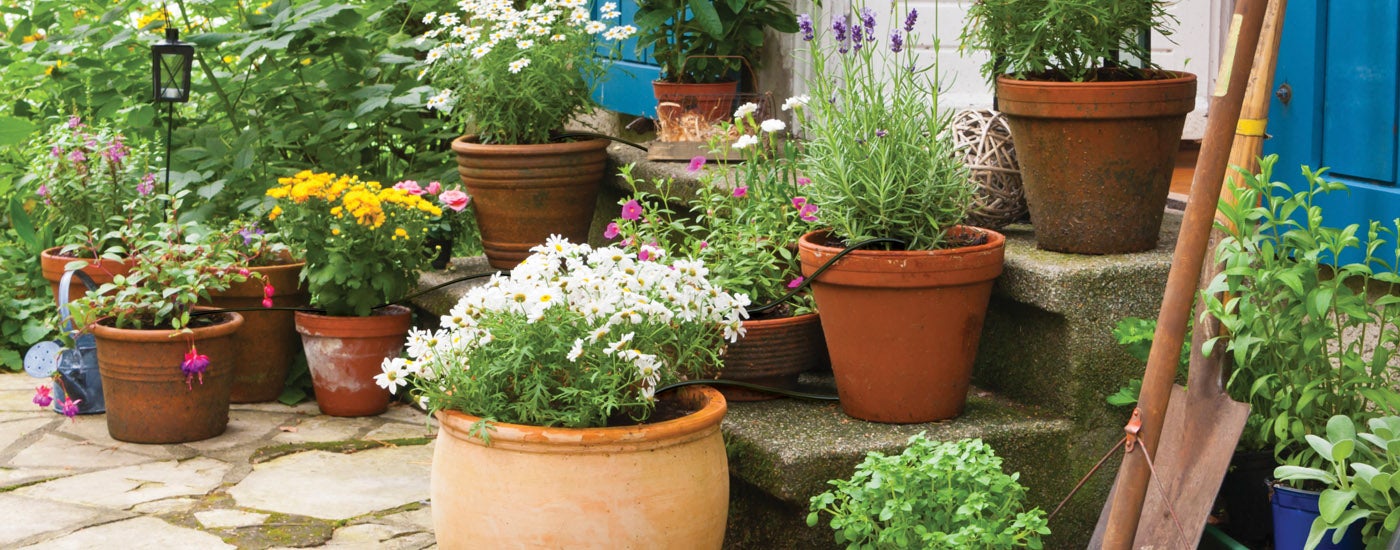
Hand watering flowerpots, window boxes, and other plant containers can be a real chore, especially on hot summer days when containers tend to dry out quickly. In arid climates, that can mean watering a couple of times a day. A Rain Bird drip-watering system can take care of the job of watering for you, applying the right amounts of moisture to every container, even when you are out of town.
Here is a quick overview of how to plan a simple automatic drip system that is not only inexpensive but works better than manual watering to keep your plants healthy and blooming all season.
What You’ll Need to Start
Your basic drip system includes three main elements:
1. Water Source Connection
Purpose: Connects drip tubing to an outside faucet.
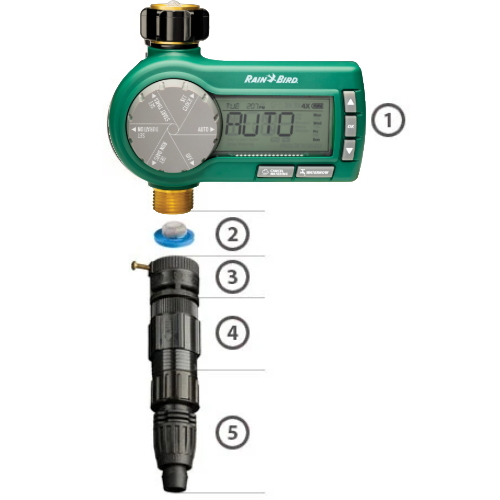
An outside faucet (hose bibb) is the most common source for container watering. Purchased as a kit or separately, a faucet-connected system includes several essential parts that work together to control water clarity and pressure as needed for your system.
The screen filter (2) catches debris, keeping it from entering the line and clogging your devices. The backflow preventer (3) ensures forward flow only, guarding against any downstream water from contaminating the home's drinking water. Also essential for any drip watering system, a regulator (4) keeps water pressure at an optimum 25 pounds per square inch, so that your drippers and other devices perform as rated.
And last in the connection assembly is a tubing adapter (5). It is sized for the tubing you are using. There are adapters for ¼ in. as well as ½ in. tubing.
A timer (1) is optional because you can turn water on and off manually to use a drip system. But if automatic scheduling is important to you, consider adding a timer that is designed for outside faucet uses. Rain Bird's Electronic Hose End Timer or Premium Hose End Timer allows setting irrigation cycles to occur any day of the week, up to four times per day.
One other note about water sources: If you have an underground sprinkler system, you might instead choose to connect your container watering system to a riser in one of the zones if it is near your planters. That is done with riser-mounted manifolds, also available from Rain Bird retailers.
2. Tubing & Fittings
Purpose: Runs water from the faucet to the containers.
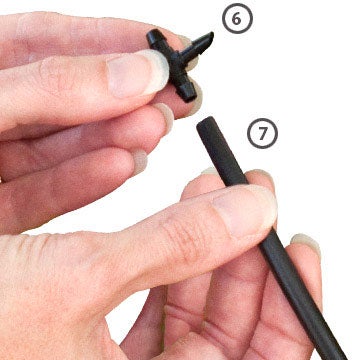
The tubing is branched from one container to the next with a T-shaped part you insert into the tubing ends.
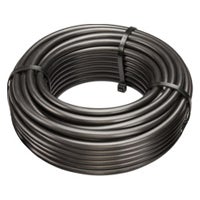
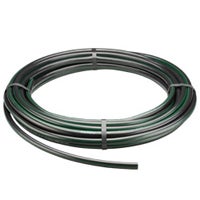
For most container plant watering systems, ¼ in. tubing (7) is normally sufficient. If your setup requires long tubing runs of 30 ft or more, use ½ in. tubing as the main supply line to provide greater watering capacity. The smaller ¼ in. tubing is then connected in short lengths to that ½ in. line and routed to each container. The ½ in. tubing might also be preferred for its durability, particularly if you are placing it in a high traffic area or along a bed where you string trim.
3. Watering Devices
Purpose: Applies water at flow rates that are fixed or adjustable for different container sizes.
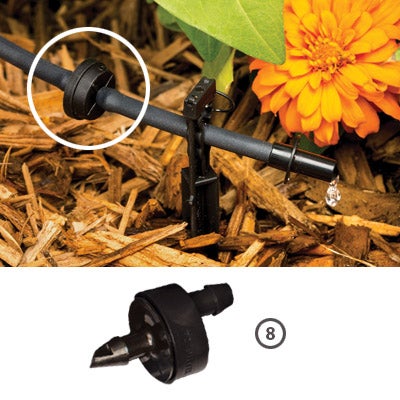
Drippers (8)–sometimes called spot watering emitters–provide targeted watering at the base of each plant or cluster of plants. Providing slow drip coverage, their watering action is designed to soak into the planter's soil, helping to establish strong root development, which is key to great looking plants. Drippers are available in a choice of flow rates, from 0.5 gallons per hour (GPH) for small containers, and up to 5 GPH for larger planters and shrubs. For container watering, drippers are typically inserted directly into the tubing and placed in or near the container. See further usage tips below.
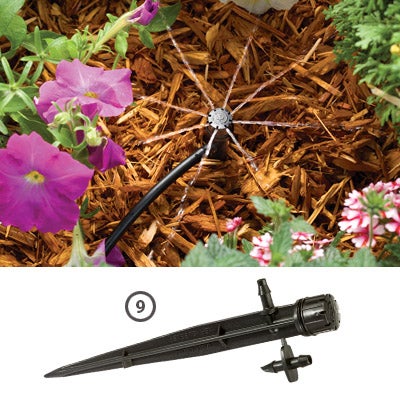
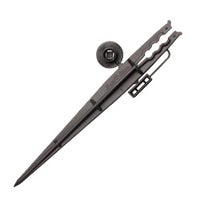
For larger pots, staked bubblers (9) provide extra versatility, allowing you to adjust flow from a slow drip to streams of water. They are available with different watering patterns to match the shape of your container.
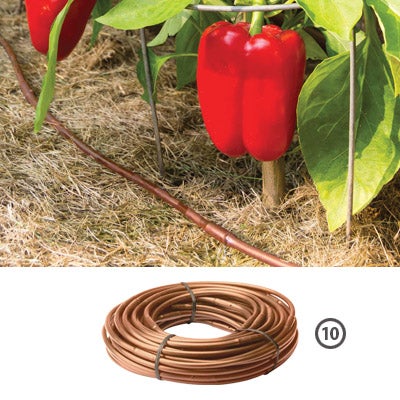
For long planters and window boxes, you might consider using ¼ in. emitter tubing (10). With its built-in emission devices spaced every six inches, it can be placed end-to-end of the planter for even watering of all plants. It is easily cut to length, staked, and plugged at the end for a custom fit.
NOTE: If you have six or fewer containers, you might wish to start with a kit. For example, Rain Bird's Patio Plant Watering Kit comes with everything needed except a timer which can be purchased separately.
Planning Your Drip Watering Layout
Although a kit will most likely serve your needs, you can also customize your system by following these steps.
Step 1. Count the containers
First, count the number of pots, window boxes, and hanging baskets, measuring the total distance the tubing must run to reach them all in series. Having this information in mind will give you an idea of how much tubing to buy. TIP: Download this handy Drip System Checklist to keep track of all your measurements.
| Small Watering Layout | ||
|
______ ft. |
 |
¼ in. tubing for fewer than 10 containers and less than 30 ft watering distance. |
|
Large Watering Layout (up to 20 containers, >30 ft watering run) |
||
|
______ ft. |
 |
½ in. tubing (main water run) |
|
______ ft. |
|
¼ in tubing (to containers) |
| Fittings | ||
| ______ Qty. | 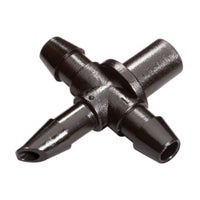 |
¼ in. Barbed Tee (one per small pot, 2 per large pot) |
| ______ Qty. | 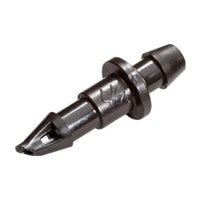 |
¼ in. Barbed Coupling (2-3 for ¼ in. tubing runs, 1 per pot if ½ in. tubing is used.) |
| ______ Qty. | 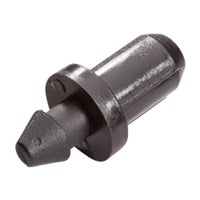 |
¼ in. End Plug (1, if ¼ in. tubing is used) |
| ______ Qty. |  |
¼ in. Tubing Stakes (1 for each Dripper) |
| Optional | ||
| ______ Qty. | 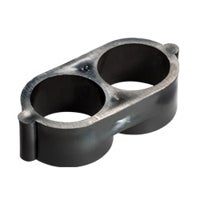 |
½ in. End Closure (1, if ½ in. tubing is used) |
| ______ Qty. | 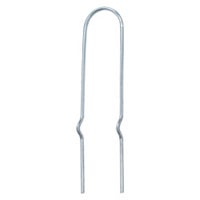 |
Tubing Hold-Down Stakes |
| ______ Qty. |  |
¼ in. Tubing Clips (for attaching tubing to deck or building) |
Step 2. Note the container sizes and number of devices needed
In general, for smaller pots less than 10 in. diameter, you'll need a single dripper with low flow rate (0.5 GPH or 1 GPH). For larger containers, you'll want to use more than one dripper by branching the tubing within each container. Another option for large containers is a staked bubbler which will allow you to adjust flow and watering patterns. Here are some common watering devices for a drip system.
| Drippers & Stakes | ||
|
______ Qty. |
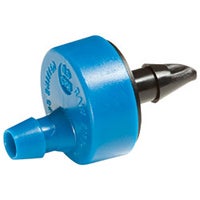 |
0.5 GPH Spot Watering Dripper (small pot) |
|
______ Qty. |
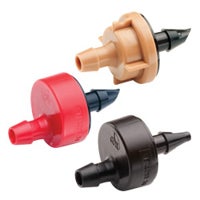 |
1.0, 2.0 or 5.0 GPH (large pots) |
|
______ Qty. |
 |
¼ in. Stake (one per dripper) |
| Staked Bubblers | ||
| ______ Qty. | 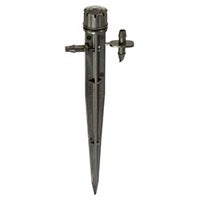 |
0-13 GPH Bubbler - adjustable (large pots) |
| ¼ in. Emitter Tubing | ||
| ______ Qty. | 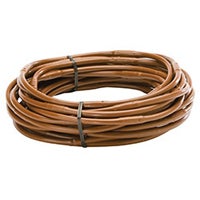 |
0.8 GPH every 6 inches (ideal for long window boxes) |
Lots of Pots?
Because a drip system's water pressure is regulated at the faucet and ¼ in. tubing has low watering capacity, you should plan for less than 30 GPH total flow with all devices combined. If your watering layout requires greater flow than that, the emission devices won't all water as rated and many of the pots will be dry and underwatered. You'll get much better results using ½ in. tubing for the main supply line or planning a second tubing run from another faucet to cover a share of the containers.
Download our handy Drip System Planning Checklist to determine the parts you’ll need.
By following these simple steps, you can plan an automatic drip watering system that will save you time and water and keep your outdoor container plants perfectly watered all season.