3 Simple Repairs and Upgrades for Your Pop-Up Sprinklers This Spring
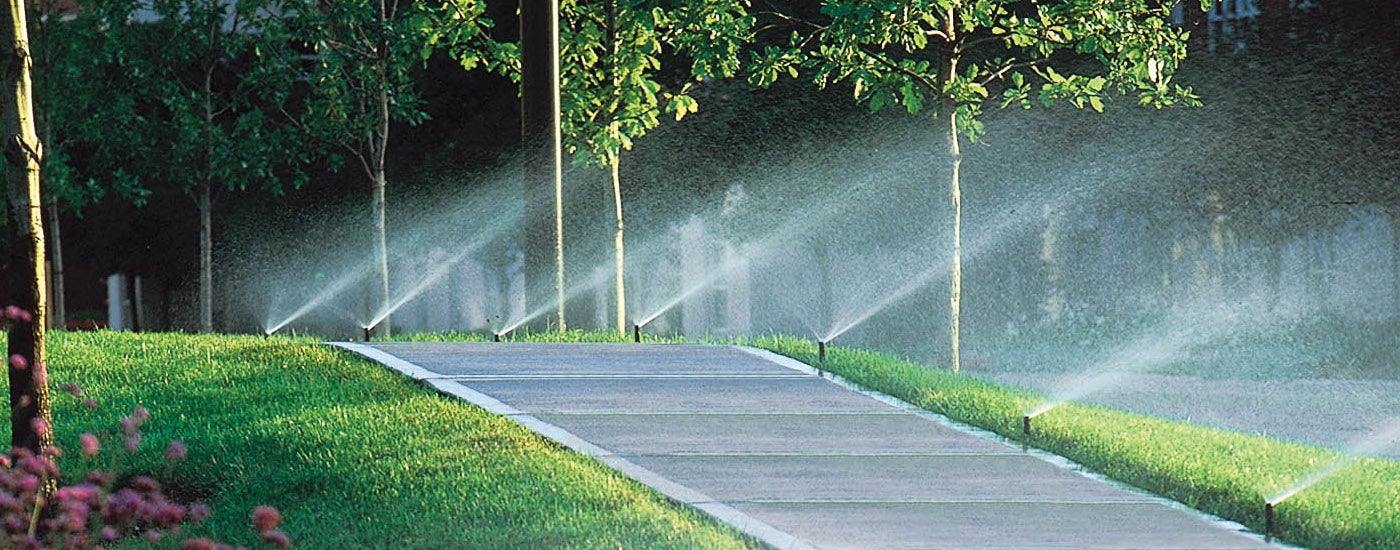
While there are many reasons to involve a professional irrigation service contractor when starting up your sprinkler system this Spring, there are a few simple repairs and upgrades you can do yourself. Doing these minor chores in spray zones will also help save on your water bill all season. If you don't mind getting your hands wet–or for some of these tasks–a little dirty, these maintenance items will be a piece of cake.
To spot the things needing attention in each watering area, start by activating one zone or program at a time on your controller. Most controllers have a manual watering function that you can use for this purpose. It's a good idea to know how to do this anyway, just in case you would like to manually add a watering cycle in the yard or a particular area after a dry spell. If you have an app-based controller, you can do this on your smart device.
Next, with the sprinklers on, go outside and watch each head's spray distance and pattern. Walk around and note how the sprinklers are watering and if they are covering the desired areas. Also notice if the spray is uniform with water droplets rather than "misting," which wastes water.
1. Adjust spray pattern and distance
Problem: Water is over spraying onto sidewalks, the driveway, or your house, or sprays are not covering enough of the grass.
Solution: Adjust spray action on the top of the sprinkler.
Tools needed: Small flat blade screwdriver
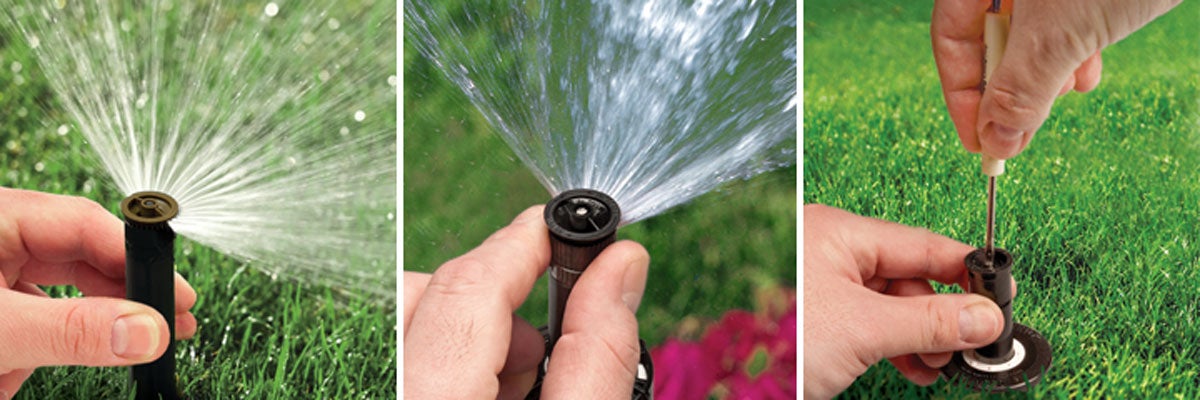
- Twist the stem to align with desired spray direction.
- Turn to adjust the pattern (for sprinklers with variable arc nozzles).
- Turn +/- to adjust distance.
2. Replace water-wasting spray nozzles
Problems:
- Nozzles are broken or noticeably leaking around the head
- Sprinkler is overwatering
- Sprinkler isn't covering the desired area
- You wish to convert to water-saving nozzles
Solution: Replace or upgrade nozzles
Tools needed: Pull-Up Tool (recommended)
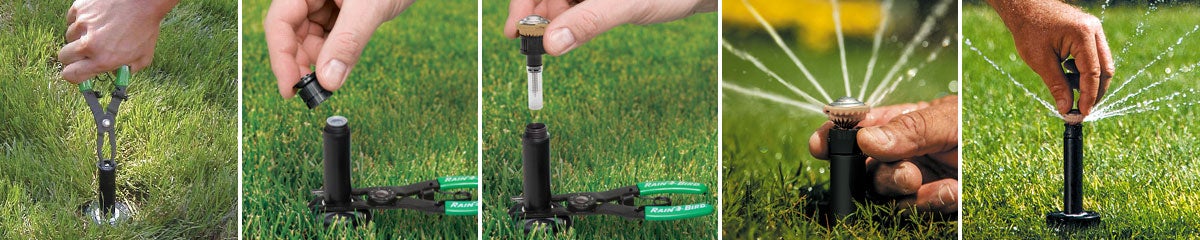
- Pull up the sprinkler stem by hand or using the Rain Bird tool.
- Remove the old nozzle and filter screen.
- Insert new filter screen and screw on a new nozzle with proper pattern and throw distance. Shown: Rain Bird RVAN rotary nozzle with a potential water savings of up to 30% compared to standard spray nozzles.
- Activate the sprinkler zone and adjust spray direction and pattern, following directions on the nozzle package.
3. Replace a broken spray head
For heads that obviously have been cut with a lawnmower or damaged by a vehicle, you may need to replace them entirely. But have no fear–this job doesn't require professional plumbing skills. In most cases, you can do this without repairing the underground pipe. You simply need to expose and clean the fitting where the head attaches.
TIP: As long as you are replacing a sprinkler, consider upgrading to a new high-efficiency model.
Problems:
- The sprinkler's top cap and stem are damaged.
- The sprinkler's stem will not pop up or retract properly.

- Turn off water to the zone and carefully remove dirt around the sprinkler. Take care in not damaging any underground pipe or fittings.
- Unscrew the old head.
TIP: Check the threaded riser or other connector under the head. If it is also damaged, remove more soil to expose the entire fitting. Replace with proper fitting thread and length.
- Clean the threads and apply Teflon® tape to the male connector. Then screw on the head.
- Pull up the stem and remove the nozzle. The Rain Bird Pull-Up Tool makes this task easier.
- Turn on water to flush the head.
- Replace nozzle and smooth dirt around the head.
4. Bonus Tip
If you need to replace nozzles or sprinklers, it is an ideal time to upgrade to water-saving models. There are many new choices, any of which will fit the stems and underground fittings of your current sprinklers.
Buying Guide
| Water-Saving Nozzles | |||
| TYPE | MODELS | DISTANCE | EFFICIENCY |
| Rotary nozzles | 8SA | 8'-14' | Up to 30% water savings |
| 45° - 270° adjustable | 12SA | 13'-18' | |
| 360° full circle | 22SA | 17'-24' | |
| High-efficiency | HE-VAN-08 | 6'-8' | Up to 35% water savings |
| adjustable nozzles | HE-VAN-10 | 8'-10' | |
| 0°-360° adjustable | HE-VAN-12 | 9'-12' | |
| HE-VAN-15 | 12'-15' | ||
| High-efficiency | 12DSF (360°) | 9'-12' | Up to 30% water savings |
| Dual Spray™ nozzles | 12DSH (180°) | 9'-12' | |
| Fixed patterns | 12DSQ (90°) | 9'-12' | |
| Water-Saving Pop-Up Spray Heads | |||
| Pressure-Regulated | |||
| With HE-VAN adjustable nozzles | 1804HEVNPR | 12'-15' | Up to 50% water savings |
| 2" or 4" pop-up | 1802HEVN15PR | ||
| With Dual Spray™ nozzles | 1804*DSPRS | Up to 30% water savings | |
| 2", 3" or 4" pop-up | 1803*DSPRS | ||
| 90°, 180° or 360° | 1802*DSPRS | ||
| *F (full pattern) | |||
| H (half pattern) | |||
| Q (quarter pattern) | |||
| Non-Pressure-Regulated | |||
| With HE-VAN adjustable nozzles | 1804HEVN15 | 12'-15' | Up to 35% water savings |
| 4" Pop-up | 1804HEVN15 | ||
| With Dual Spray™ nozzles | 1804*FDS | 12'-15' | Up to 30% water savings |
| 2", 3" or 4" pop-up | 1803*FDS | ||
| 1802*FDS | |||
| *F (full pattern) | |||
| H (half pattern) | |||
| Q (quarter pattern) | |||
Springtime is a great time to check your in-ground irrigation system. Repairing or replacing a damaged sprinkler head can be easier than it may sound. Use the tips above to check for and fix simple issues before calling a professional irrigation service contractor.

