Troubleshoot or Replace a Rain Bird Sprinkler Head
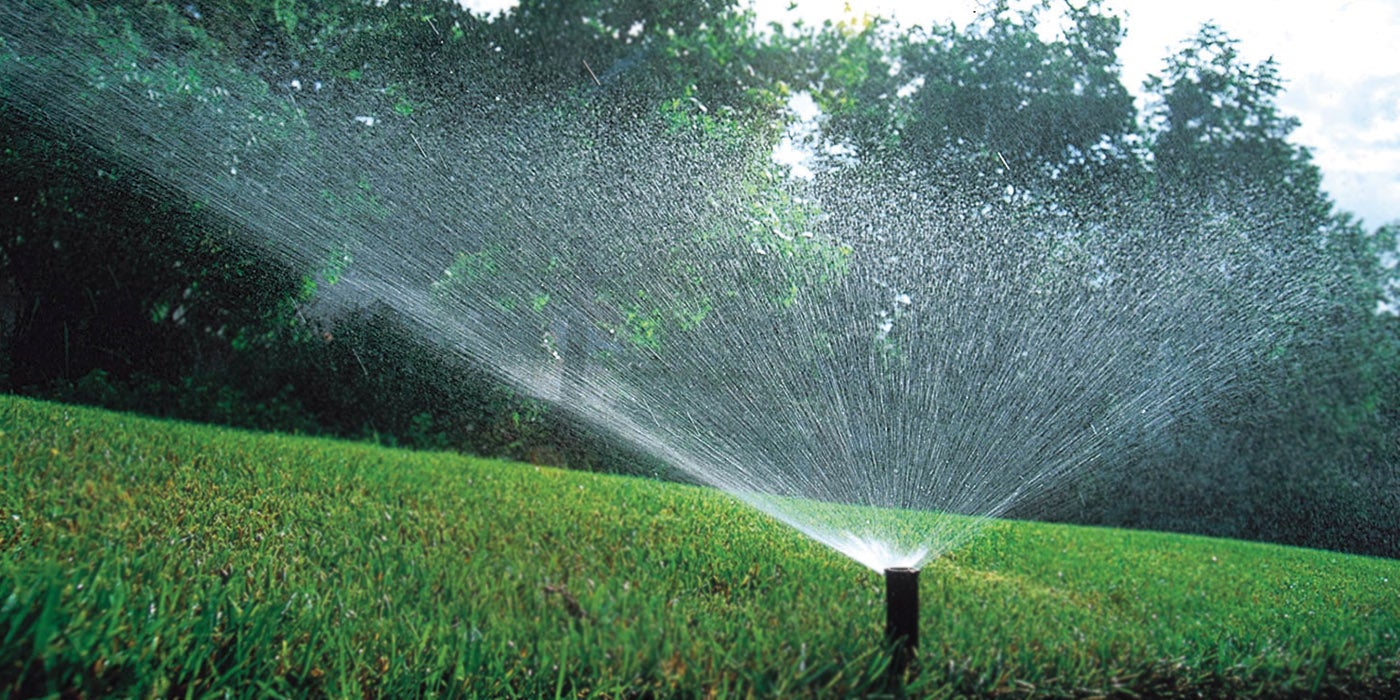
A sprinkler head is an essential component of your lawn irrigation system and its important to keep in good condition. Replacing a sprinkler head is an easy task that can be completed in about 20 minutes. The process does require a bit of digging, but its not difficult, so don't let a little dirt deter from this simple lawn maintenance project. In this article, we'll walk you through the steps to troubleshoot a problem with a sprinkler head, and if necessary, how to replace a defective one with a new Rain Bird sprinkler head.
Why replace a sprinkler head
There are a few reasons why you might want to consider replacing your sprinkler head. When you replace a defective sprinkler head with a new Rain Bird sprinkler head, you're ensuring optimal irrigation for your lawn. Not only does this save you time and money in the long run, it also helps to maintain the health and beauty of your lawn.
Some of the benefits of replacing a defective sprinkler head with a new Rain Bird sprinkler head include:
Improved water efficiency - With a new Rain Bird sprinkler head, you can be sure that your lawn is getting the right amount of water. This saves you money on your water bill while conserving water.
A healthier lawn - When your lawn is properly watered, its better able to withstand pests, disease, and extreme weather conditions.
A more beautiful lawn - A well-watered lawn is more likely to be green and lush.
Troubleshooting your sprinkler head
There are a few things that can go wrong with a sprinkler head. If you're not sure whether your sprinkler head needs to be replaced, here are a few common issues and ways to troubleshoot them.
| Problem | Potential Issue | Potential Solution |
| Spray distance is too short | Nozzle or filter is clogged | Unscrew the nozzle, remove the filter, and rinse both |
| Spray is not level | Check that spray is not tilted down | |
| Nozzle is not appropriate for application | Replace the nozzle with a larger radius nozzle | |
| Insufficient water flow | Reduce the number of sprays per zone (valve) | |
| Spray has settled down in the ground | Try a longer throw nozzle or taller spray | |
| Distance is set too low | Turn the screw on the nozzle counter-clockwise | |
| Leaks | Debris is stuck along stem and cap | Clear debris by holding down the spray stem for a minute or turning that water off and on a few times |
| Cap is loose | Tighten the cap | |
| Nozzle is loose | Tighten the nozzle so it is fully threaded onto the stem | |
| Debris in water line | Remove nozzle and run water to flush out the line | |
| No water sprays out | Pattern is set to zero on adjustable nozzle | Turn dial on nozzle |
| Nozzle or filter is clogged | Rinse nozzle and filter. If using an adjustable nozzle, turn the dial to close and then open to clear debris | |
| Water is misting | Nozzle or filter is clogged, limiting flow | Rinse nozzle and filter |
| High water pressure | Replace with a spray that has a pressure regulator | |
| Does not cover full pattern | Pattern is set too low on adjustable nozzle | Turn dial on nozzle |
| Watering direction not adjusted | Rotate stem by hand while water is on to aim the spray | |
| Nozzle or filter is clogged | Rinse nozzle and filter | |
| No head to head coverage | Change to a nozzle that throws far enough to provide head to head coverage | |
| Stem gets stuck in up position | Debris is stuck along stem and cap | Hold spray down for a minute while water is on |
| Untwist the cap and rinse debris | ||
| Stem does not pop up all the way | Debris is stuck along stem and cap | Hold spray down for a minute while water is on |
| Untwist the cap and rinse debris | ||
| Insufficient water flow | Reduce the number of sprays per zone | |
| Spray distance is too long | Distance is set too high | Turn the screw on the nozzle clockwise |
| Replace nozzle with a shorter radius nozzle | ||
| Spray distance does not change with screw is turned | Rain Bird filter is not in place | Place filter that came with the nozzle in place |
Download our handy Rain Bird Spray & Nozzle Troubleshooting Guide for more tips.
How to replace a Rain Bird sprinkler head
Now that you know why to replace your faulty sprinkler head, let's walk through how to remove your old sprinkler head and install a new Rain Bird sprinkler head.
To replace a spray head:
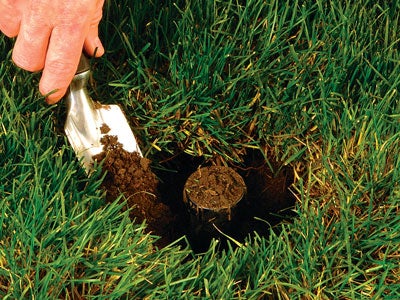
1. Turn off water to the zone and carefully remove 3 to 4 inches of grass and dirt from around the sprinkler. Use an empty garbage bag or plastic trash can lid to temporarily store the loose sod and dirt. Take care while digging to avoid damaging any underground pipe or fittings. It's best to wait 24 to 48 hours after running your sprinkler system, or the dirt will be wet and muddy.
2. Carefully unscrew the old head to prevent any loose dirt from falling into the hole. Check the threaded riser or other connector for damage or excessive wear under the head. If it is damaged, remove more soil to expose the entire fitting. Replace with proper fitting thread and length.
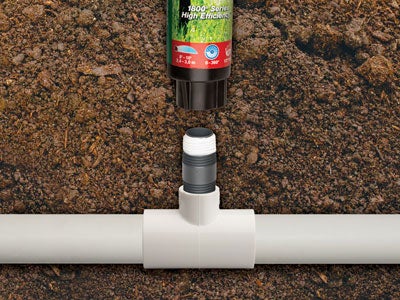
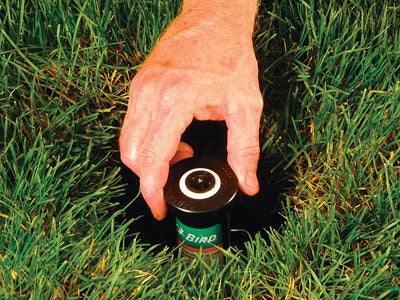
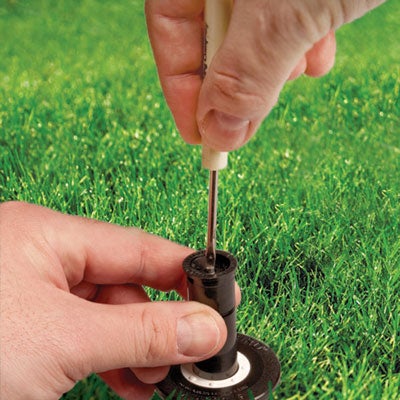
3. Clean the threads and apply plumber’s tape to the male connector. Then gently screw your new Rain Bird sprinkler head onto the riser or fitting and hand tighten.
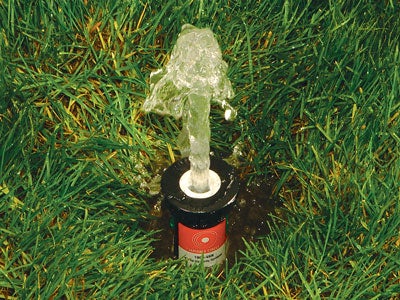
4. Turn on water to flush the head for 2 to 5 minutes.
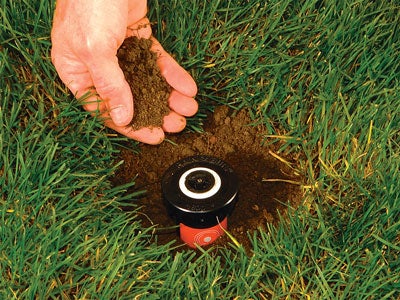
5. Replace the dirt and block of turf around the head.
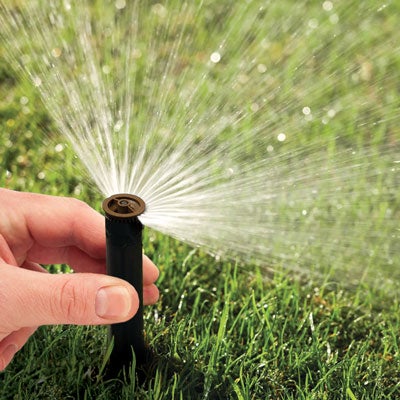
6. Make initial adjustments to set the spray direction and distance.
7. Turn on the water and twist the stem to set the left spray edge. It will take some pressure and you will hear an audible click. You can make fine adjustments to reduce the spray distance up to 25% by tightening the screw on top of the nozzle.
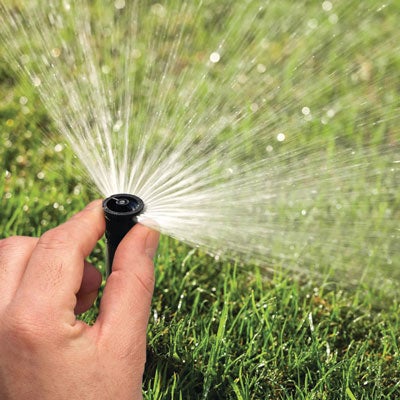
7a. On adjustable pattern nozzles (Rain Bird VANS), twist the knurled dial on the nozzle.
Replacing a sprinkler head is an easy task that can help keep your lawn looking its best. By following these tips, you can fix most common problems with your sprinkler system quickly. If you do need to replace a defective sprinkler head, we recommend using a Rain Bird sprinkler head for the optimum results.